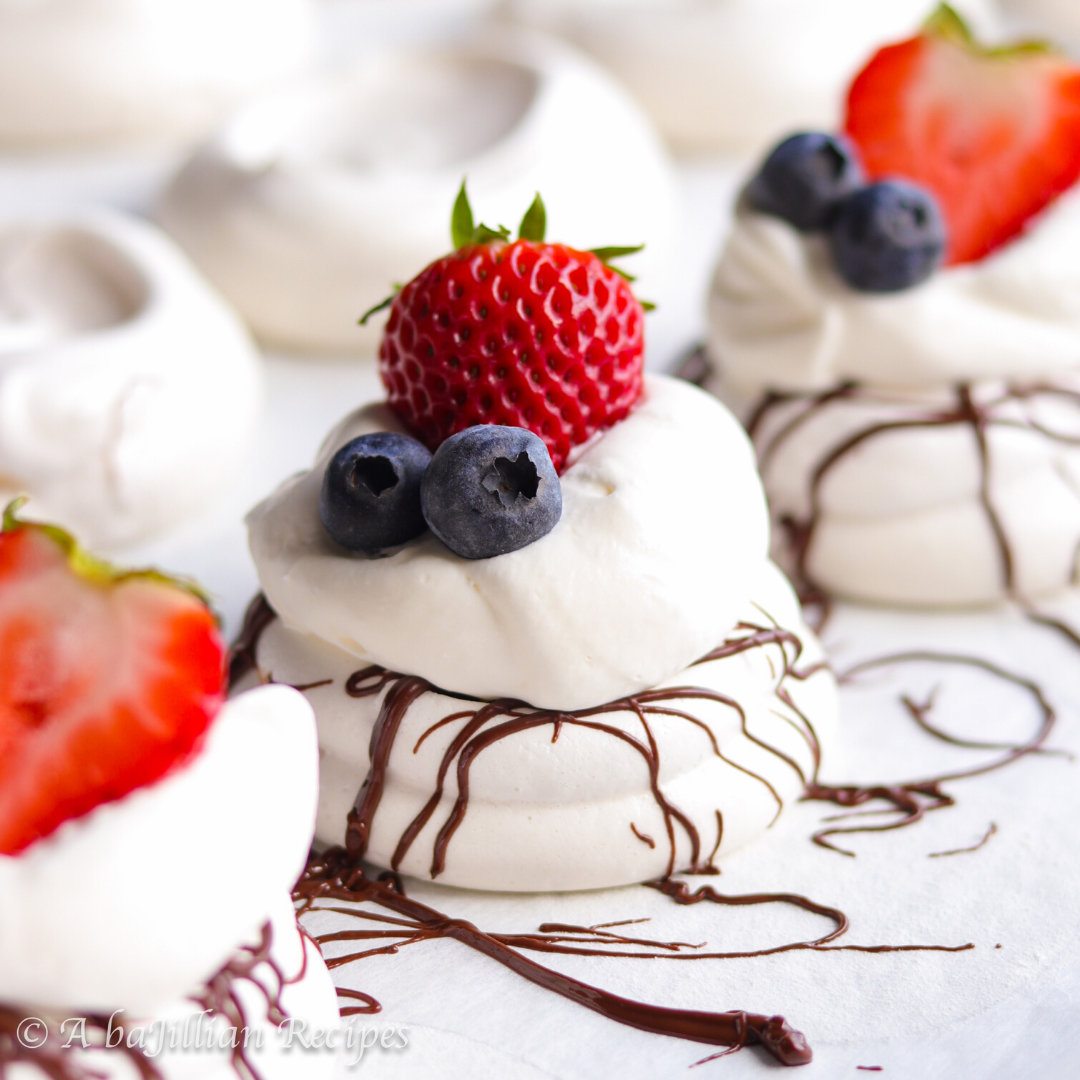
Melt-in-your-mouth meringues drizzled with dark chocolate and topped with a cloud of whipped cream and fresh berries! Naturally gluten-free!

If you live in or around the Pacific Northwest, odds are you’ve heard of Papa Haydn’s. It’s a popular Portland restaurant known for serving up some of the most heavenly and beautiful desserts around. I still remember the first time my mom treated me to a fun dessert date one afternoon when I was a teenager. I ended up ordering their Boccone Dolce, which is a cake made with layers of delicate meringue cookies, fresh berries, and delicious drizzles of dark chocolate. In Italian, Boccone Dolce translates to “Sweet Mouthful”, which is VERY fitting.
It really has the perfect balance of flavors and textures. You’ve got the light and satisfyingly crisp meringue layers with the fluffy whipped cream…the sweet and slightly tangy berries with the deep richness of the dark chocolate…it truly is like biting into a slice of heaven.
Immediately after my first bite, I just KNEW I had to recreate this mouthwatering masterpiece at home.
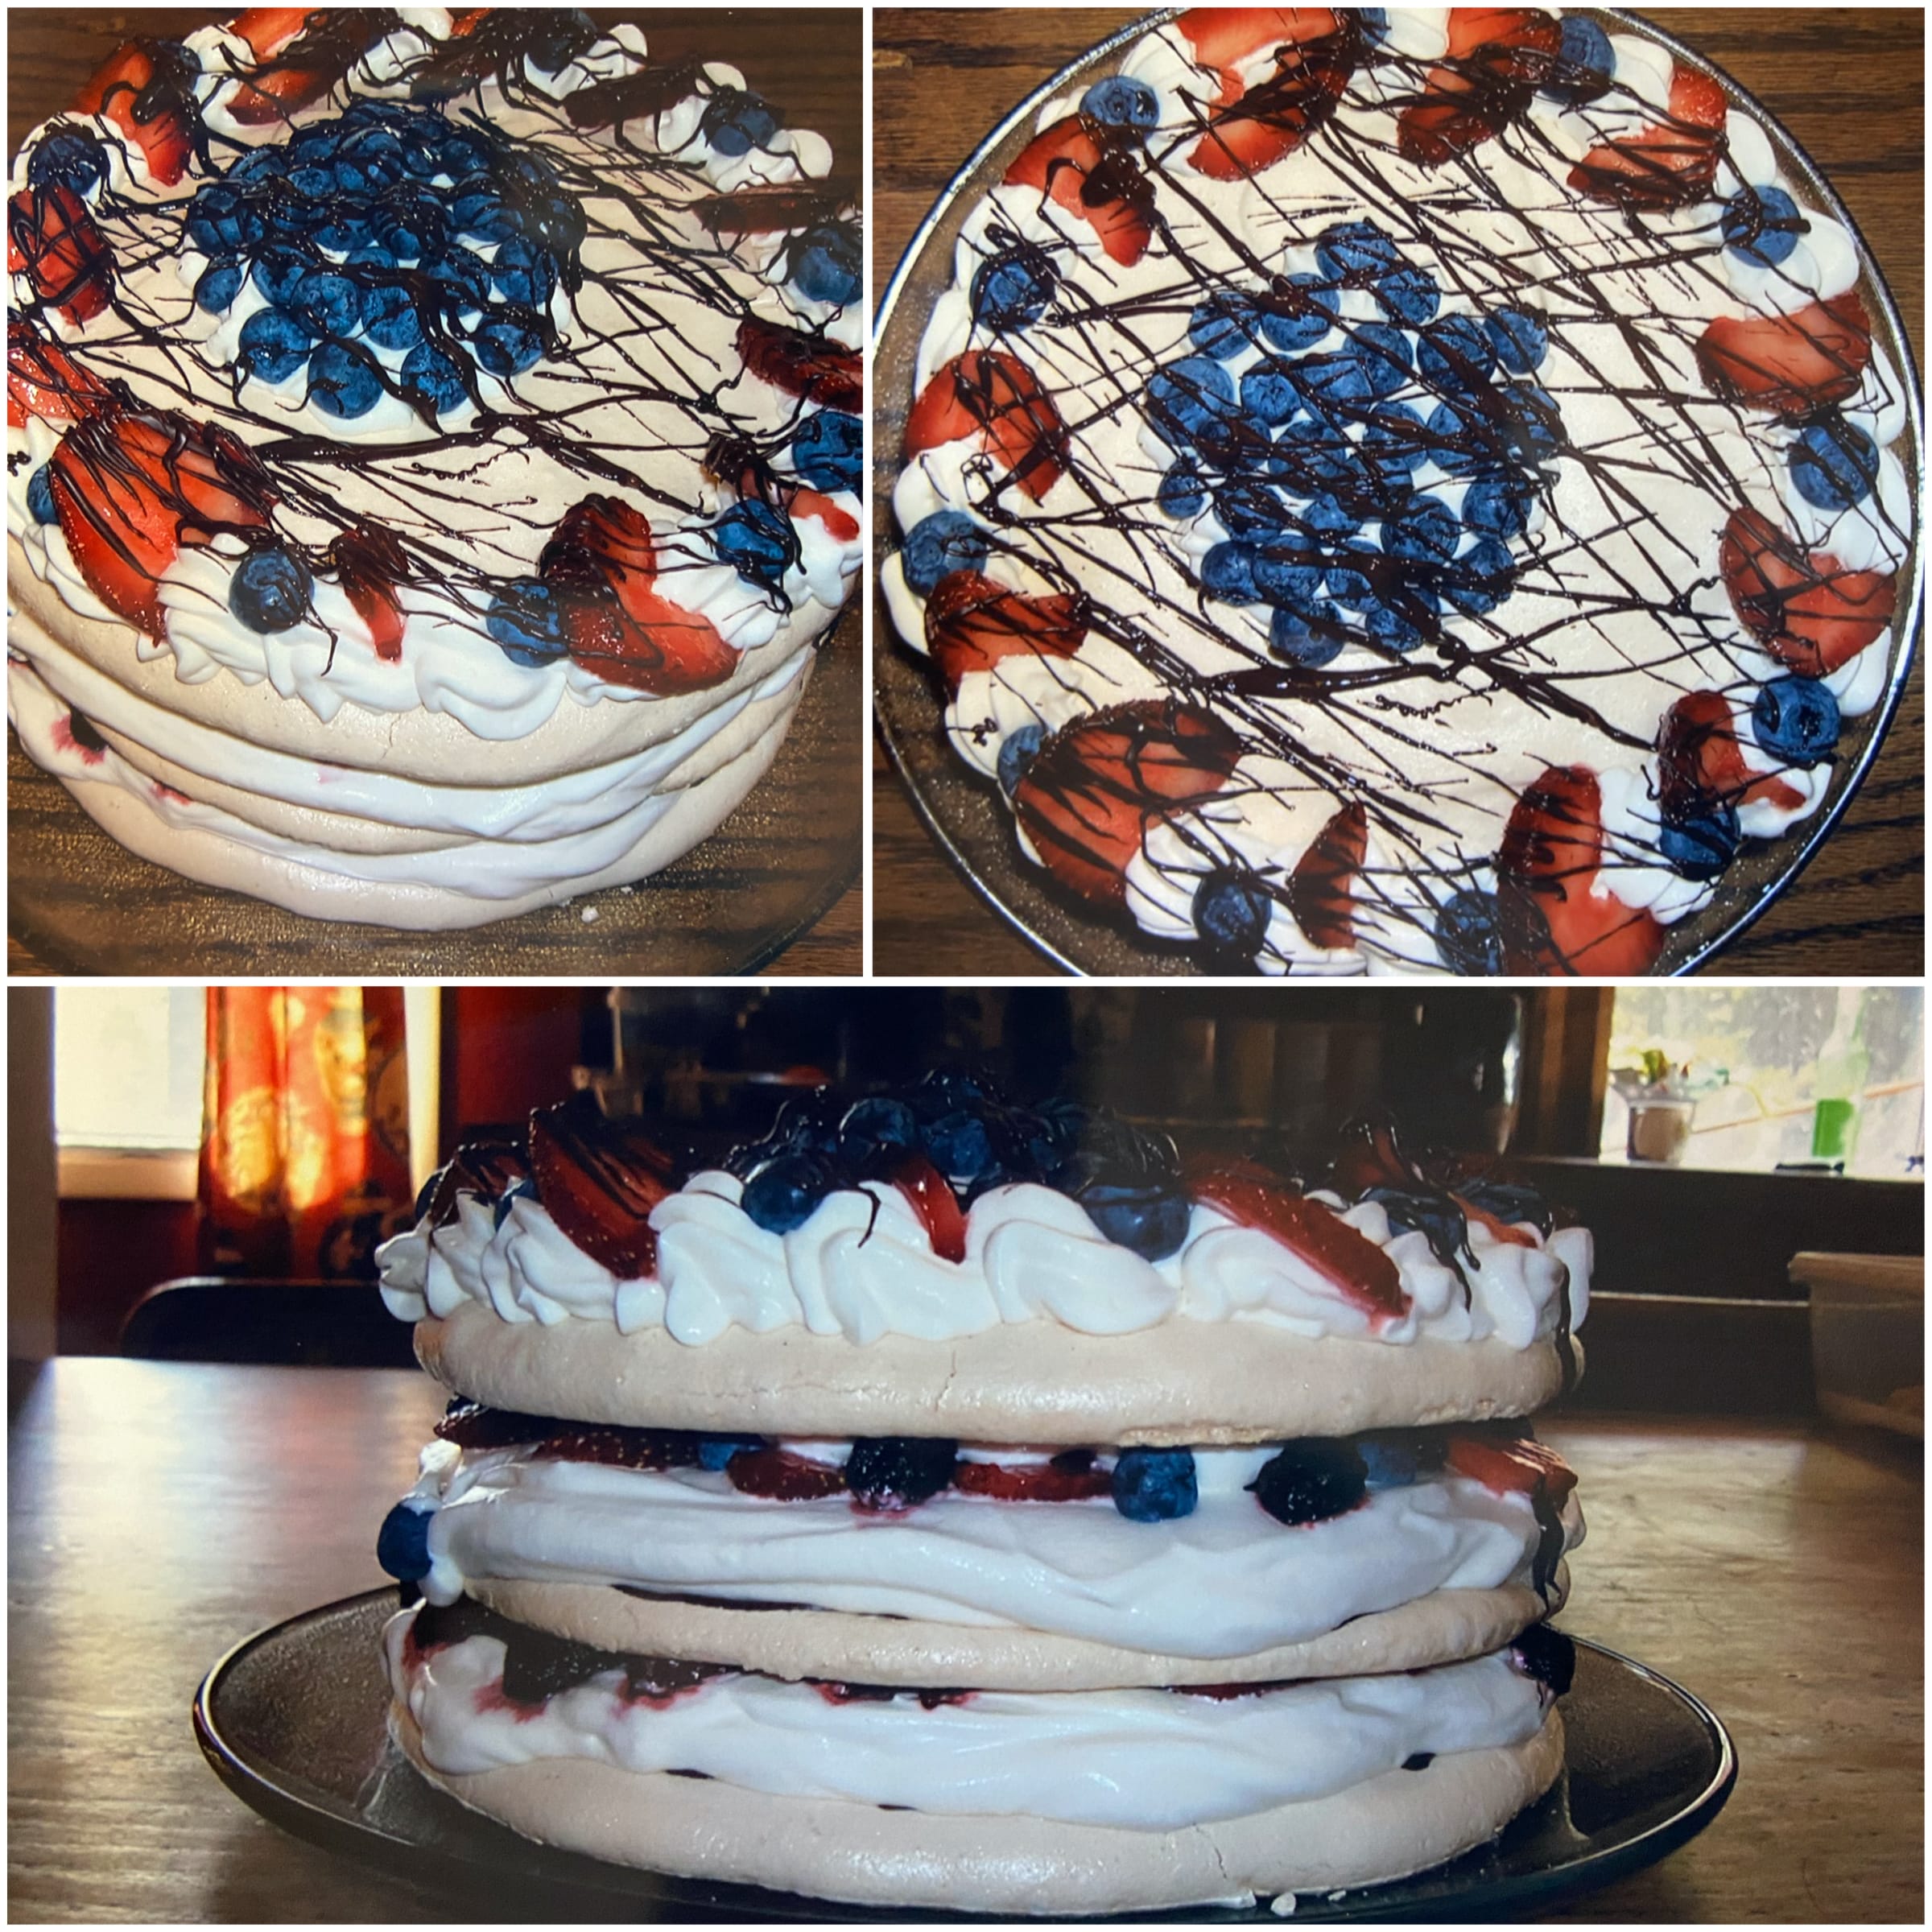
I must’ve been about 15 or 16 when I made this. Looking back on these photos, I have to say I did a pretty good job. And in my oh-so-humble opinion, it tasted just as incredible as the the one I had at Papa Hayden’s.
Now, the only downside with Boccone Dolce is the fact it tends to get soggy if you don’t eat it the day it’s made. Because of the nature of meringues, they tend to soften rather quickly once they touch anything with moisture, i.e. berries and whipped cream. Therefore, once you layer everything, you really need to enjoy it the day of. However, I came up with a better solution…

Mini Boccone Dolce!
So instead of assembling one large cake, you have the option of assembling as many as you want whenever you want! If you feel like eating just one, make one. If you feel like eating 20, make 20! These Mini Boccone Dolce also make the perfect baby/wedding shower dessert since they look gorgeous when assembled together on a platter. Not to mention, they’re super easy to make due to the simplicity of the ingredients involved. The only difficult part is making the meringues.

Honestly though, meringues really aren’t that difficult to make. They only take a while because of how long they need to bake in the oven. First, you’ll whip up some egg whites, a little cream of tartar, vanilla and a pinch of salt until soft peaks form. Then, with the mixer on low, gradually add the sugar. Once all the sugar has been added, increase the speed to high and continue beating until you end up with thick, glossy, pearly white fluff.
Just a few things to note when making your meringues:
- Use a CLEAN bowl and whisk/whisk attachment. Any oil residue, wetness, or tiny speck of egg yolk will prevent the egg whites from achieving full peak stiffness. I recommend staying away from using plastic bowls–stainless steel or glass is your best bet!
- Use room temperature egg whites for a lighter, airier meringue. After separating your egg whites, allow them to sit at room temperature for at least 30 minutes before whipping.
- Take your time when adding the sugar. The sugar must only be added once the egg whites have reached soft peak consistency or else they won’t whip up properly. I recommend adding the sugar a tablespoon at a time so that it has time to dissolve into the egg whites. This will give you that silky smooth texture that isn’t gritty.
- Be careful not to over-beat your egg whites, or else your meringues will deflate while baking and end up with hollow gaps in the middle.
- When piping your meringues onto the parchment, squeeze gently while holding the piping tip at least an inch from the parchment paper, so that the meringue is not being pressed against the baking sheet. This will give your meringues more height.
- The meringue cookies can be made ahead of time (up to 3 days) as long as they’re properly sealed in an airtight container. Just make sure to keep them away from any kind of humidity or moisture.


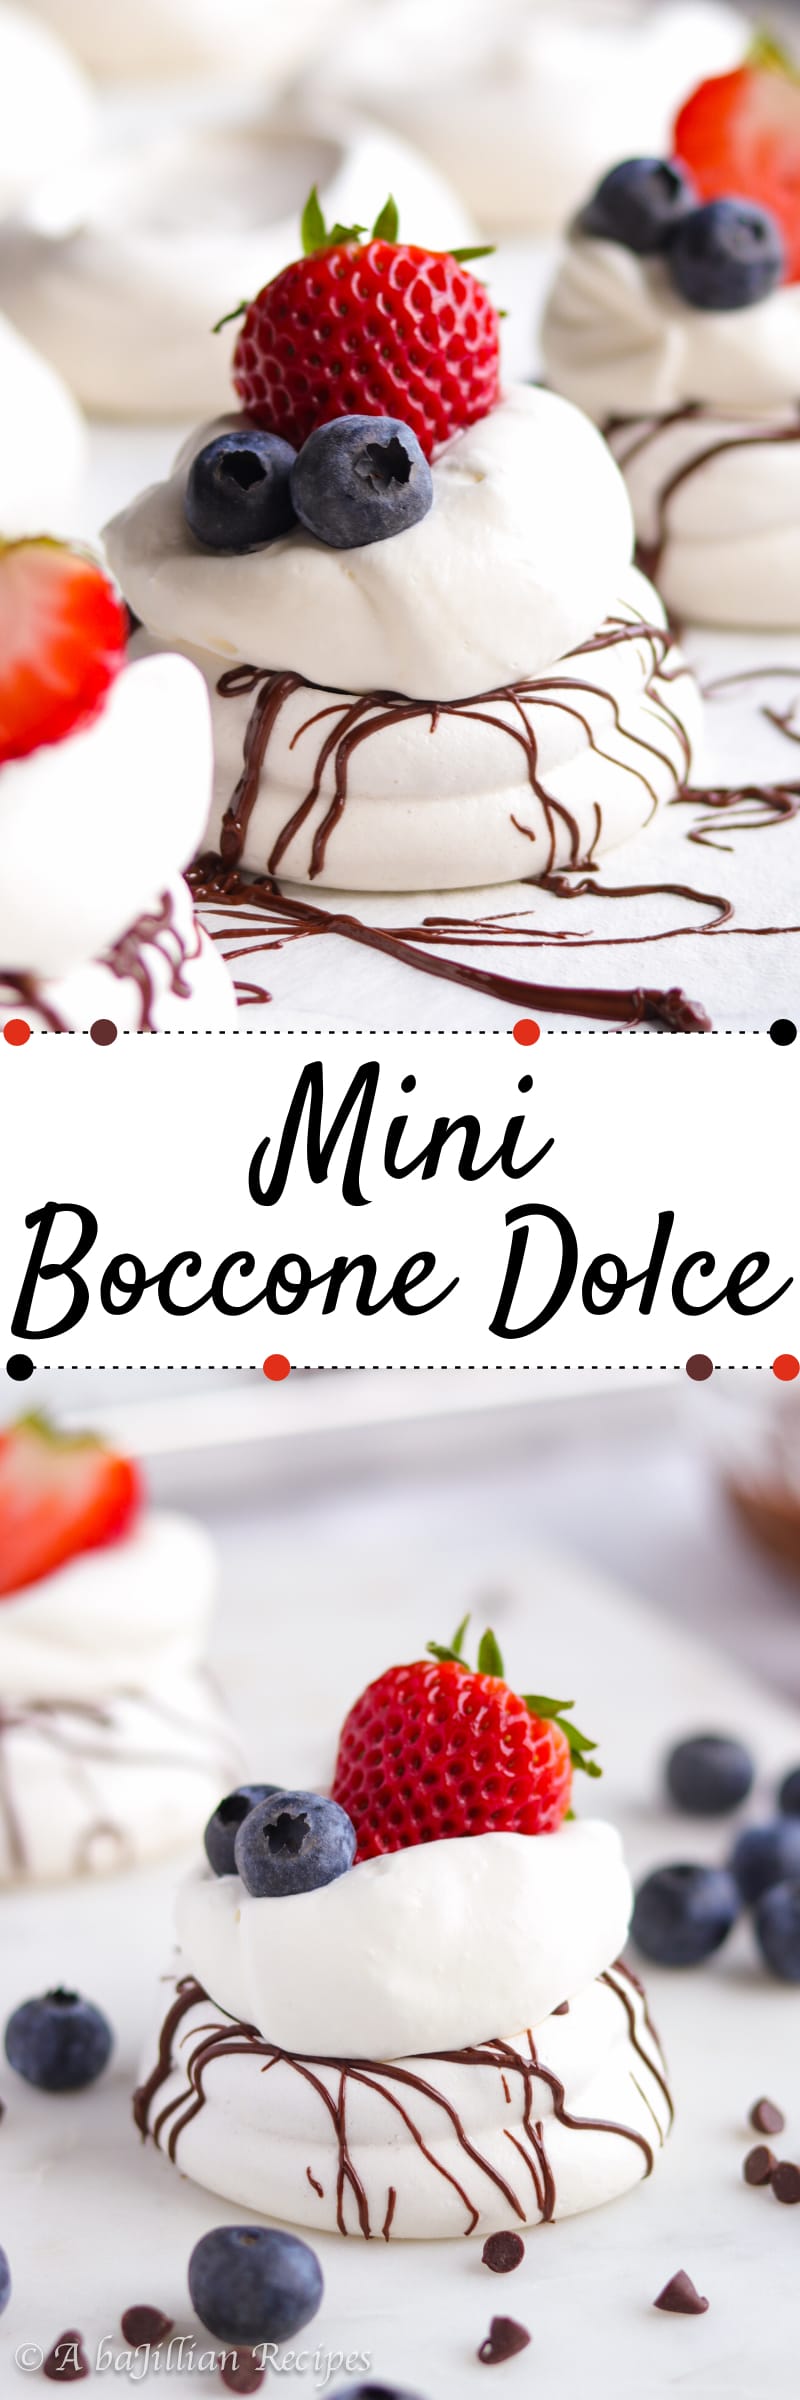

Mini Boccone Dolce
Ingredients
Meringues:
- 4 egg whites at room temperature
- 1 teaspoon vanilla
- ¼ teaspoon cream of tartar
- Pinch of salt
- 1 cup granulated sugar
- For chocolate drizzle: 3 ounces semi-sweet/dark chocolate melted
Whipped Cream:
- 2 cups heavy cream
- ½ cup powdered sugar
- 1 teaspoon vanilla
- Assorted berries: strawberries, blueberries, raspberries, or blackberries
Instructions
Make the Meringues:
- Preheat oven to 200ºF. Line a large baking sheet with parchment paper.
- In the clean bowl of a stand mixer fitted with the whisk attachment, whip the egg whites, vanilla, cream of tartar and salt together on high speed until soft peaks form. Reduce speed to low and gradually add the sugar, a tablespoon at a time. Once all the sugar has been added, turn the speed up to high and continue beating until thick and glossy.
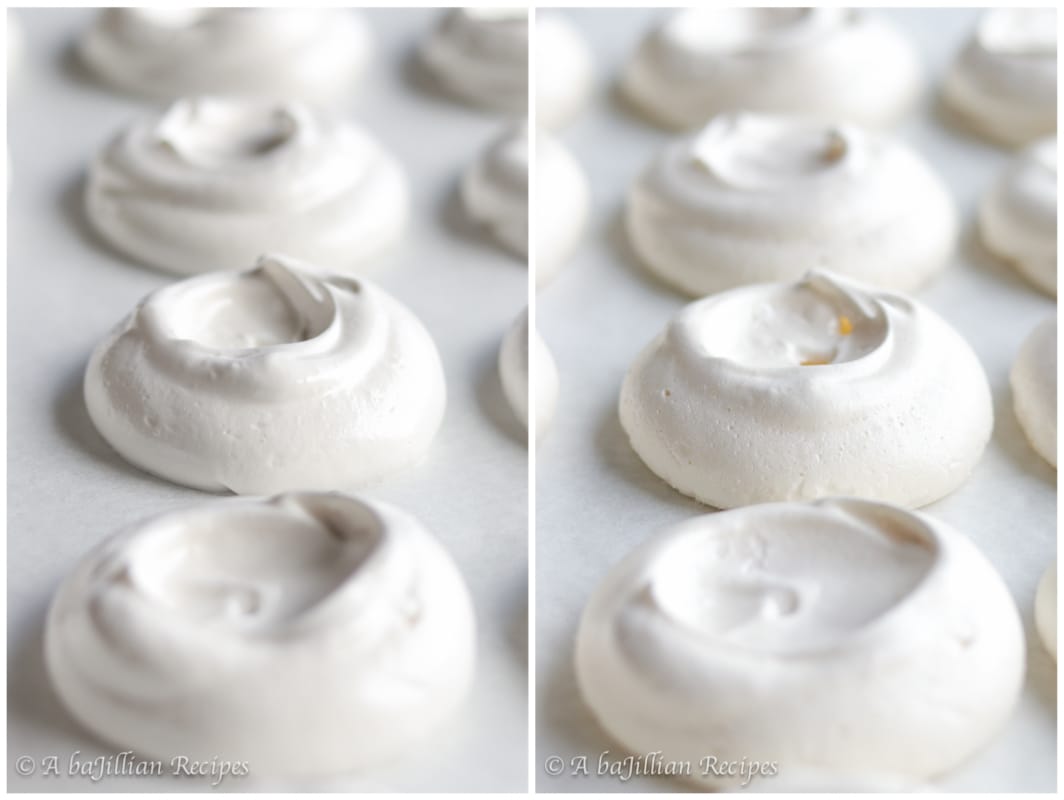
- Transfer meringue to a pastry bag fitted with a large round tip (or a gallon ziplock bag with the tip cut off). Pipe 2-inch wide meringue circles onto the prepared baking sheet about one inch apart from each other. Create a nest by using a spoon to create a little divot in the center of each.
- Bake in the oven for 1.5-2 hours, or until meringues are completely dry and hard to the touch. Turn off the oven, leave the oven door ajar, and allow meringues to cool completely in the oven.*
Make the Whipped Cream:
- In the bowl of a stand mixer fitted with the whisk attachment (or in a bowl with a beater), whip the heavy cream with the powdered sugar and vanilla until stiff peaks form.
To Assemble:
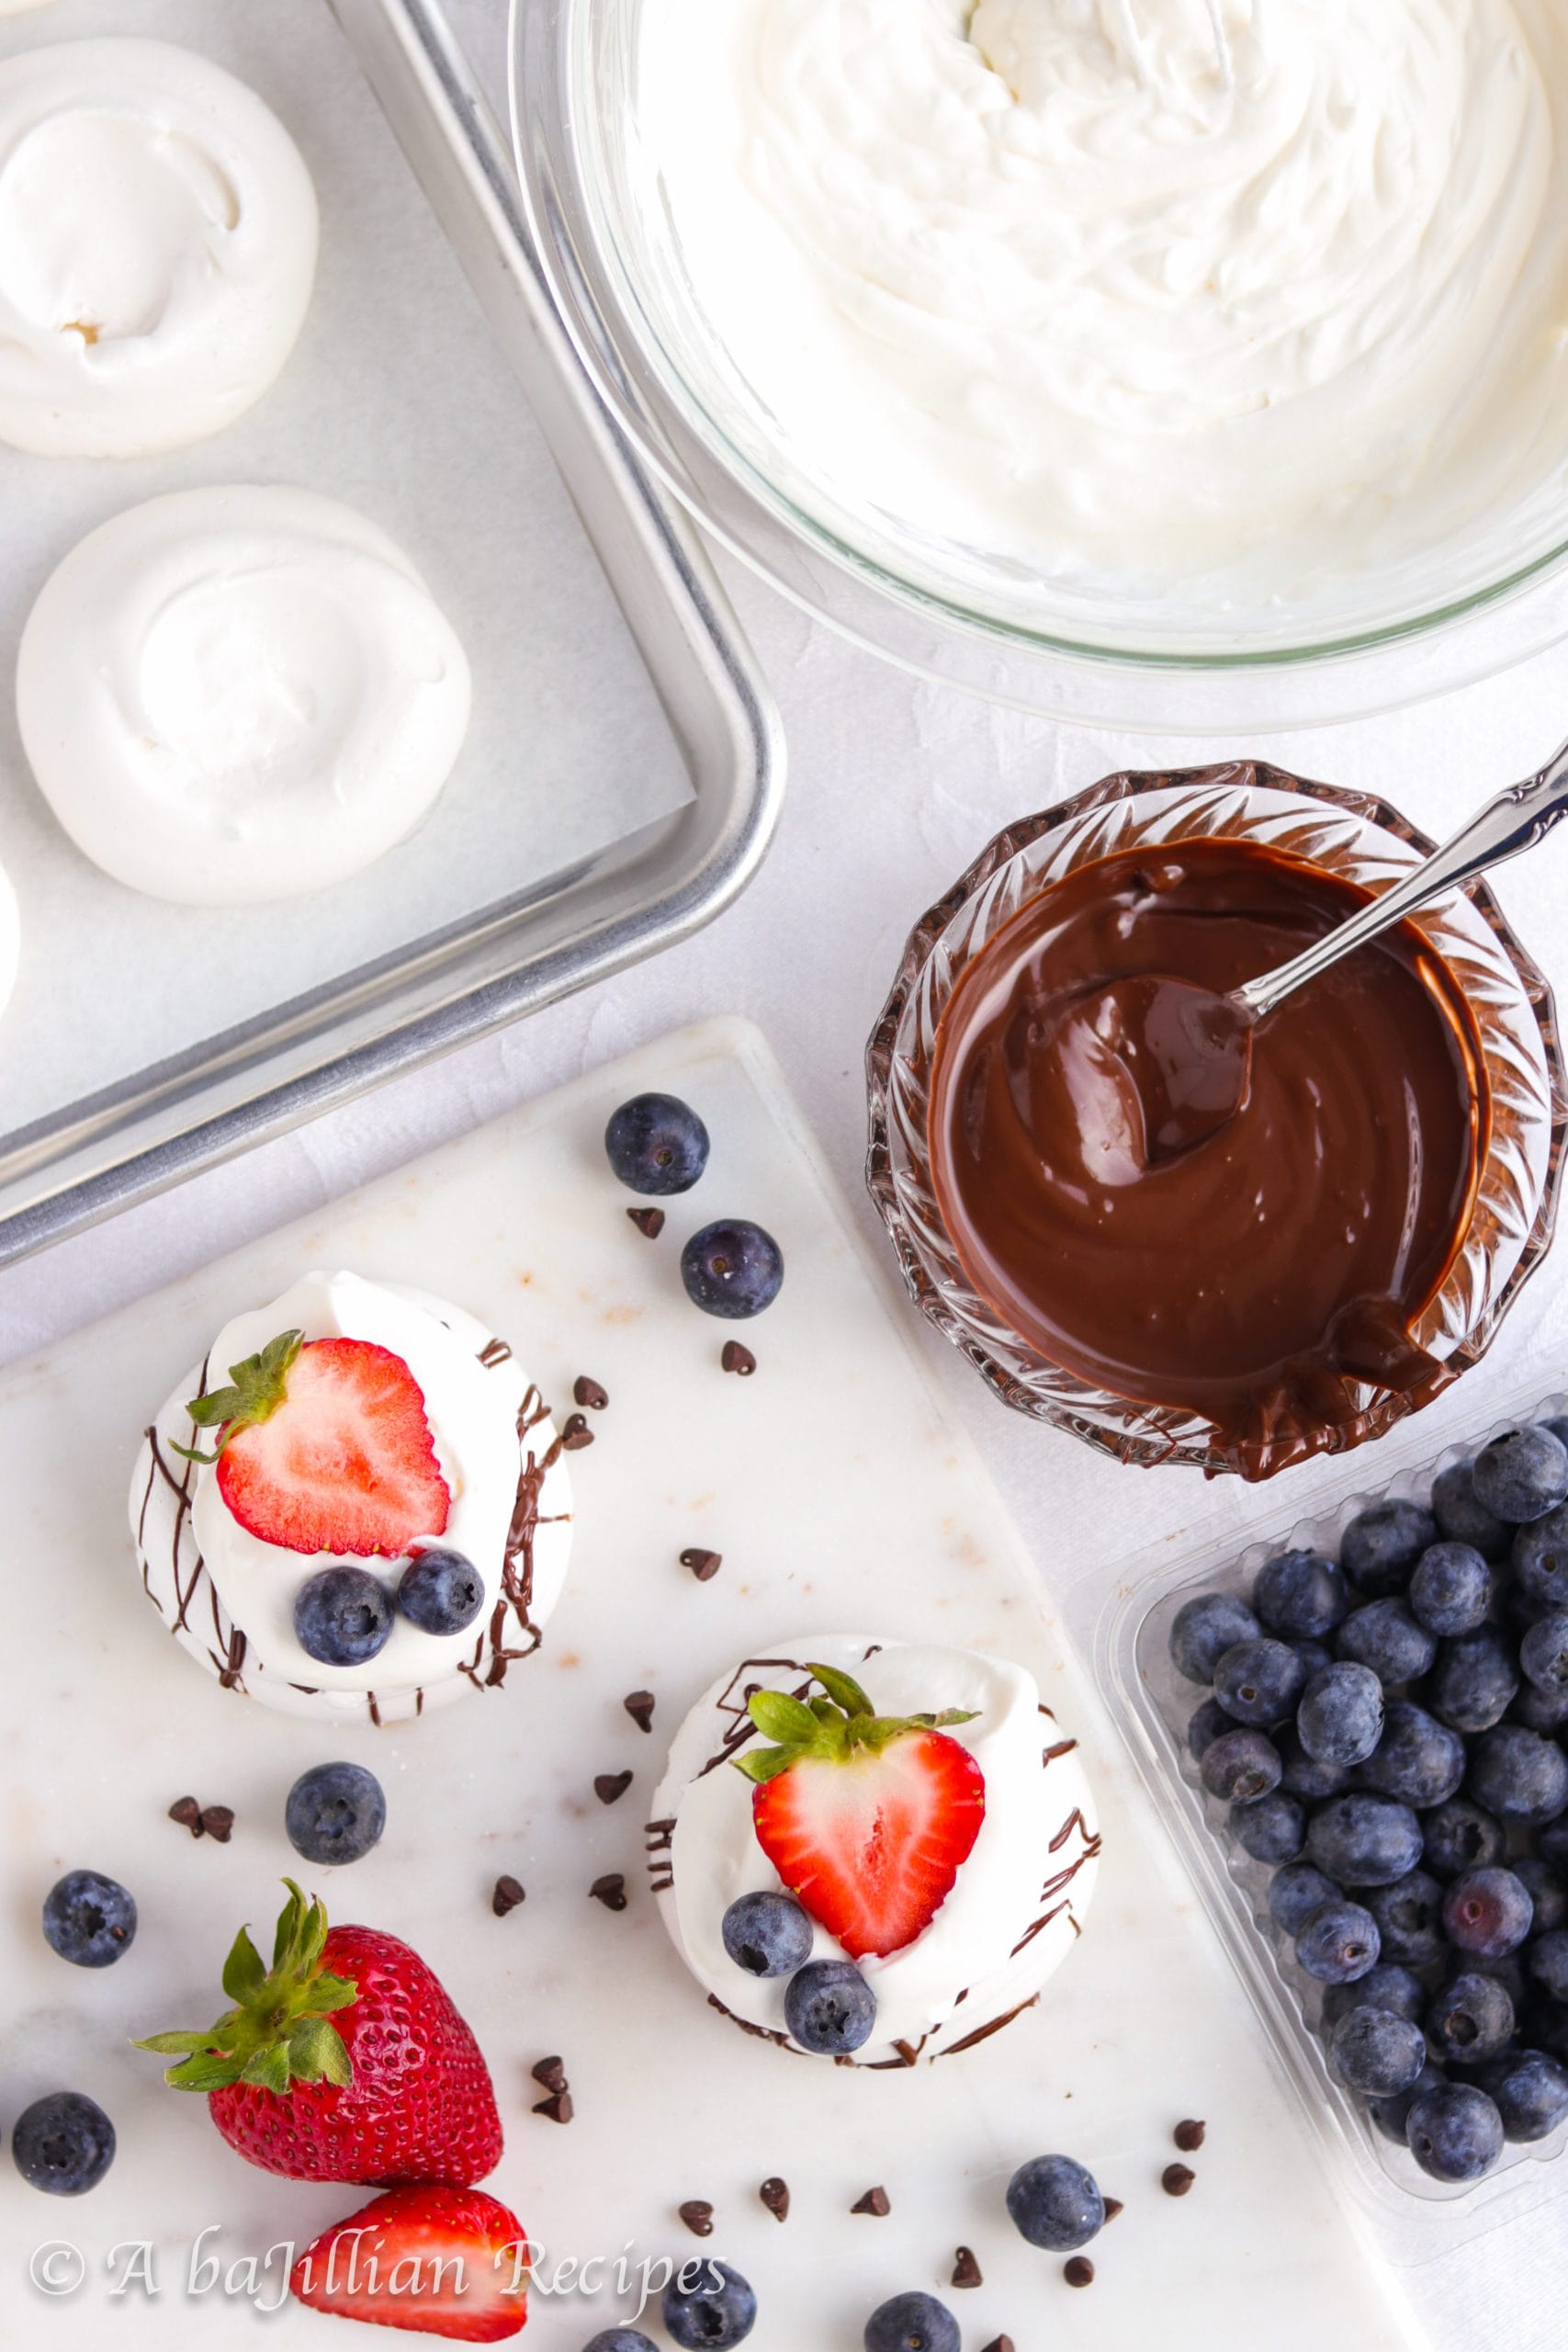
- Drizzle each meringue with the melted chocolate. Top a meringue cookie with a dollop of whipped cream. Arrange a few berries on top. Repeat with the rest of the meringues.
- Eat immediately, or refrigerate until ready to serve. Can be assembled up to 12 hours ahead, but best served within 2-3 hours of assembly.

