

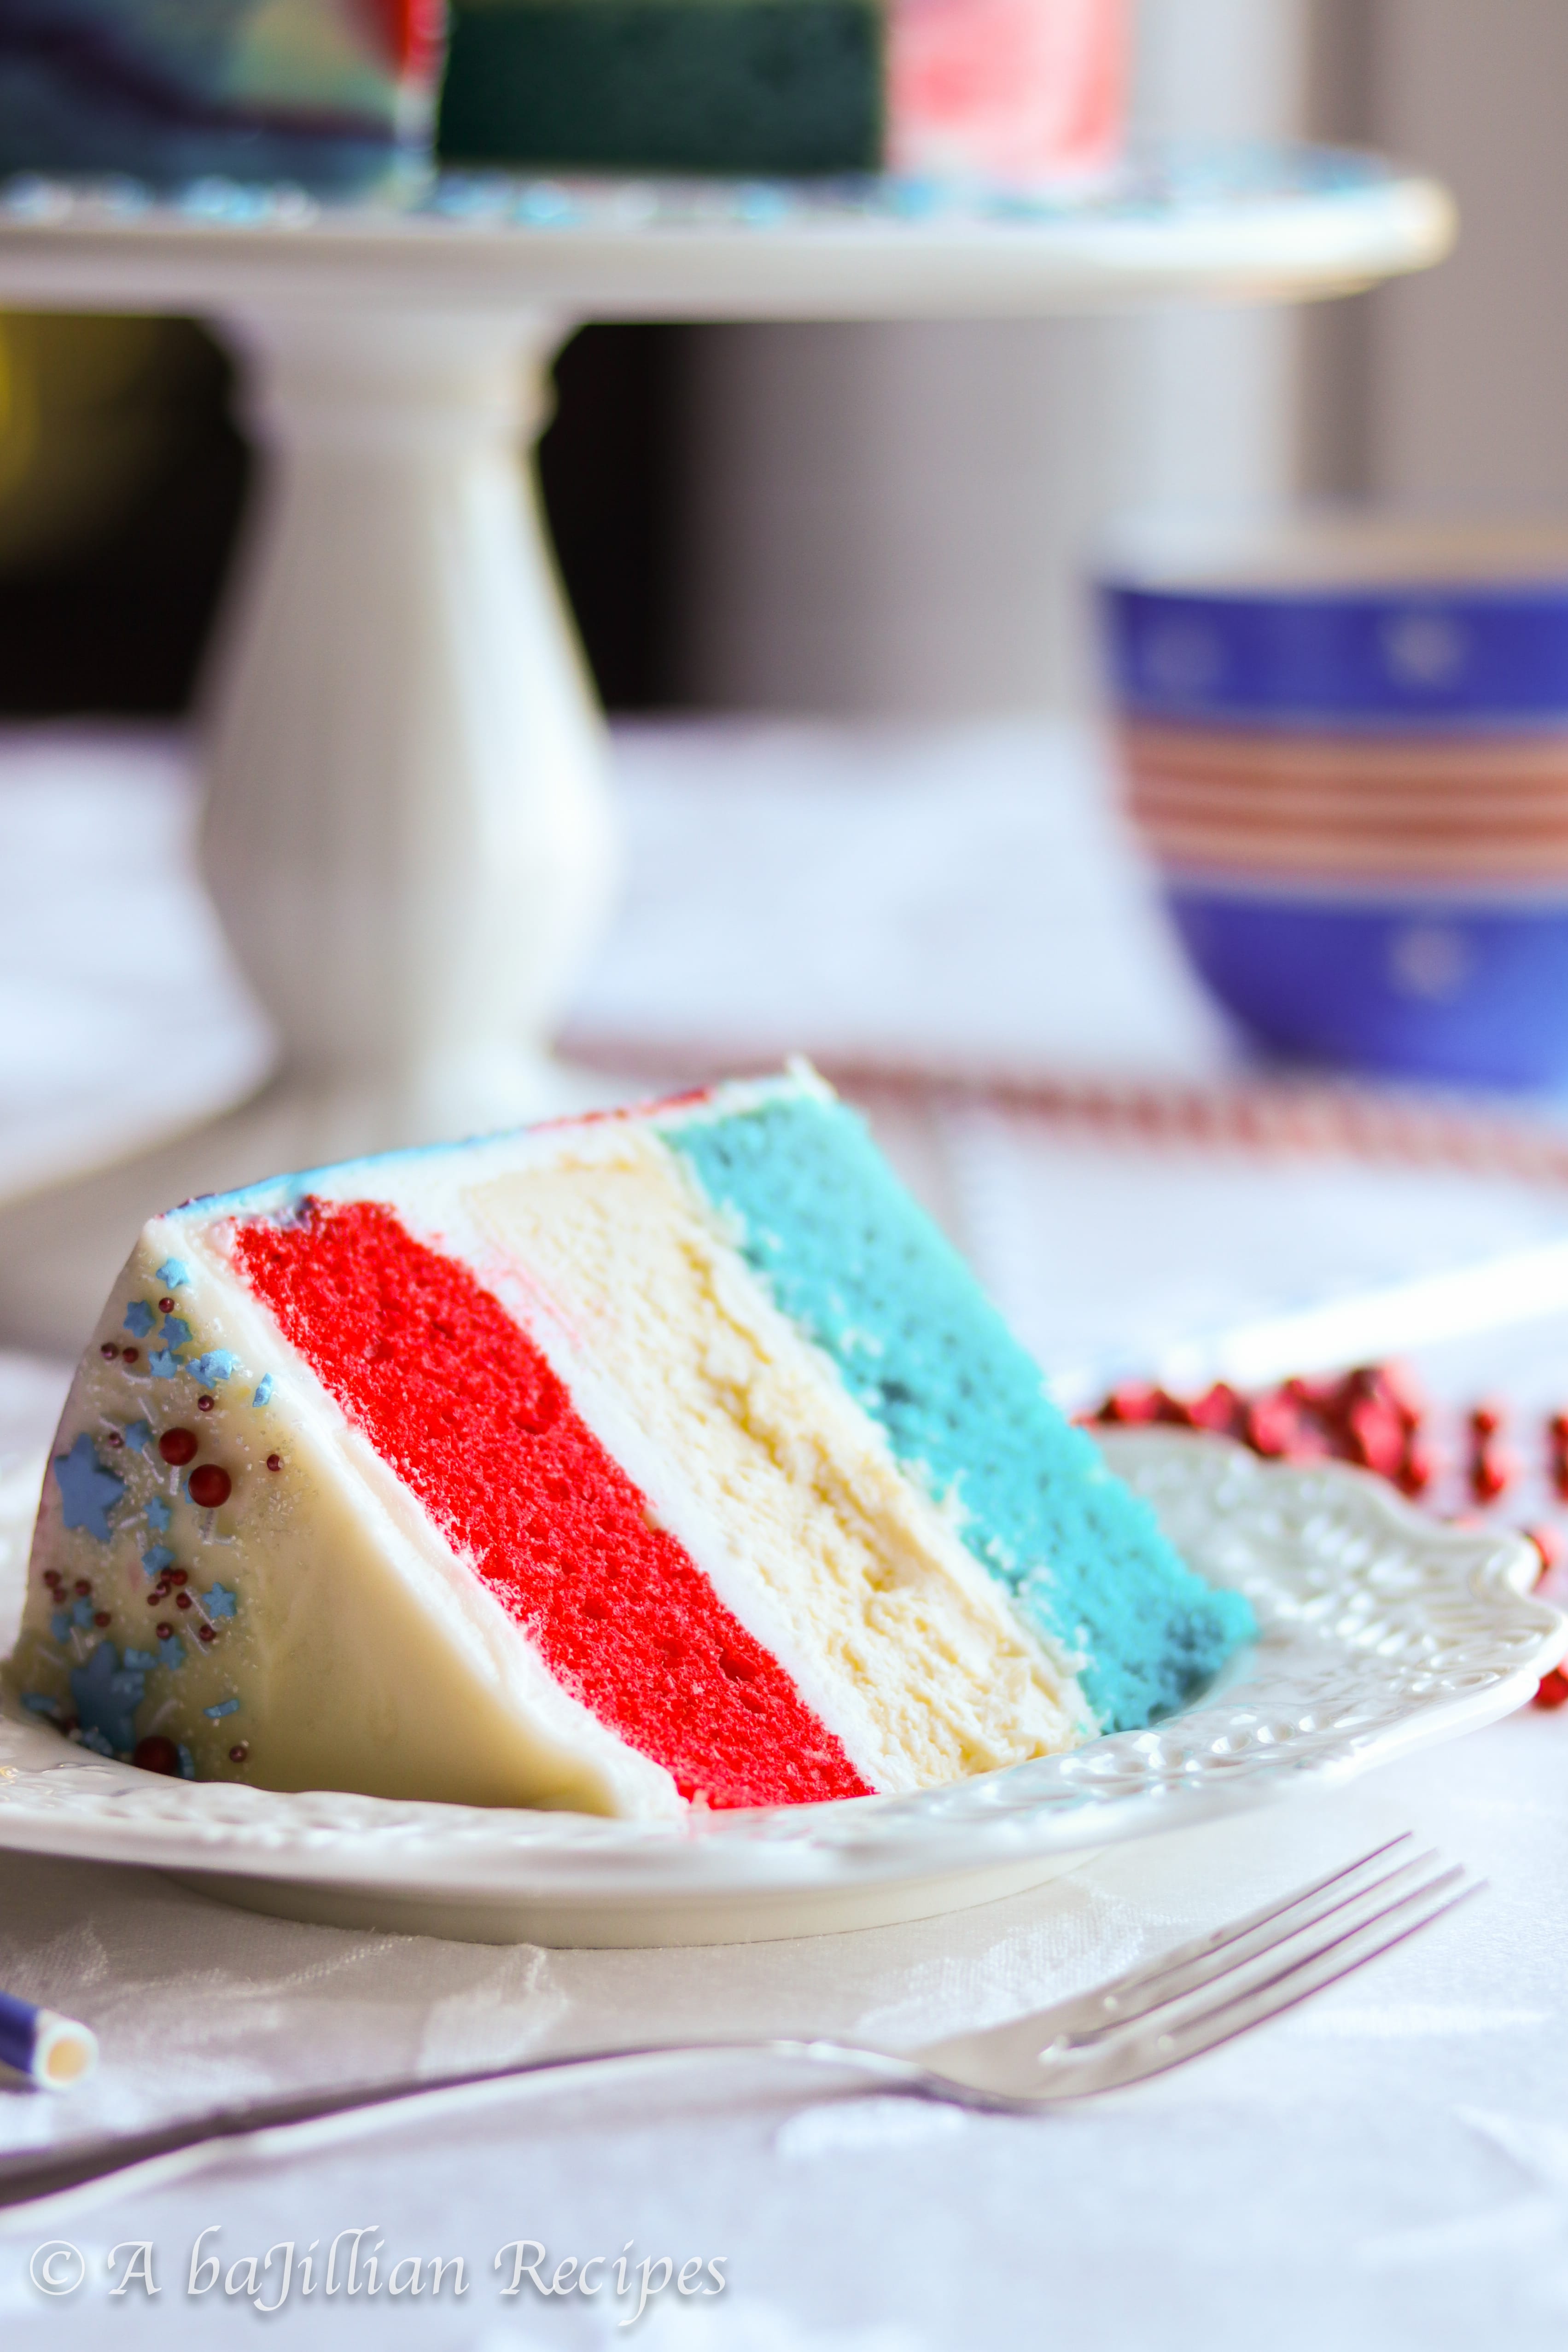
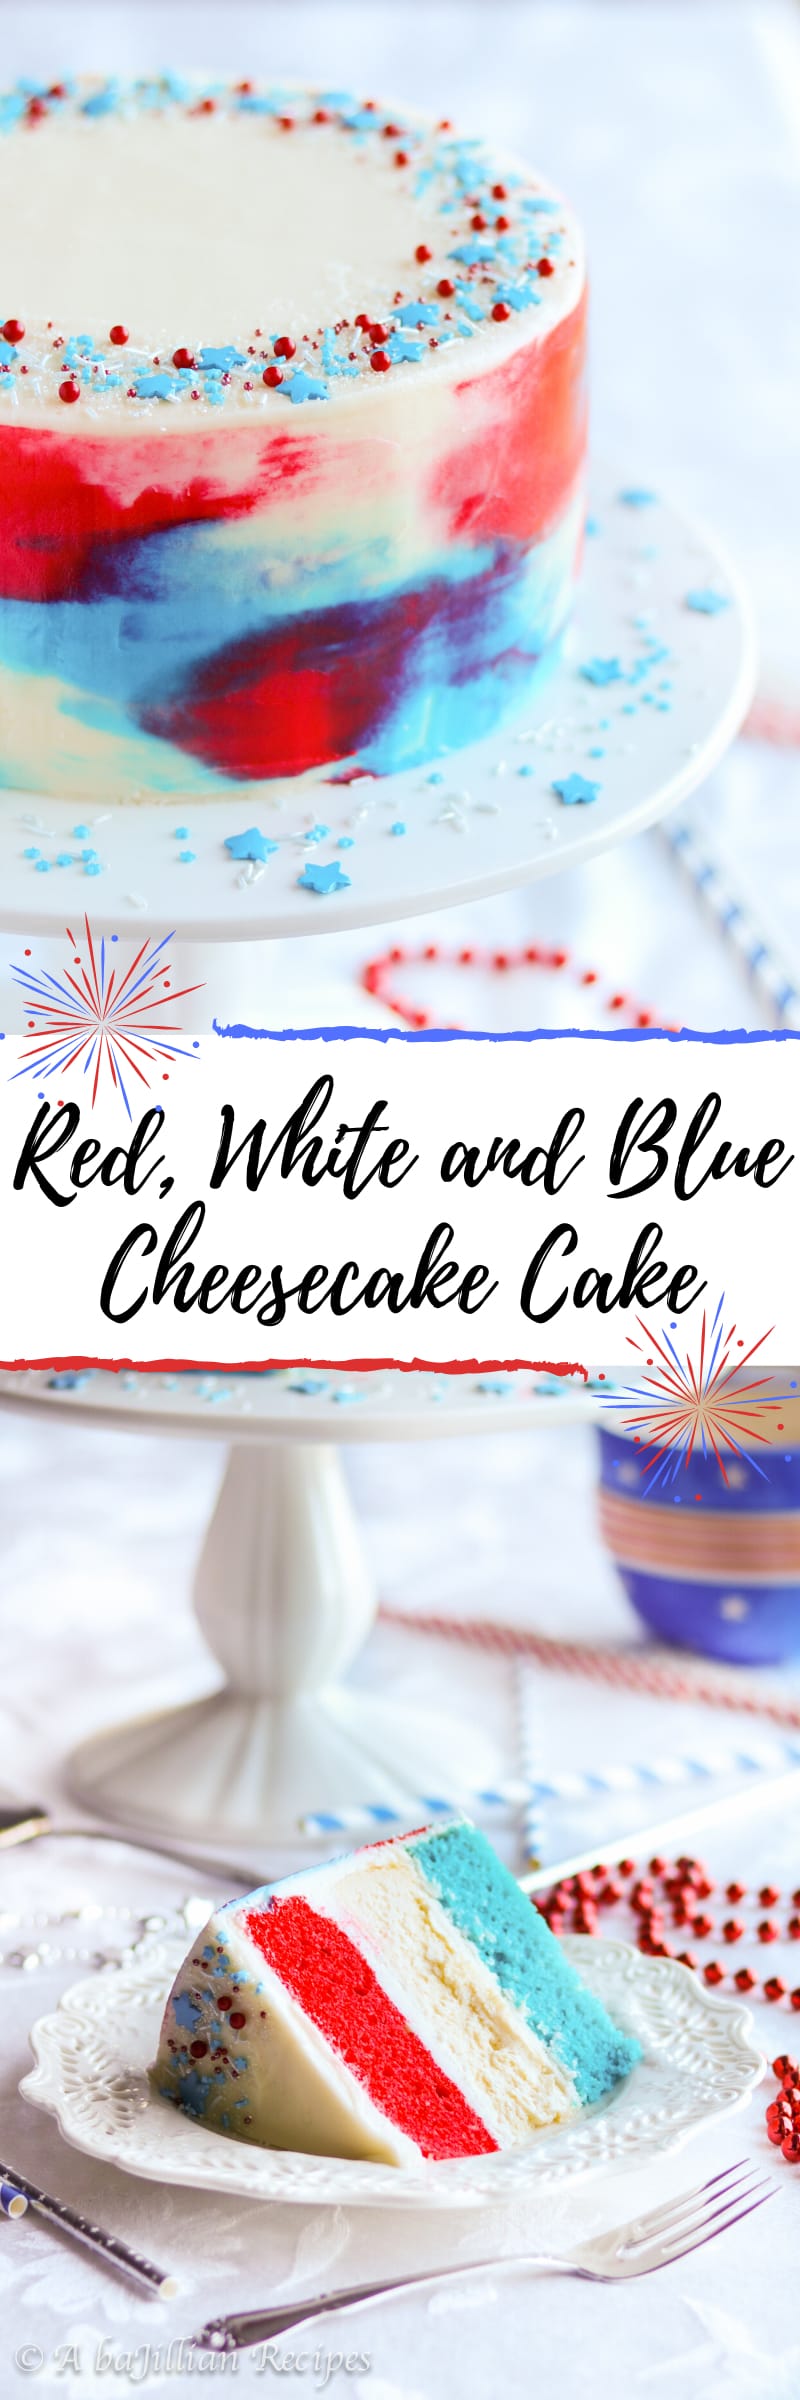
Rich and tangy cheesecake sandwiched between two vibrant layers of fluffy vanilla cake and artistically frosted in silky smooth buttercream!

If there’s one thing synonymous with the Fourth of July, it has to be food. Obviously fireworks are another requirement for this patriotic holiday, however, food is really what brings the guests to the yard. Whether it’s an all-American barbecue, or a good ol’ fashioned potluck, there’s no better way to celebrate than with F-O-O-D.
For me specifically, I’m all about the desserts (duh!). Bring on the strawberry shortcake, endless platters of cookies, pies, and American-themed treats! I’ll take ALL of it!
So if you’re looking for a patriotic dessert that’s perfect for the Fourth of July, look no further than this Red, White and Blue Cheesecake Cake!
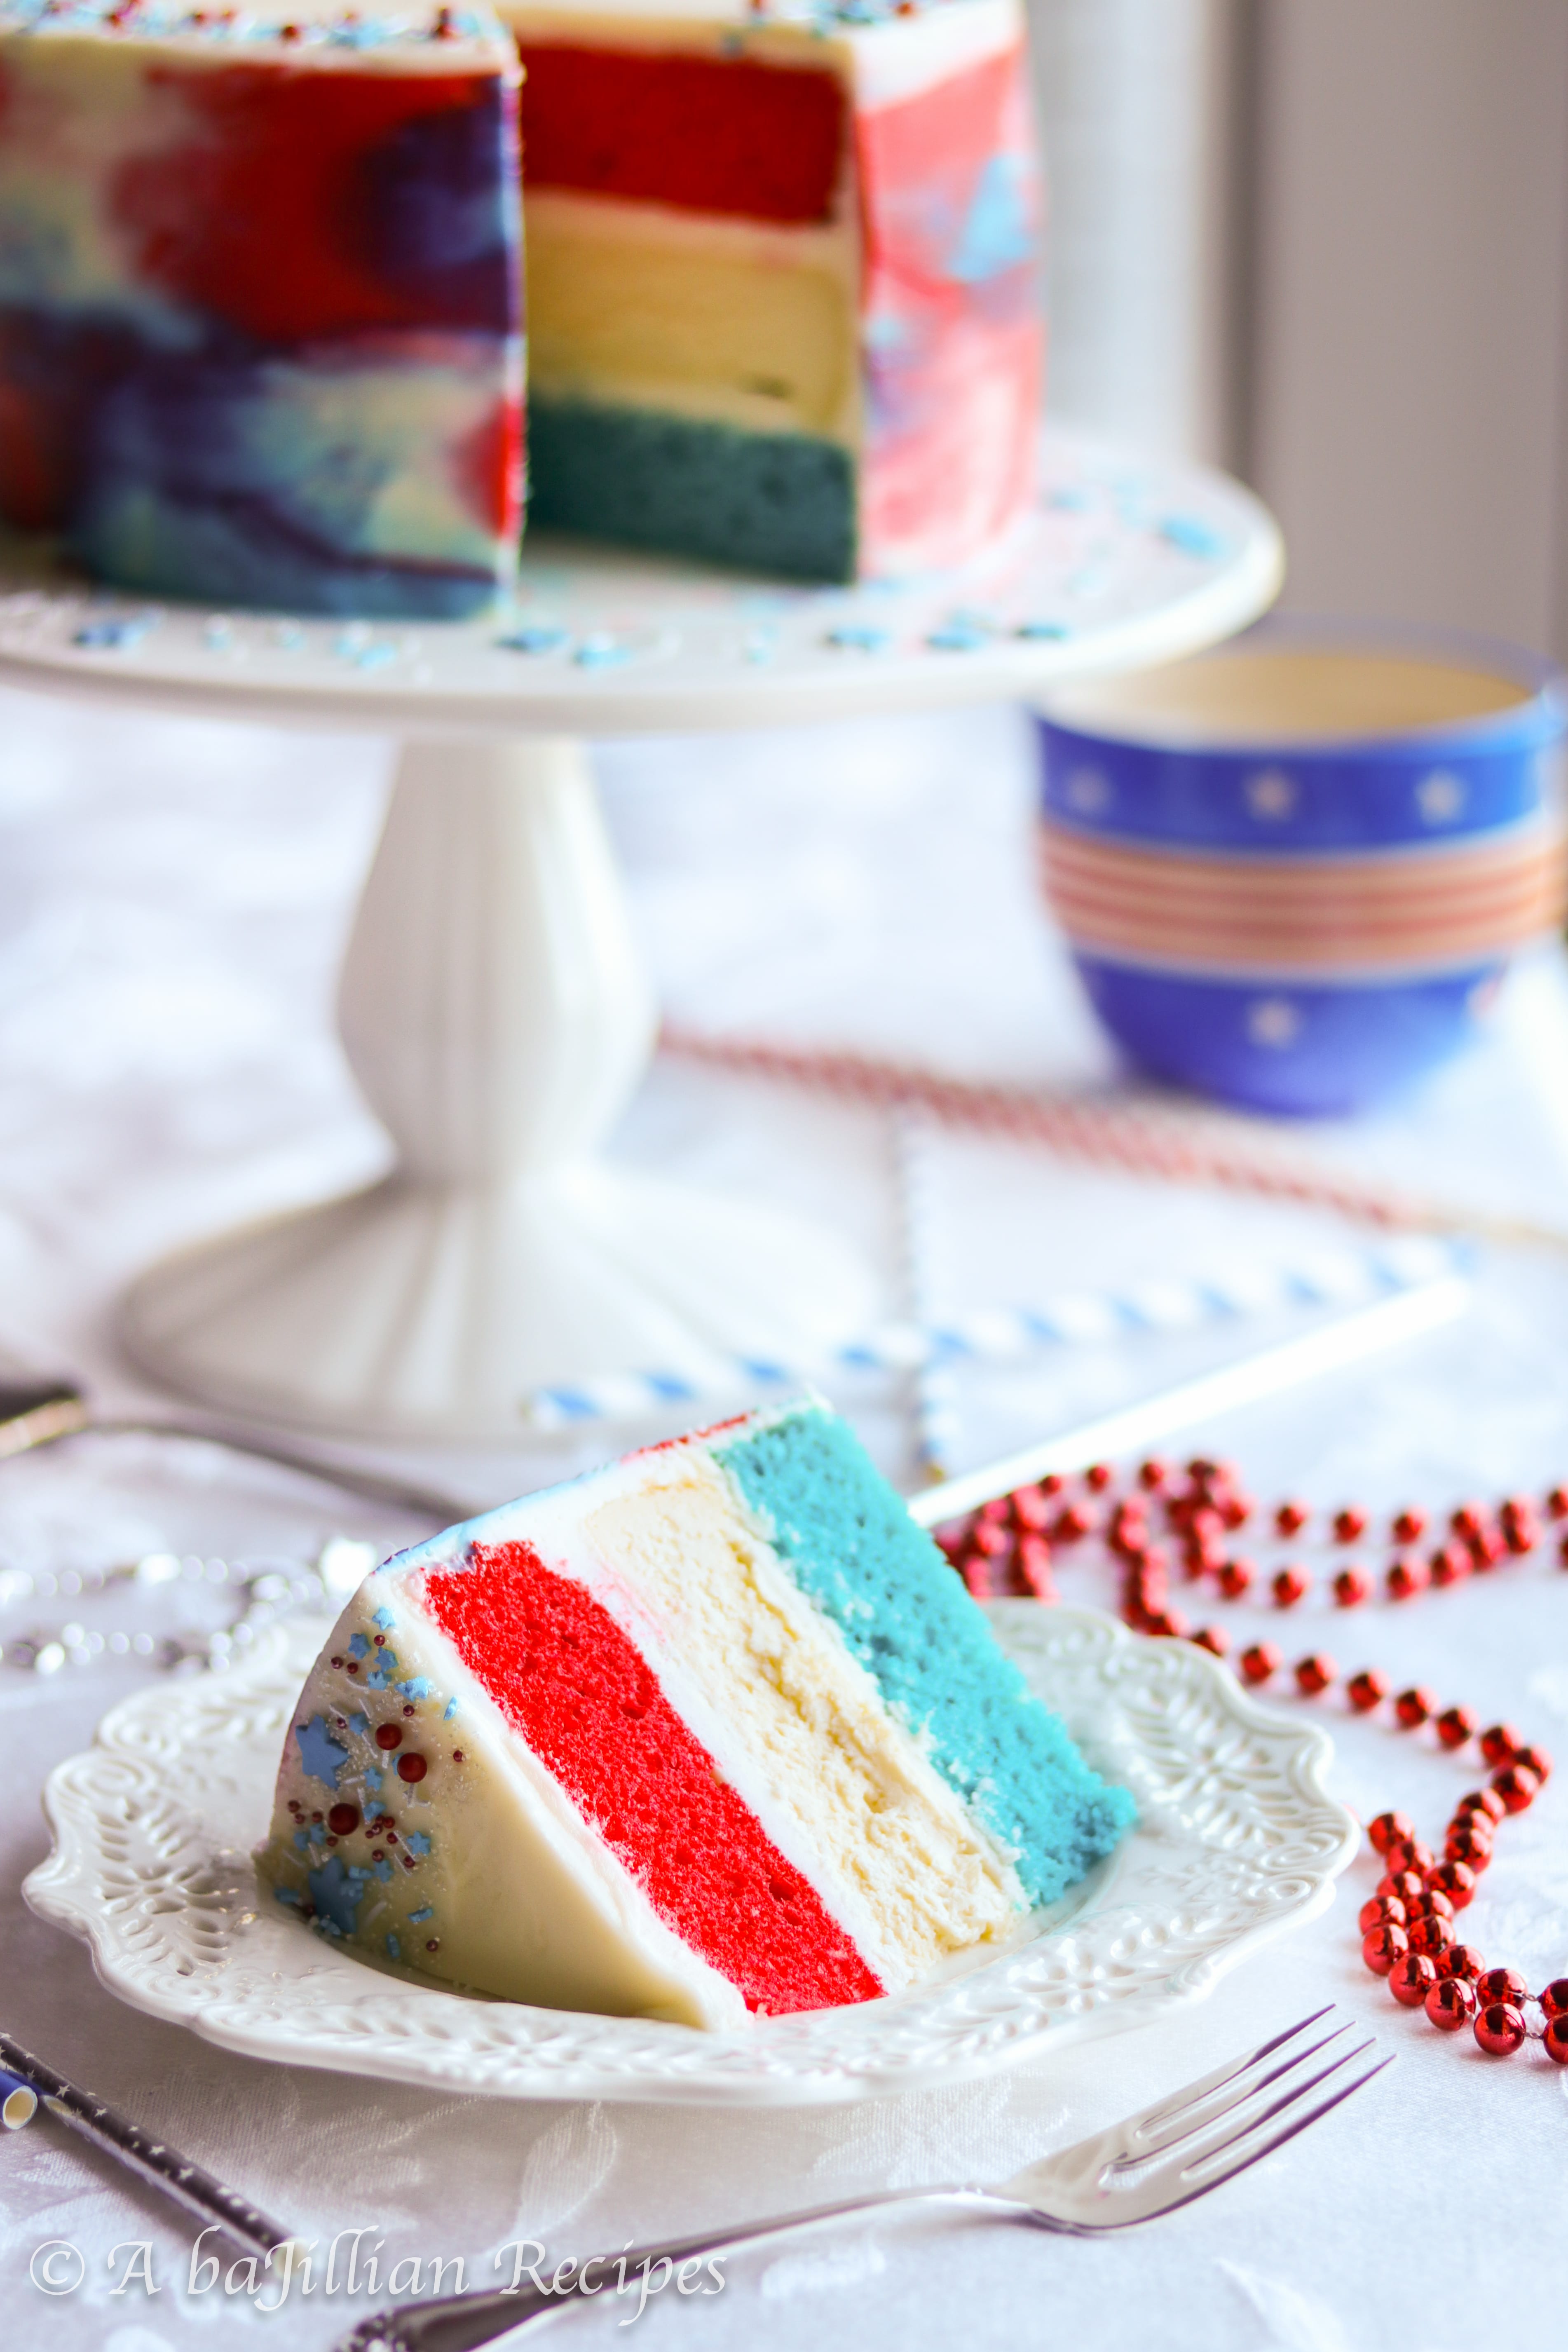
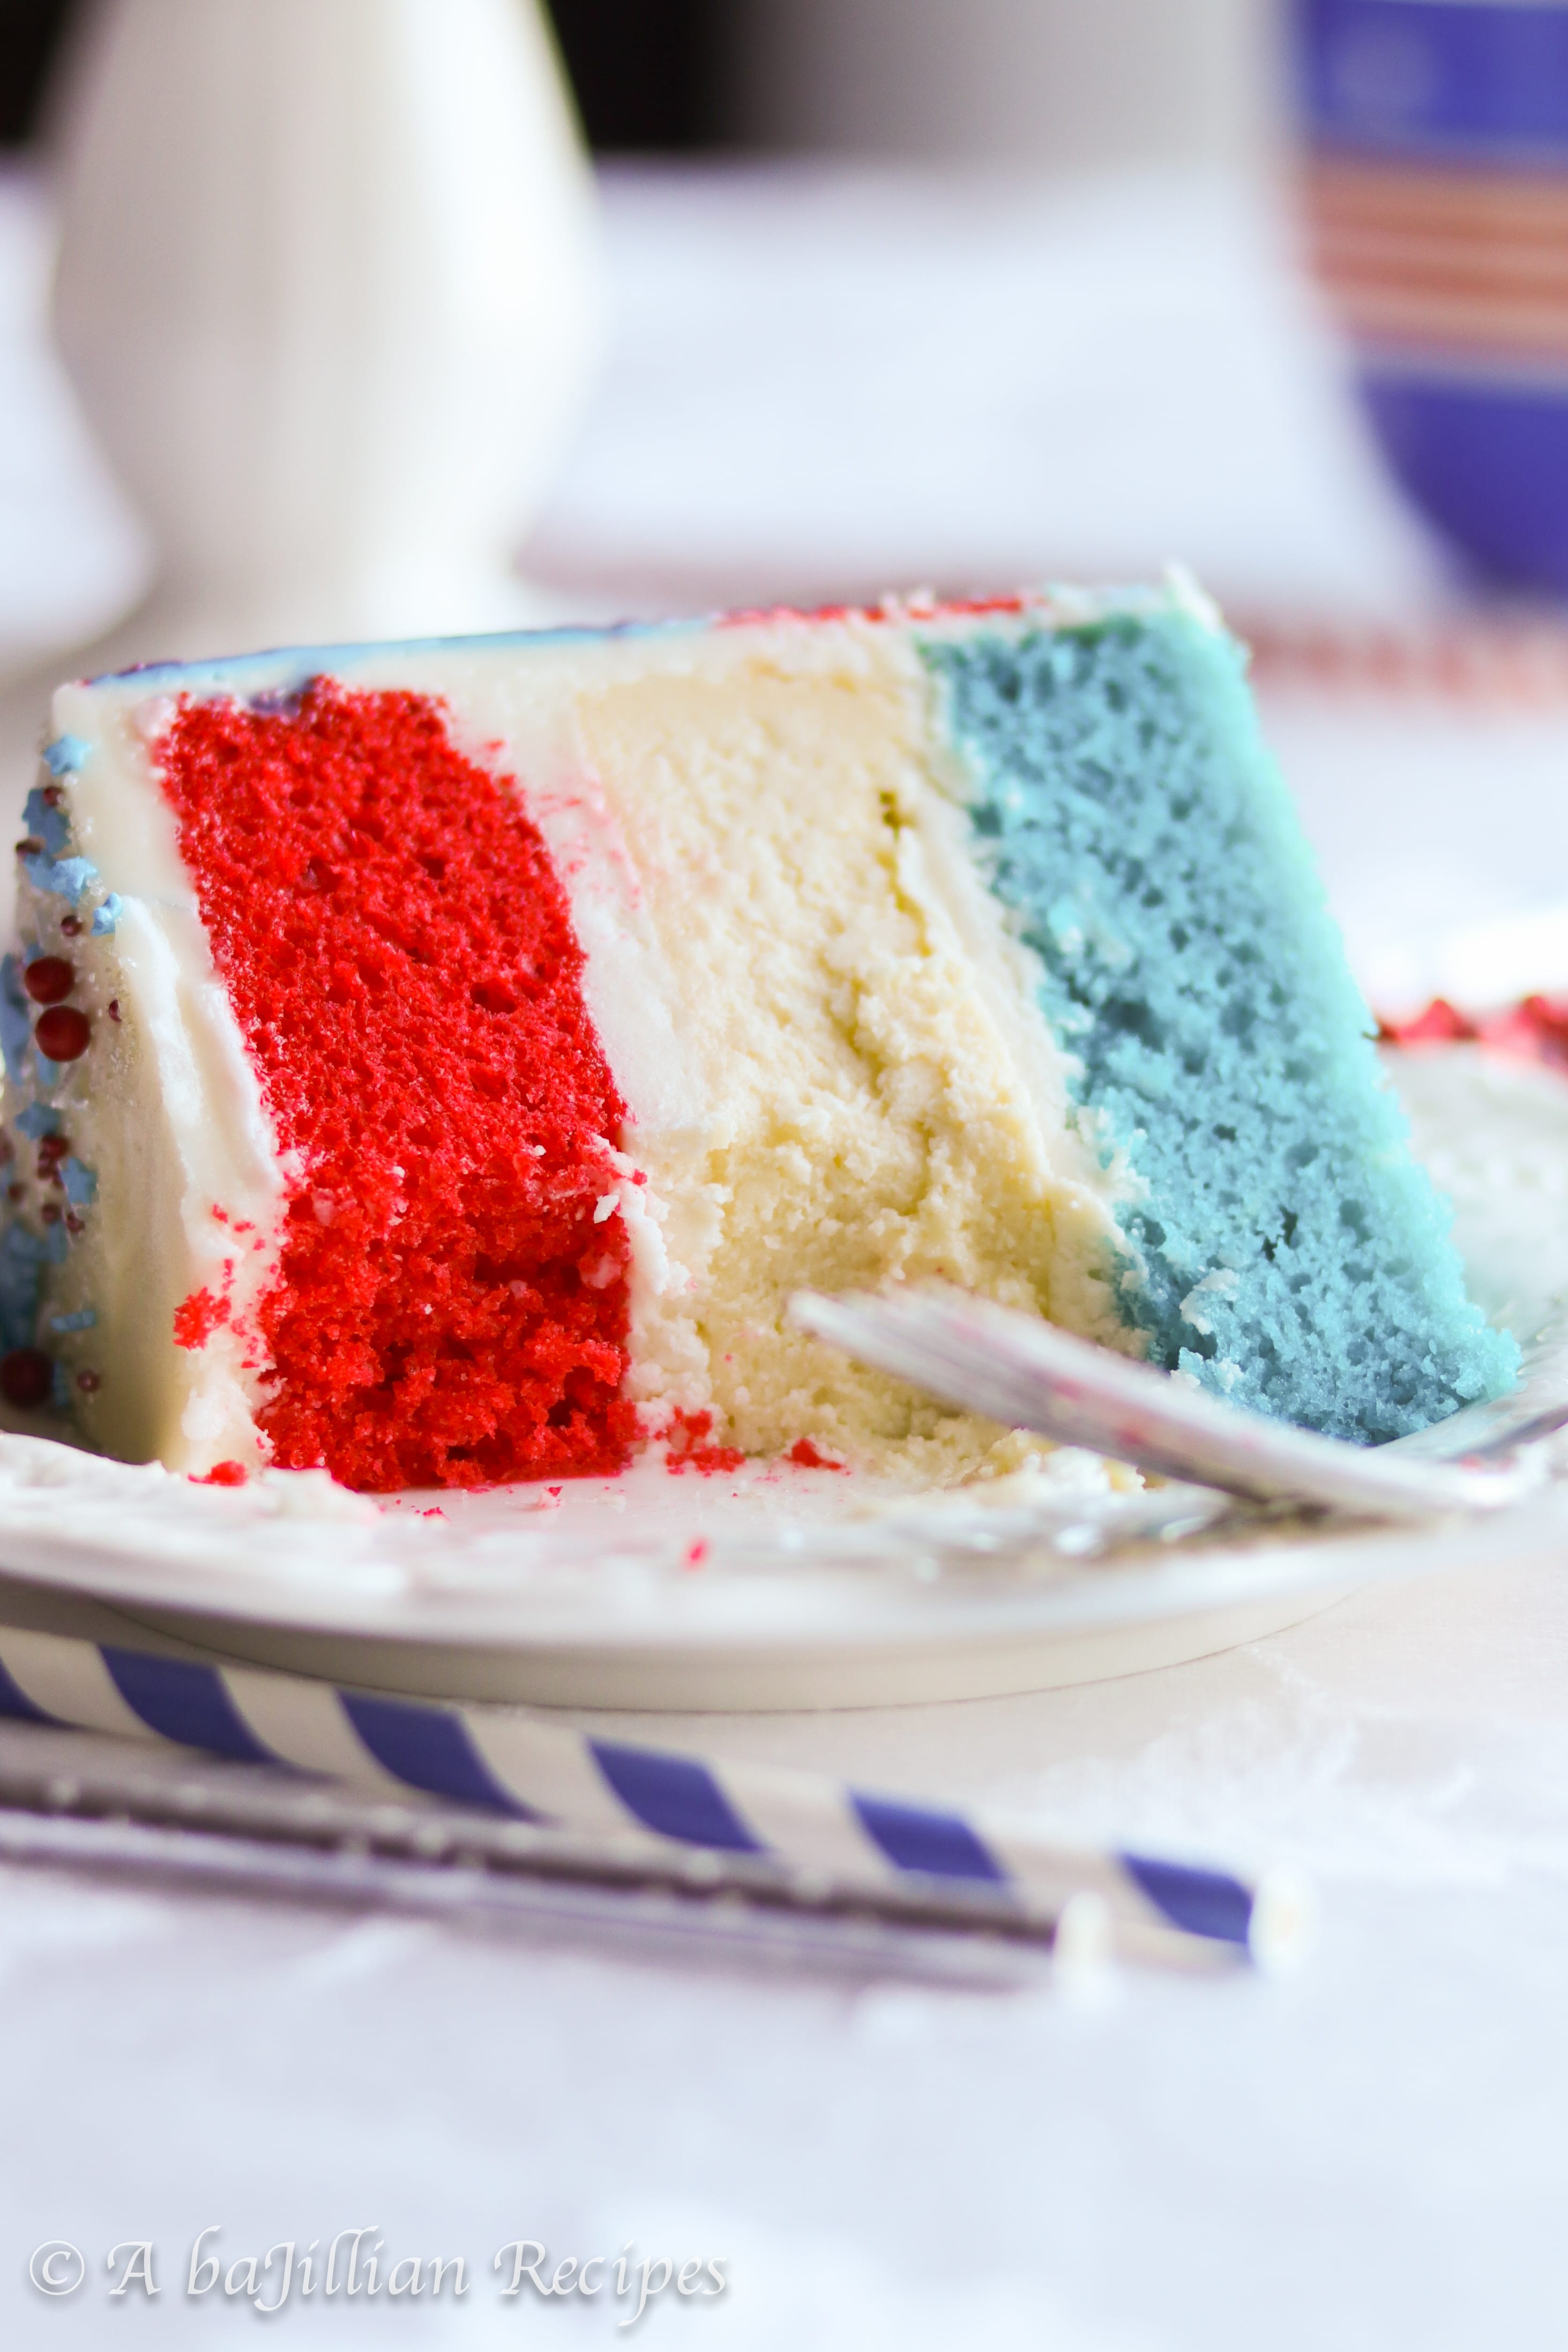
Yep. Nothing screams “‘Murica!” quite like a rich, lusciously dense layer of cheesecake sandwiched between two moist and deliciously fluffy layers of cake, ALL frosted in the creamiest vanilla buttercream! This cake has it all.
This isn’t my first time tackling one of these heavenly beasts. I made a Candy Corn Cheesecake Cake almost 2 years ago and fell in love INSTANTLY. I mean, what’s not to love about a cake that contains a whole a$$ cheesecake in the middle of it?? This divine creation is a showstopper of a dessert, and odds are, you won’t be leaving your Fourth of July gathering with any leftover.
While there are a number of components involved in this recipe–vanilla cake, cheesecake, and frosting–it’s really not that difficult of a dessert to make. And if you really wanted to, you could even replace my homemade vanilla cake with a simple boxed cake mix. I won’t judge you!
To be honest though, the cake really isn’t that hard to make. And I would know since I ended up making it TWICE. Why? Well, my dumb-dumb self had a brain fart and added two times the amount of butter that the recipe calls for. I realized this as they were baking in the oven, so I went ahead and made up another batch. Surprisingly enough, the mistake cakes baked up just fine and tasted quite delicious with the extra butter. I guess the saying “Mo’ butta, mo’ betta” does hold true!
Anywho, the vanilla cake recipe is pretty standard with the exception of dying half of the batter red, and the other half blue. I like to use Wilton gel colors since you don’t need a ton to achieve the vibrant hues.
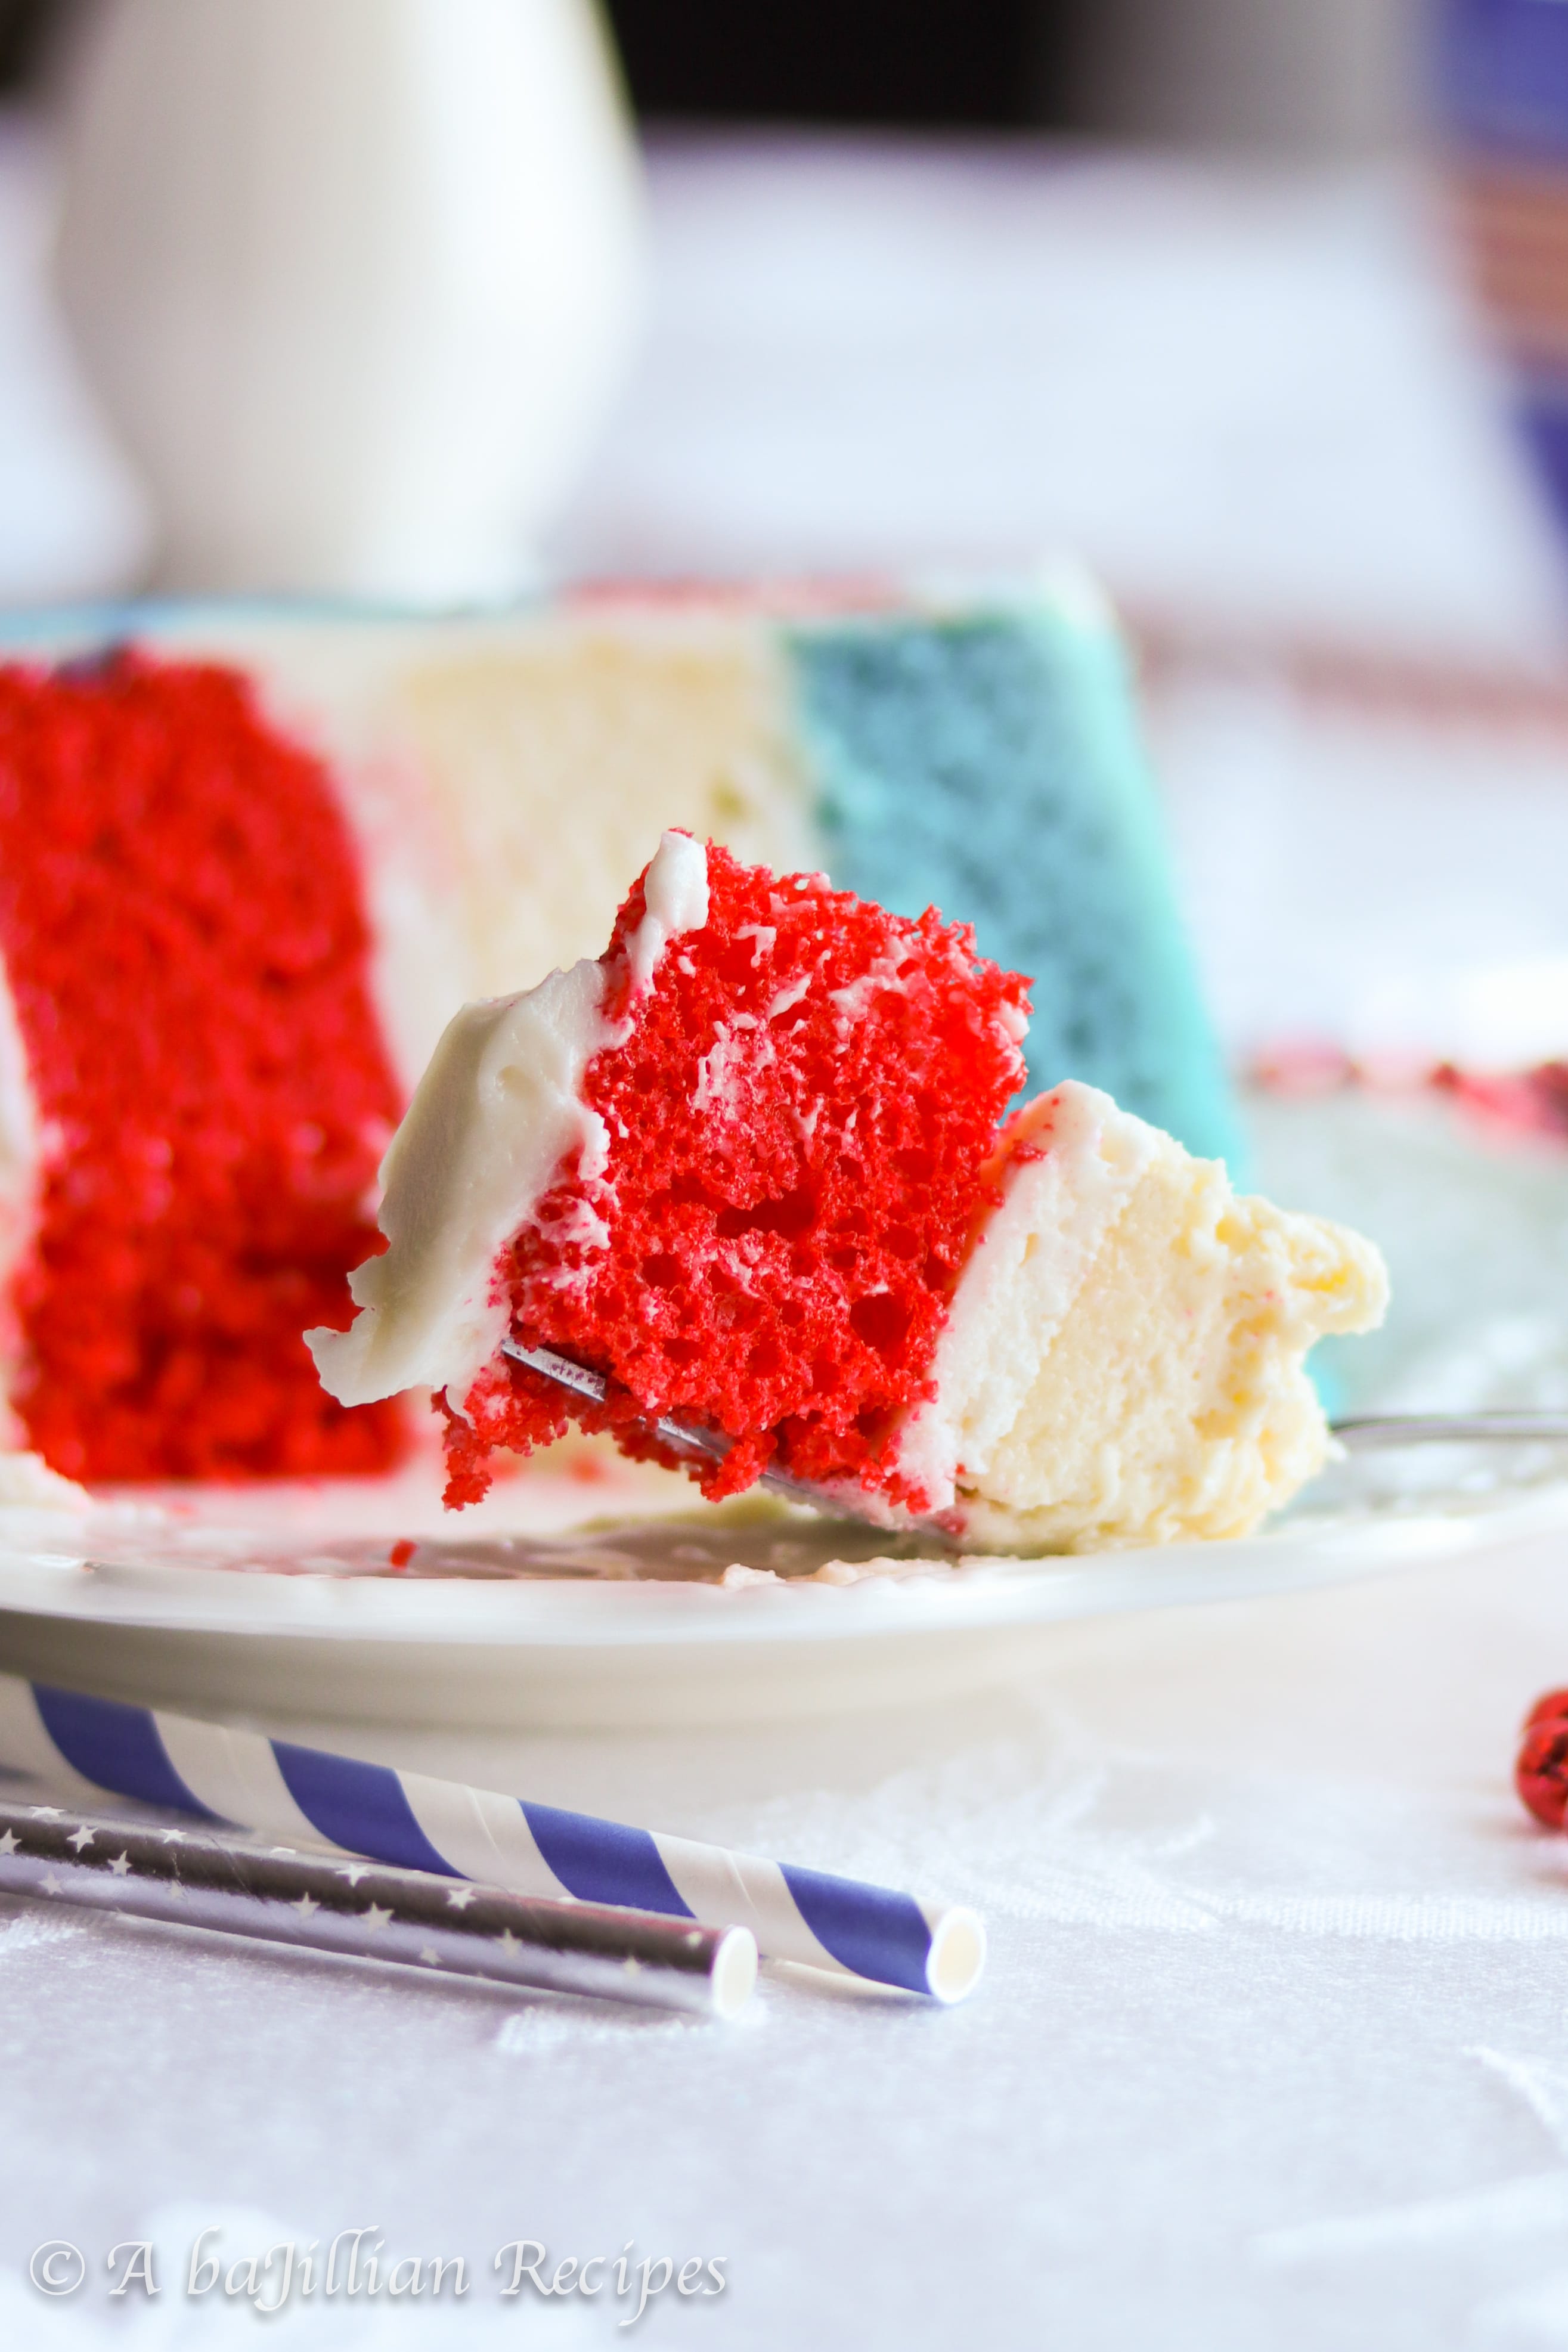
The cheesecake is a simple New York Style Cheesecake recipe, but without the crust. It’s dense, tangy, incredibly creamy, and the perfect texture contrast for the fluffy layers of cake.
Once your cake and cheesecake are baked and cooled, it’s time to frost it! First, I like to do a crumb coat. The crumb coat basically prevents any crumbs from getting mixed into the frosting, thus giving your cake a more pristine look. This involves covering the whole cake with a thin layer of frosting, then placing it into the freezer until that layer of frosting has firmed up.
Now in normal circumstances, you would then add another layer of frosting on top of the crumb coat. However, since we’re doing the super cool watercolor method, you don’t have to worry about that second layer of frosting. Just make sure the top is nicely covered since we won’t be adding any extra frosting to that part of the cake.
The rest of the frosting is divided into three separate bowls–one bowl is dyed red, and another bowl is dyed blue. Since the darker colors tend to take over, I would recommend leaving a bigger portion of the frosting white.
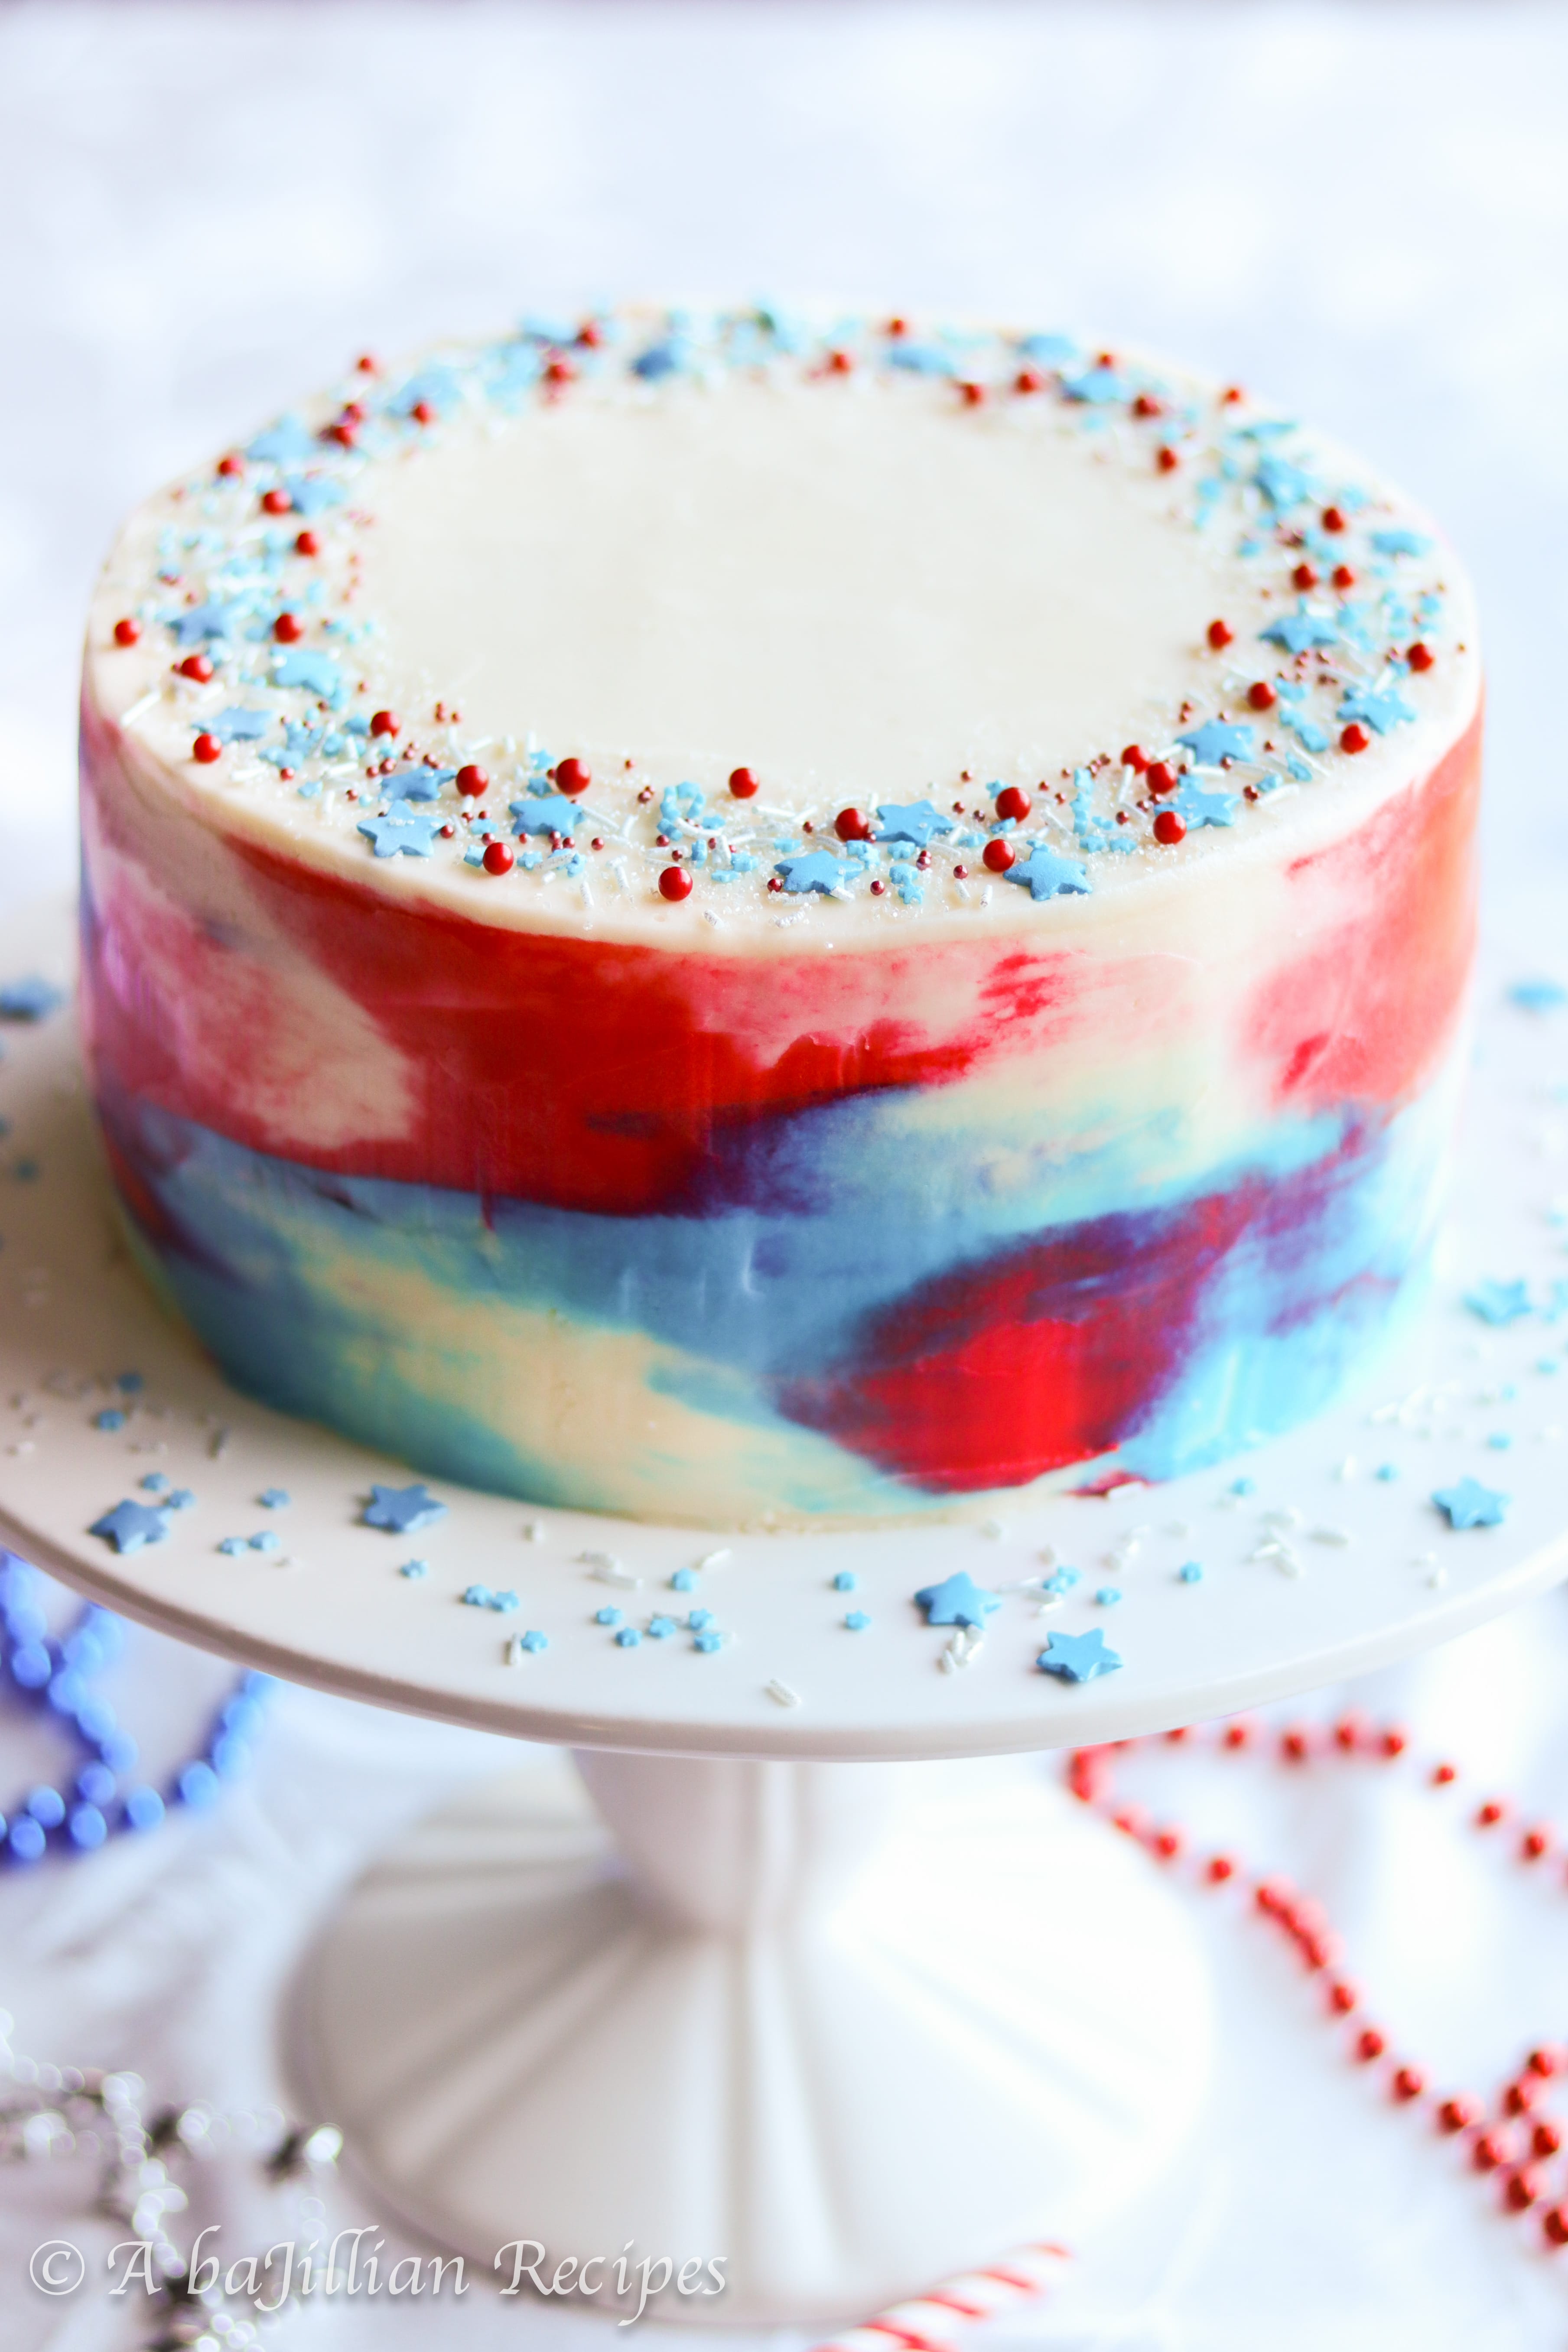
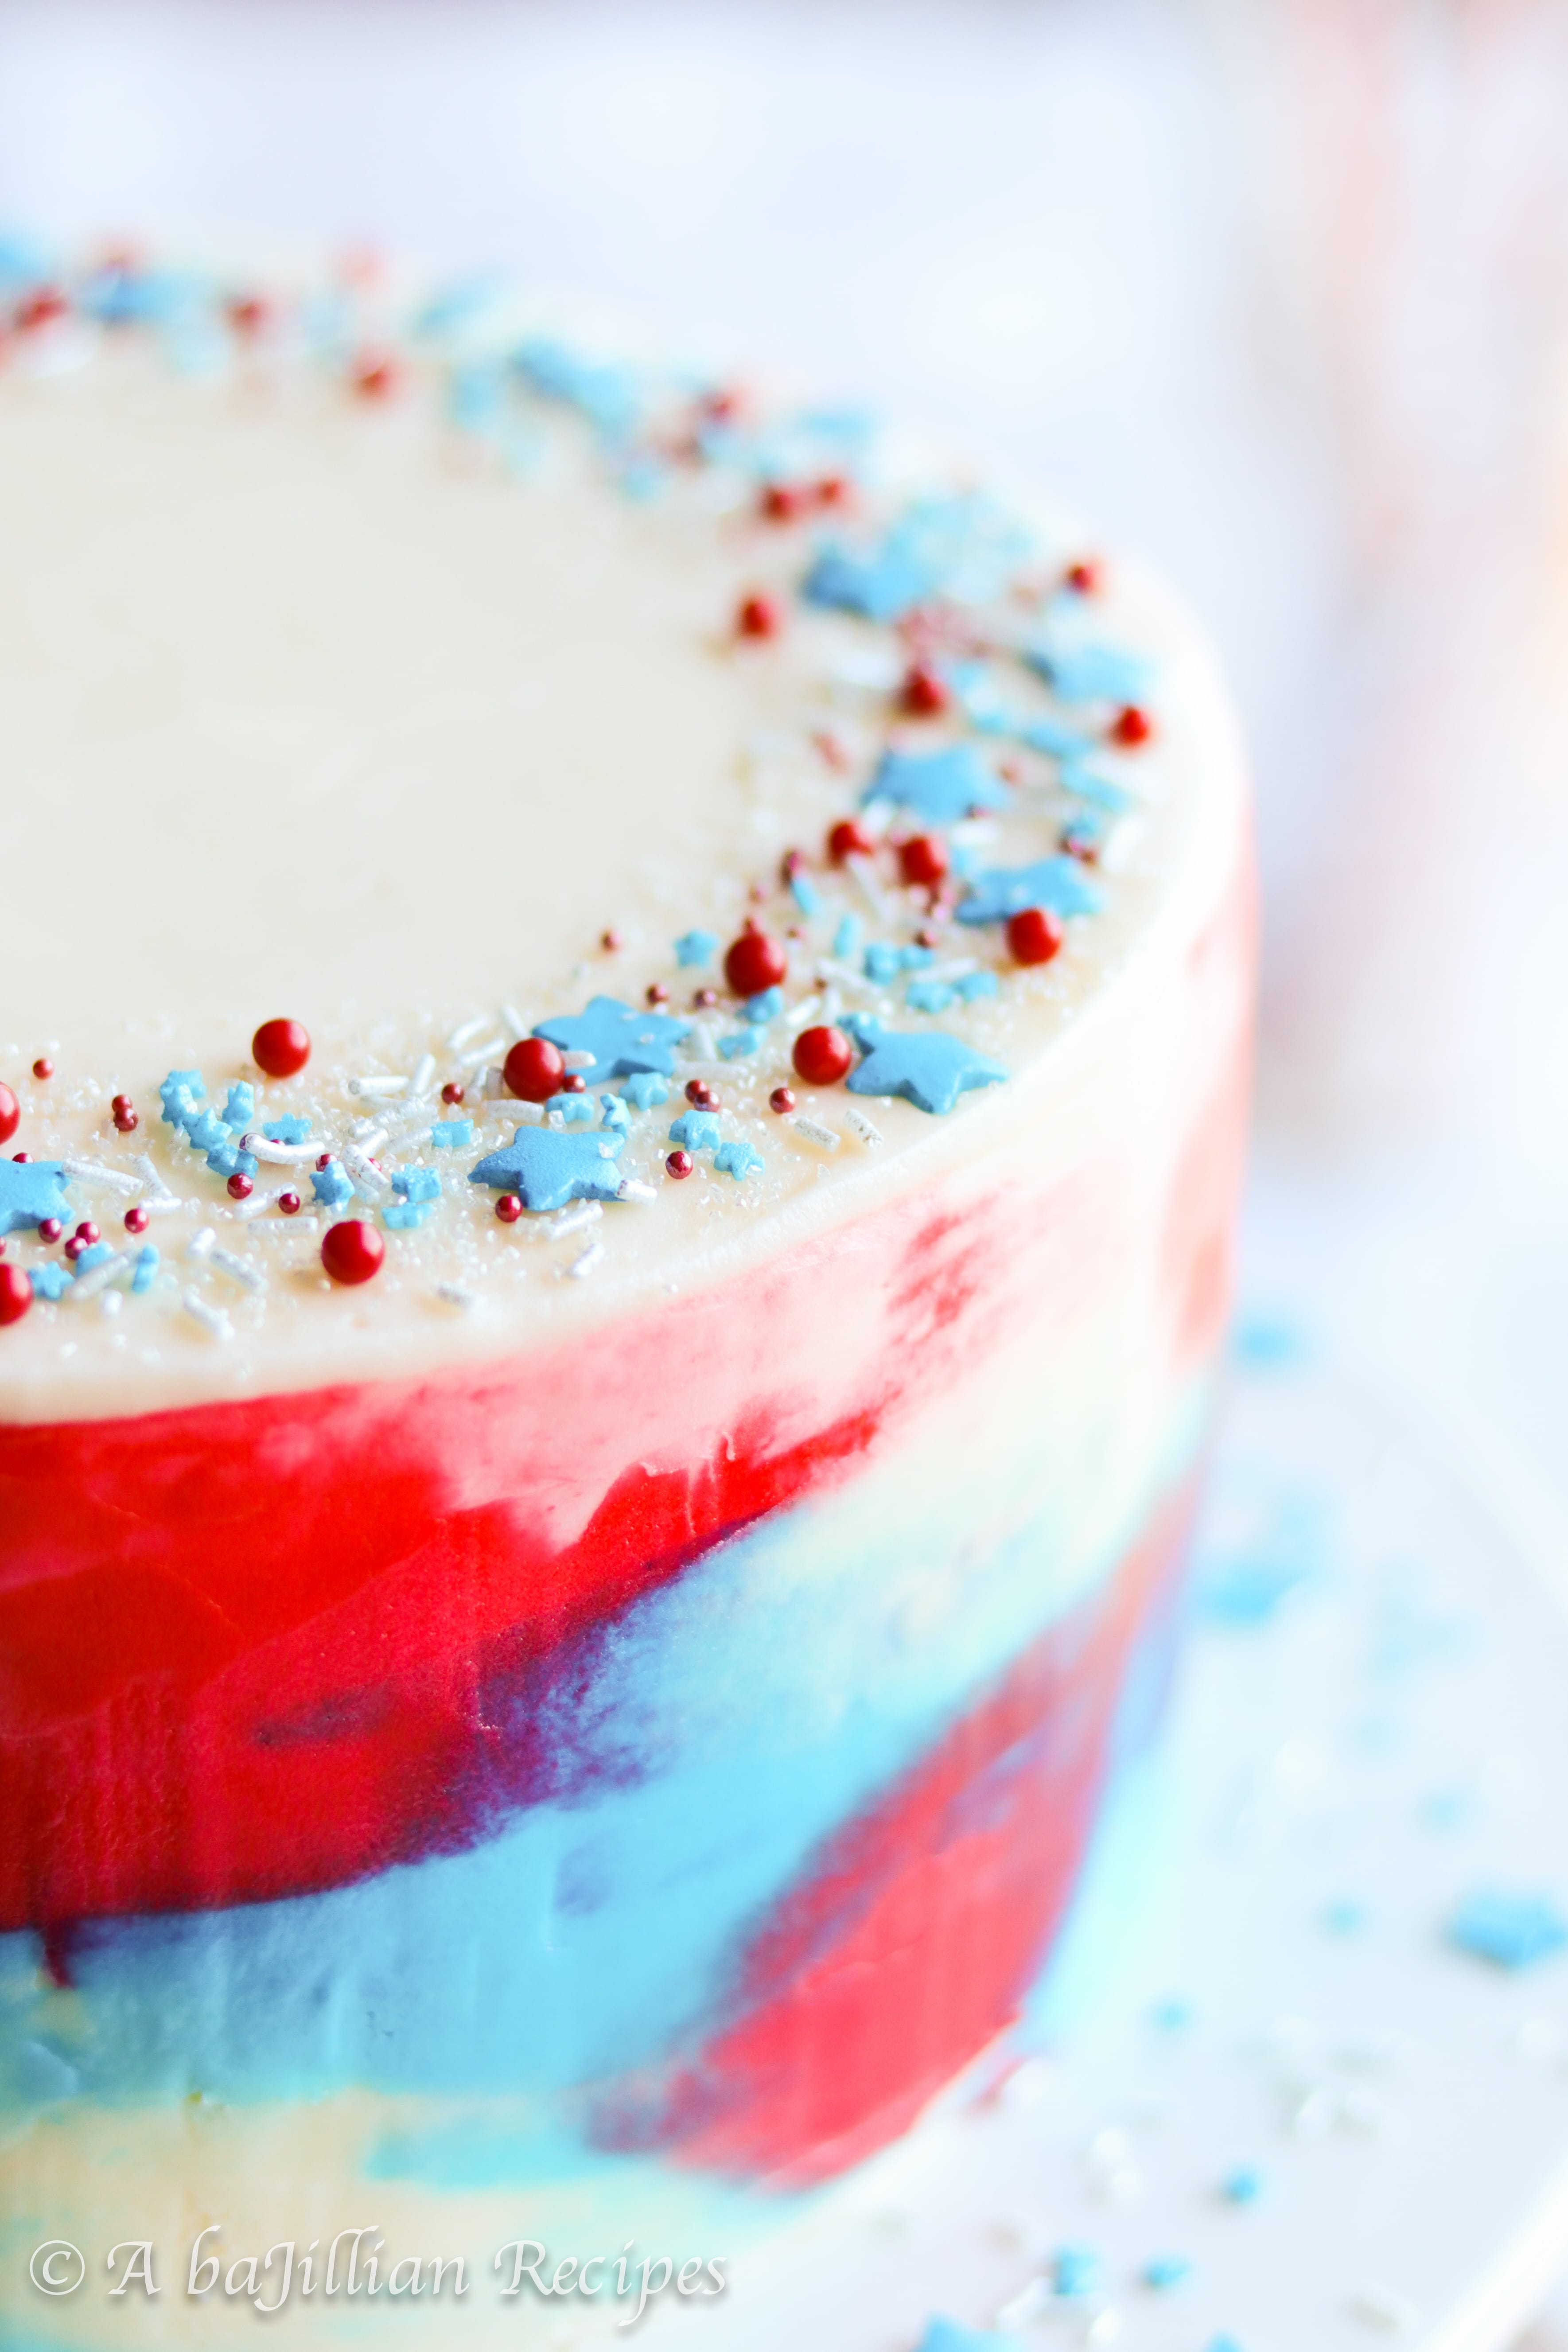
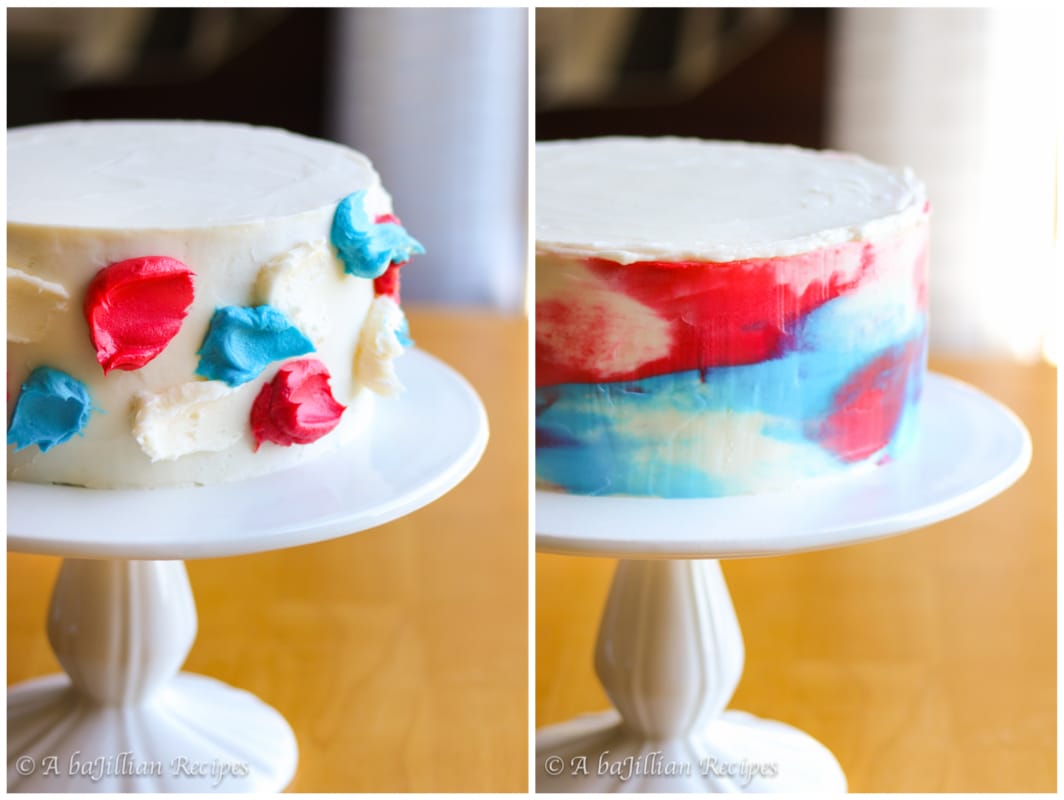
To get that beautiful watercolor effect with the frosting, all you have to do is add thick patches of each color all around the cake. Next, you’ll take an offset spatula to smooth the frosting all around the cake until you’ve got the look you want. If there are any holes, dents, or areas that you’re unhappy with, just swipe on a little buttercream, and smooth it out. It’s that simple!
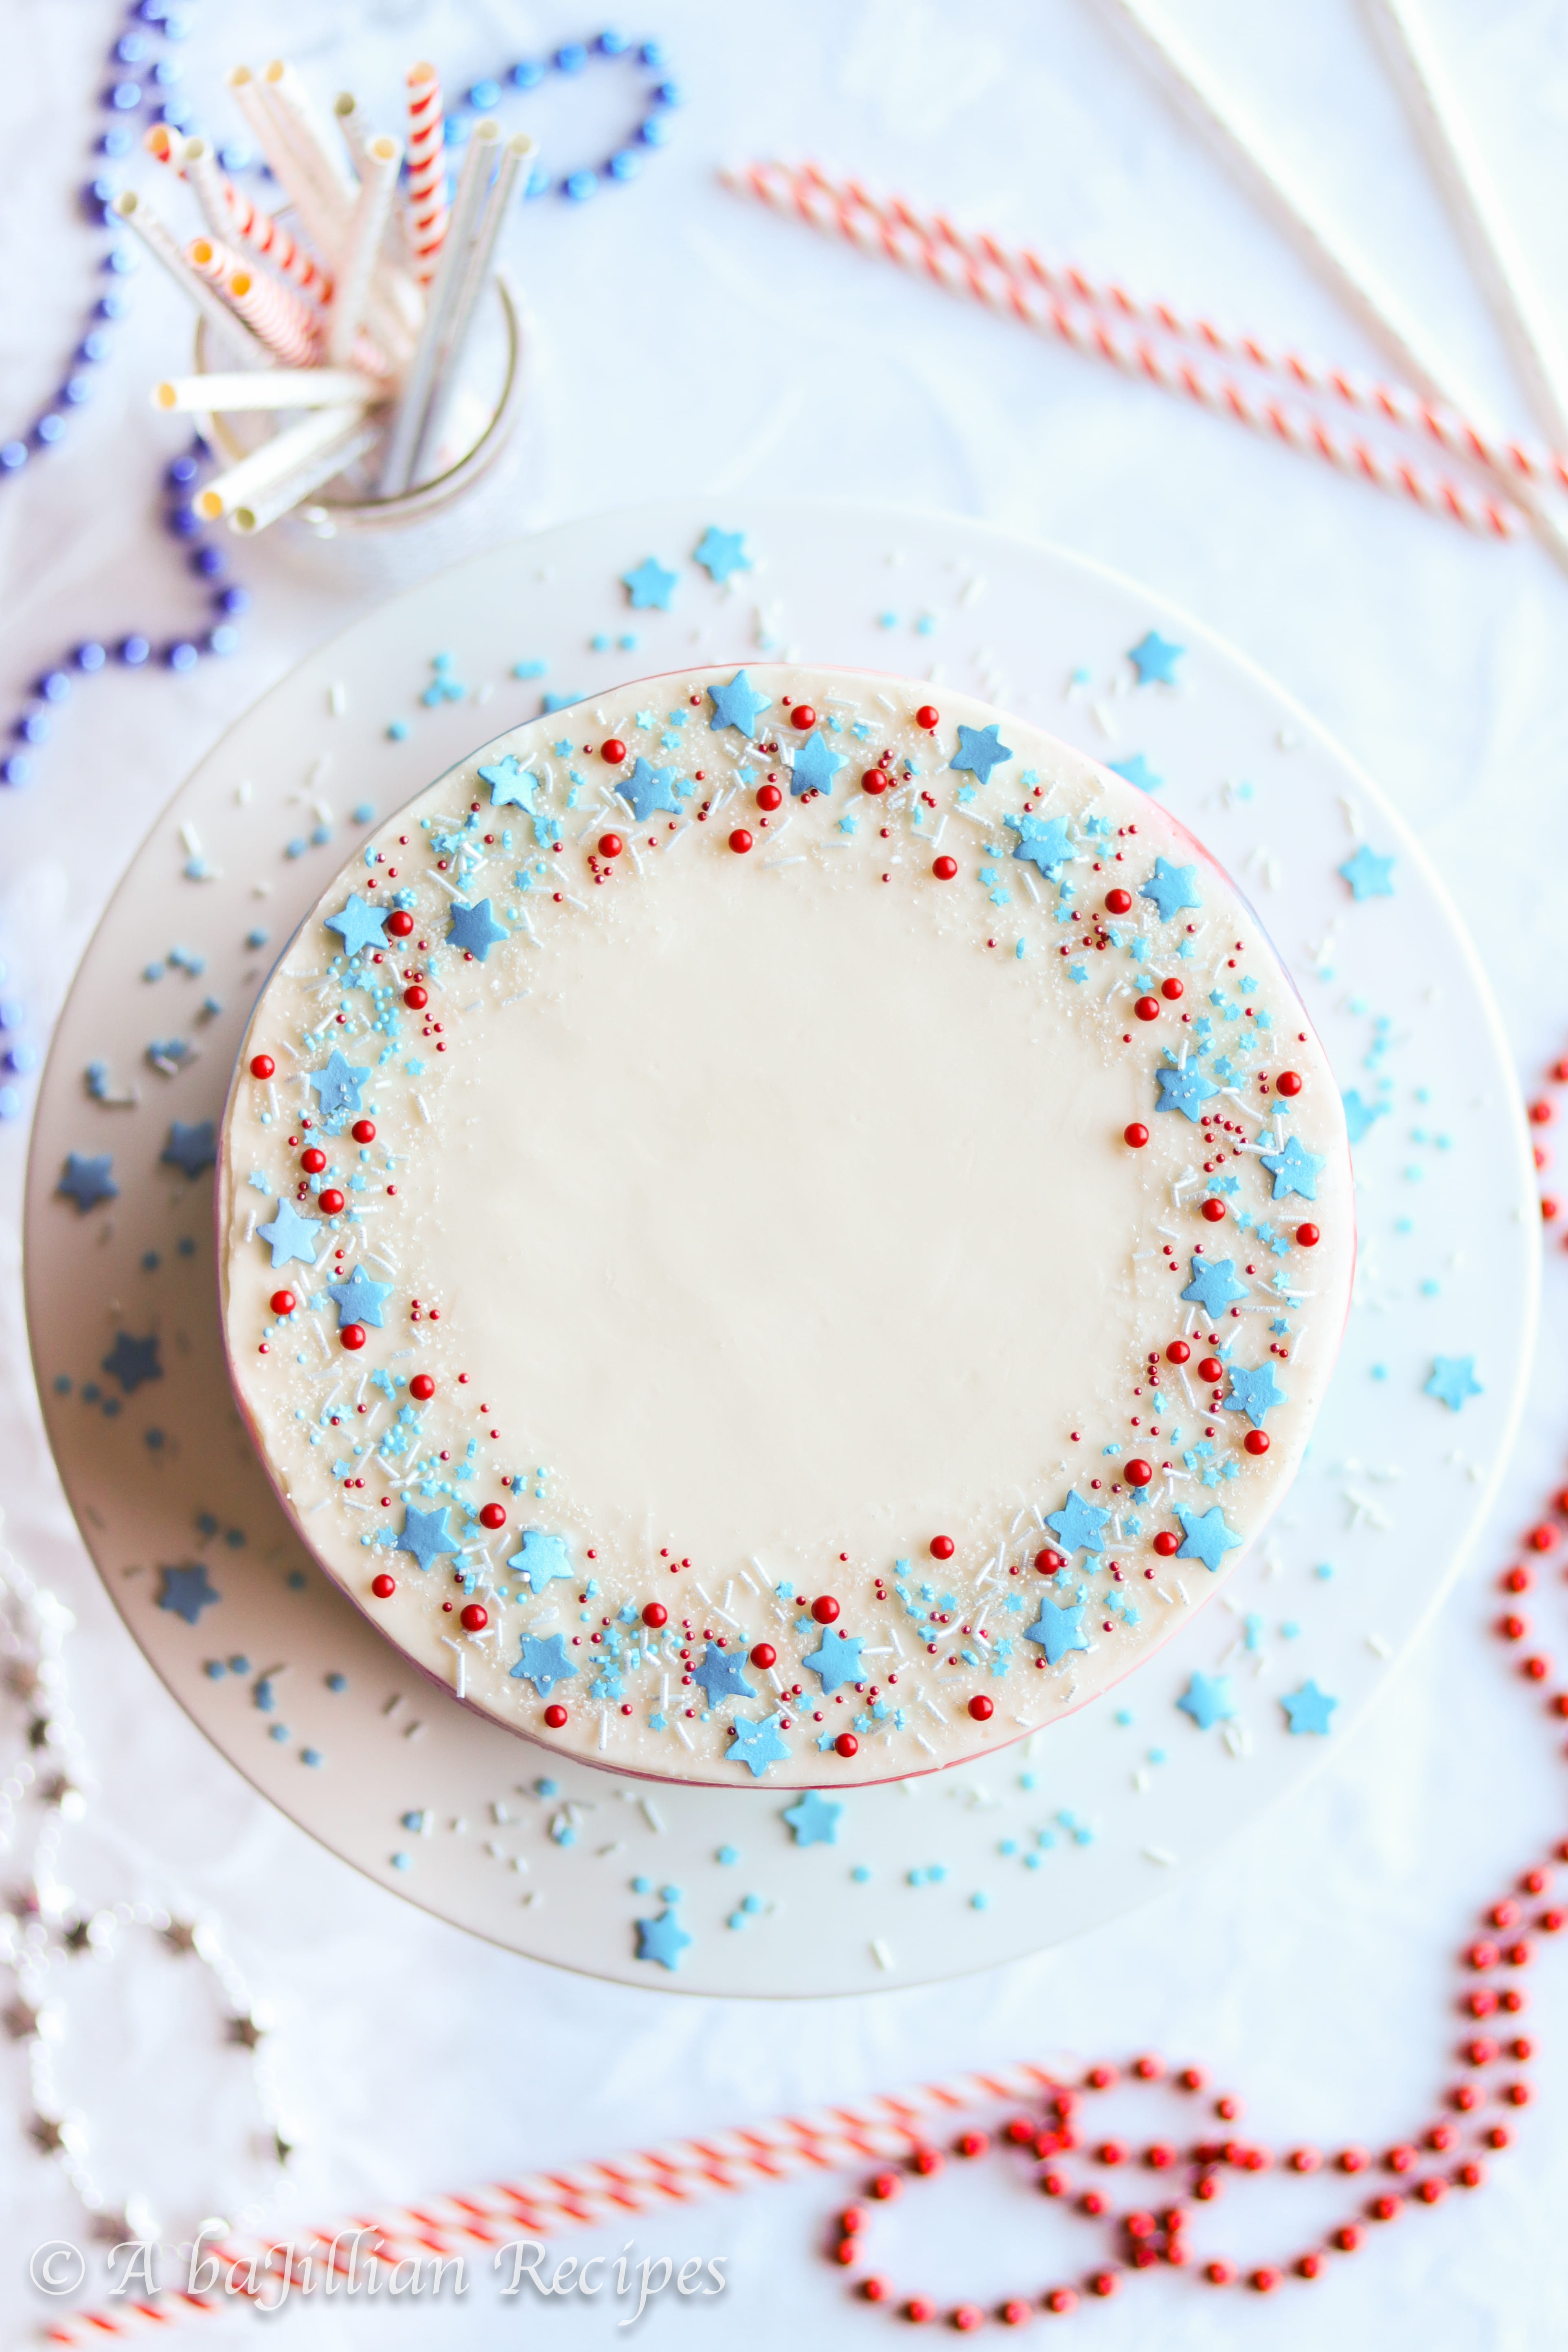
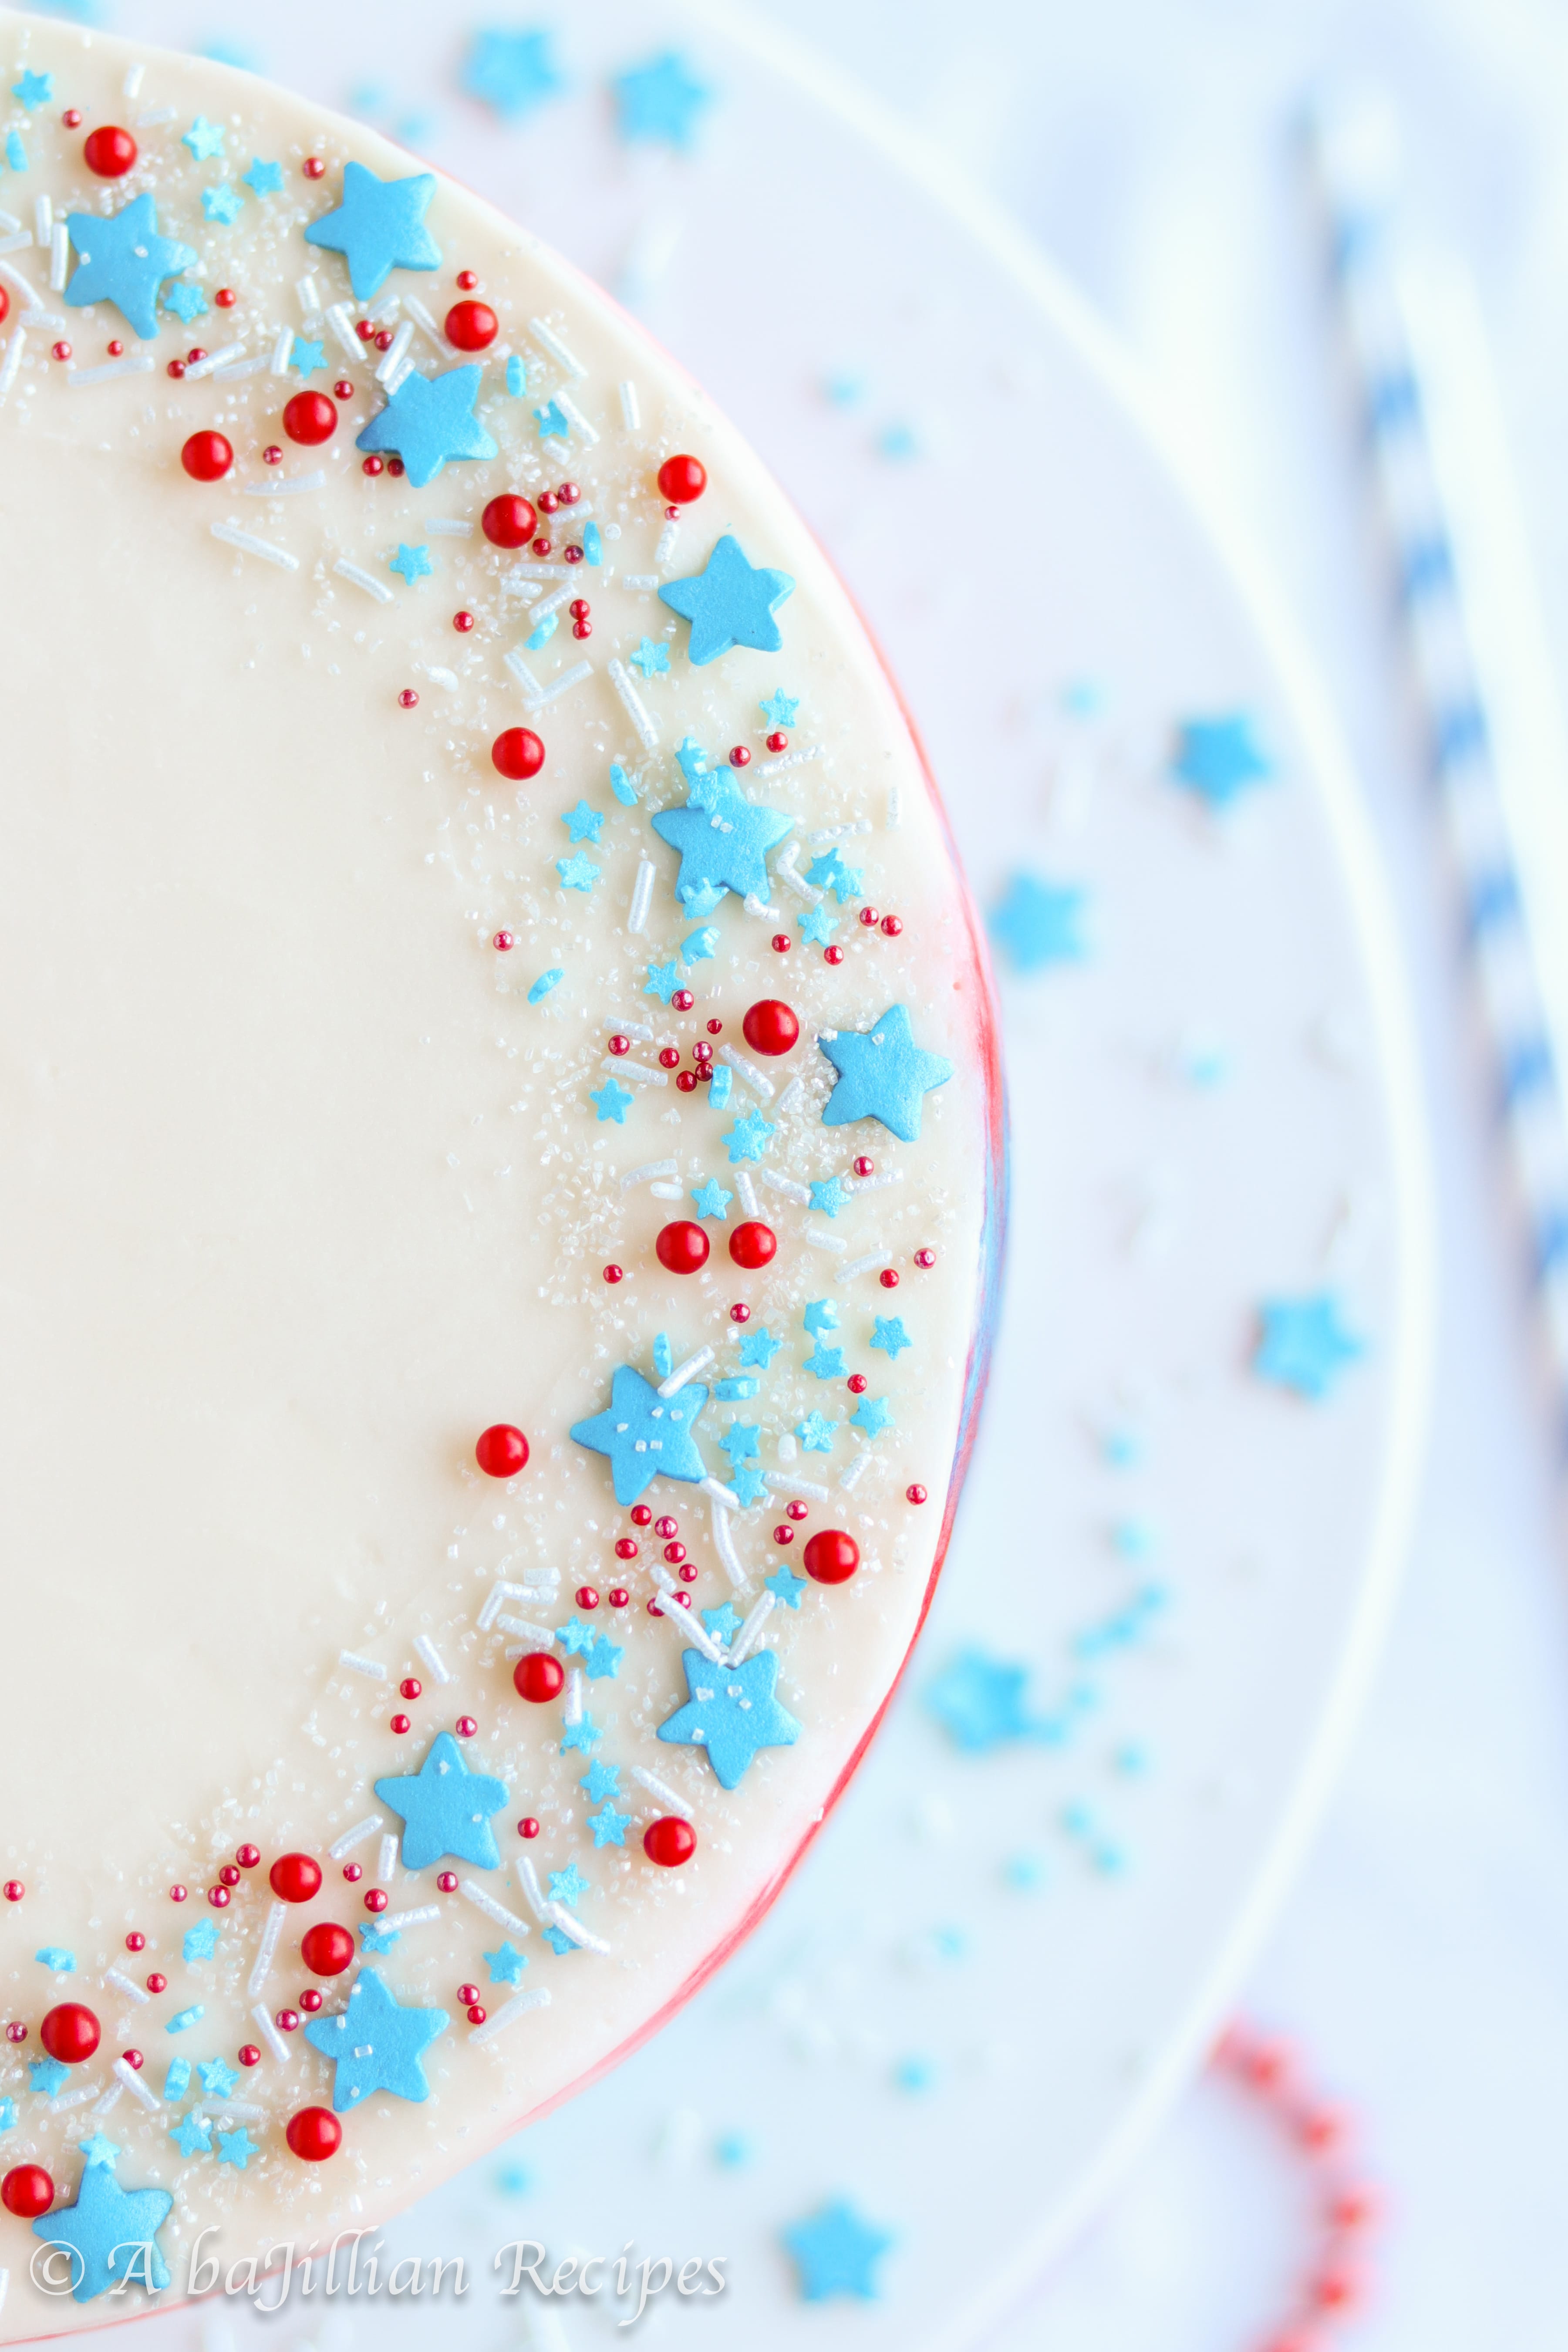
As with most of my cakes, there was no way this cake was gonna get away without a little sprinkle sorcery. I topped this American beauty with an assortment of stars, nonpareils, jimmies, and sugar sprinkles. I’ve admitted several times on here that I’m a bit of a sprinkle hoarder, but it’s desserts like these when I feel fully justified in my unhealthy obsession with sprinkles.
Again, this cake does NOT disappoint. It’s literally two desserts in one, which means you don’t have to make the dreadfully gut-wrenching decision between eating cake or eating cheesecake. It’s the one dessert that allows you to have your cake, and eat your cheesecake too!

Red, White and Blue Cheesecake Cake
Ingredients
Cheesecake:
- 16 ounces cream cheese softened
- ¾ cup granulated sugar
- 2 Tablespoons cornstarch
- 1 teaspoon vanilla
- ½ teaspoon lemon juice
- ⅛ teaspoon salt
- 2 eggs
Cake:
- 1 ¾ cup all-purpose flour
- 1 teaspoon baking powder
- ½ teaspoon baking soda
- ¼ teaspoon salt
- ¾ cup unsalted butter softened
- 1 cup granulated sugar
- 2 eggs
- ¾ cup sour cream
- 1 teaspoon vanilla
- ½ teaspoon almond extract
- ½ cup buttermilk*
- Gel Food Coloring: Red and Blue
Vanilla Buttercream:
- 1 ½ cup unsalted butter
- ⅛ teaspoon salt
- 4 ¾ cup powdered sugar
- 2 teaspoons vanilla
- ⅛ teaspoon almond extract
- ½ cup heavy cream
- Gel Food Coloring: Red and Blue
- Sprinkles
Instructions
Make the Cheesecake:
- Preheat the oven to 325ºF. Line an 8-inch springform pan with parchment paper. Spray with nonstick cooking spray.
- In the bowl of a stand mixer fitted with the paddle attachment, beat cream cheese on high until creamy, about 1-2 minutes. Add the sugar and continue beating for another 1-2 minutes. Scrape down the sides of the bowl, add the cornstarch, vanilla, lemon juice, and salt, and beat until incorporated, 1-3 minutes. Beat in the eggs until combined. Try not to overmix.
- Pour filling into pan, smoothing out the top. Bake cheesecake for 35-40 minutes, or until center appears nearly set when shaken. Transfer the cheesecake to a wire rack and run a knife around the edges. Allow to cool for at least 2 hours before covering cheesecake and chilling in the freezer for about 30 minutes.
Make the Cake:
- Preheat oven to 350ºF. Line two 8-inch pans with parchment paper and spray with nonstick cooking spray.
- In a mixing bowl, whisk together the flour, baking powder, baking soda, and salt until combined; set aside.
- In the bowl of a stand mixer fitted with a paddle attachment, beat the butter and sugar together on medium speed until lightened and creamy. Beat in the eggs, one at a time, until combined, scraping down the sides and bottom of the bowl as needed. Beat in the sour cream, vanilla, and almond extract on medium speed.
- Pour the dry ingredients into the wet ingredients and mix until combined. Add the buttermilk and mix until just combined, scraping down the sides and bottom of the bowl as needed.
- Divide batter evenly among two bowls. Tint one half of the batter with the red food coloring and the other with blue food coloring. Pour each batter into separate parchment-lined 8-inch baking pans. Bake for 18-20 minutes or until a toothpick inserted in the center comes out clean. Allow to cool in the pan for at least 15 minutes before transferring to a wire rack to cool completely.
Make the Buttercream:
- In the bowl of a stand mixer fitted with the paddle attachment, beat the butter and salt together on high until fluffy and pale in color, about 4-5 minutes. Decrease speed to low and slowly add the powdered sugar. Add the vanilla extract, almond extract, and heavy cream and beat until combined. Increase speed to medium-high and beat until light and fluffy, about 4 minutes.
To Assemble:
- Place blue cake layer on a pedestal or plate. Spread on a thin layer of buttercream, then place the cheesecake layer on top. Add another thin layer of buttercream on the cheesecake, then place the red cake layer on top. Frost the entire cake to seal in the crumbs; chill for at least 30 minutes.**
- Divide remaining buttercream into three separate bowls. Tint one bowl red, and another bowl blue.*** Remove cake from the fridge, and use an offset spatula to spread thick patches of red and blue buttercream all around the cake. Fill some of the areas with white buttercream. Smooth the frosting around the cake as the colors begin to blend together. If there are empty patches, feel free to go over them with more frosting until you get the desired watercolor effect you’re looking for.
- Add sprinkles to the top of the cake, focusing on the border.
- Cake will keep covered in the refrigerator for up to 5 days. Allow to sit at room temperature for 10 minutes before slicing and serving.
Notes
**I put on another layer of frosting before doing the watercolor effect. However, this isn't really necessary since the watercolor effect will end up covering the entire cake just fine.
***I recommend leaving more of the frosting white since red and blue tend to take over once you start smoothing the frosting around the cake.