

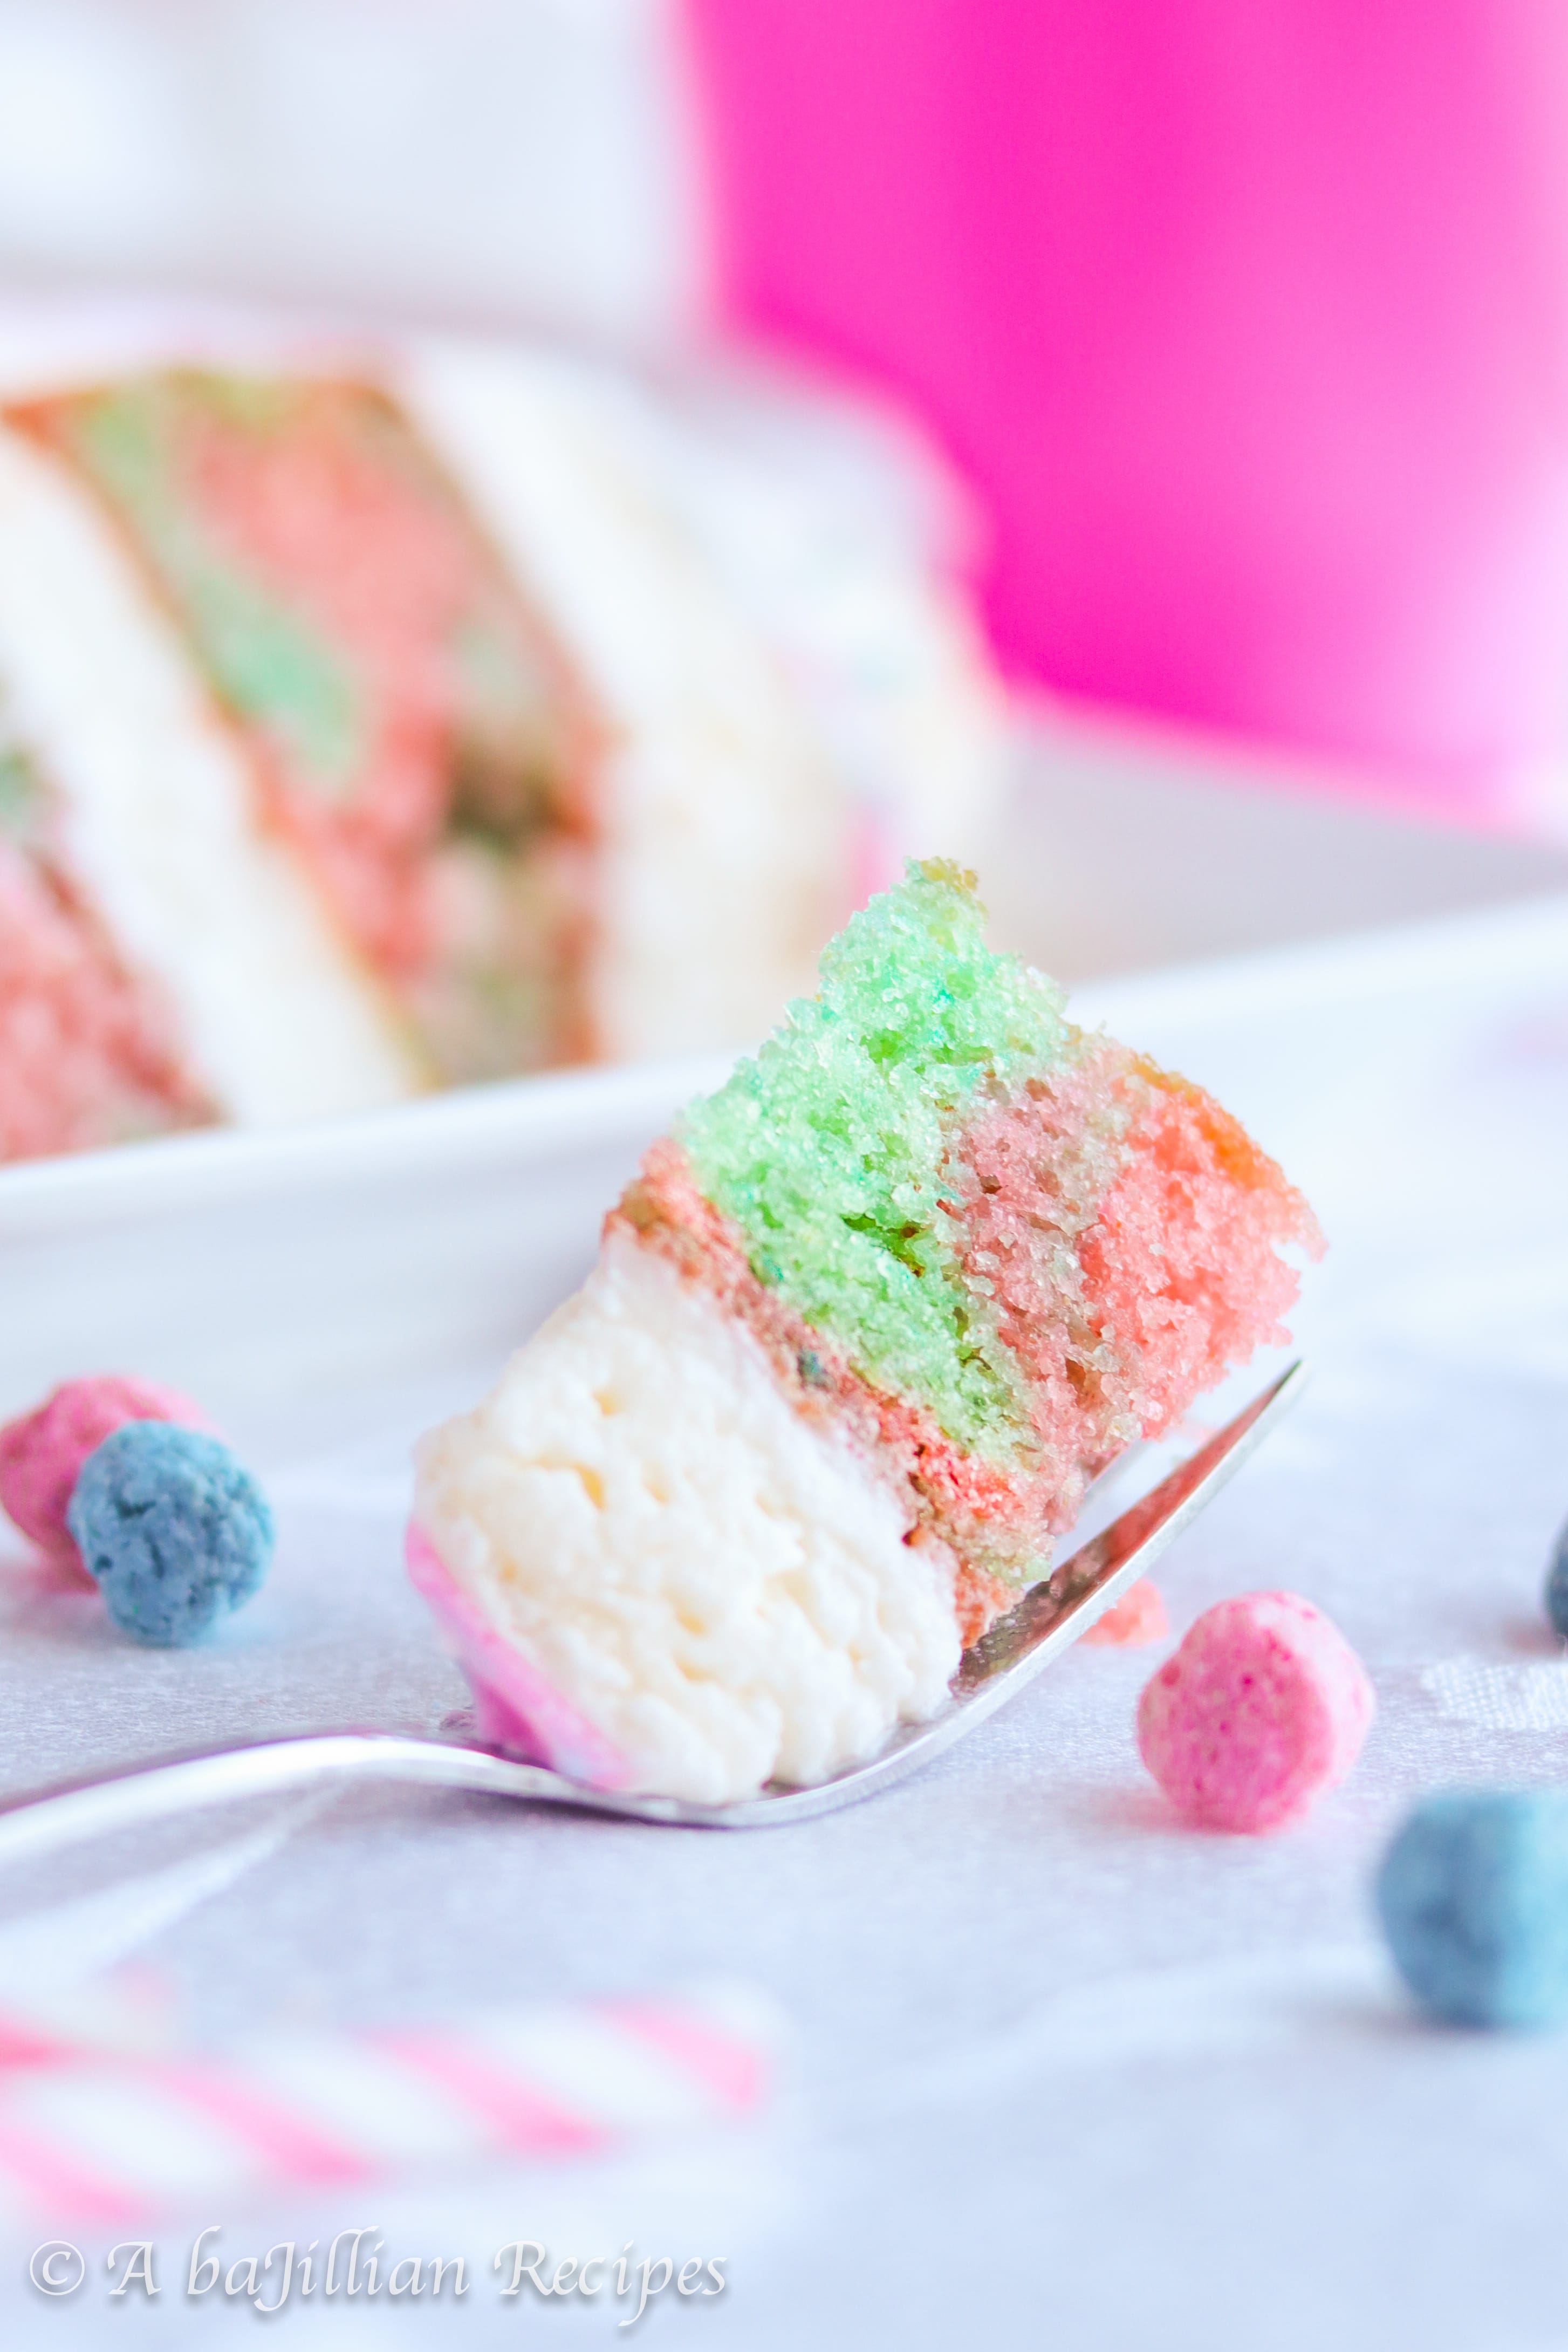
Layers of sweet cotton candy cereal-infused cake and fluffy cheesecake mousse, beautifully frosted in creamy vanilla buttercream!

It’s no secret that I’m a bit of a cereal fanatic. At least, I feel like that should be common knowledge to those of you who have followed my blog long enough. I can’t help but feel like I’m living out my childhood dreams now that I’m an “adult” and I have the power to buy whatever sugary cereal I so desire. Really, there’s nothing that makes me jump for joy quite like discovering a special/limited edition cereal at the grocery store. I doubt there’s a cereal out there I haven’t tried.
One cereal in particular that caught my eye in the cereal aisle was this Cotton Candy Cap’n Crunch cereal.

Not only is it a unique flavor as far as cereals go, but it’s COTTON CANDY–one of the most heavenly flavors on the planet. Seriously, if I see cotton candy ANYTHING, I’m a fan right off the bat. There’s just something so ambrosial about that cotton candy sweetness that I can’t get enough of.
For a while now, I’ve been wanting to turn this incredible cereal into a cake. After inhaling a few boxes of this stuff, I just knew it had to be good as a cake. And since my very first cereal milk cake–Cinnamon Toast Crunch Cake–I’ve been obsessed with finding other cereals that would work well as a cake.

Although I’ve seen several recipes for cotton candy cake, they all seem to require a special extract to achieve that cotton candy flavor. I figured this cereal might be a good alternative for those who don’t have access to a special extract. Hopefully, most of you are able to find this cereal in your grocery store. If not, you can always try my Cinnamon Toast Crunch Cake, or Cereal Milk Cake, which are both just as dandy!

So how does one incorporate a cereal into a cake? Well, there’s a couple of things I do…
The first involves soaking the cereal in some milk for about 30-40 minutes. Doing so allows you to infuse the milk with the flavor of the cereal, which is then added to the cake batter. Along with the cereal milk, I like to finely crush the cereal and stir it into the batter. That way the cake gets a double dose of flavor from the cereal.


Due to the fact that this cereal contains two colors–pink and blue–I decided to separate the colors so that I had two different-colored batters.

I’m sure that if you didn’t go through the extra work of separating the colors, the cake would turn out just as delicious. For my OCD tendencies, on the other hand, I just couldn’t help myself. While the dye from the cereal does add some color to the batter, I ended up adding a little gel food coloring to each batter to deepen the color.
Instead of baking each colored batter as separate cake layers, I decided to “swirl” them by alternating between spoonfuls of each batter. If you want a “swirlier” effect, you can run a butter knife through the batter a few times. I ended up keeping my batter as is.

Once baked and cooled, it’s time to make the filling! Well, technically the filling AND buttercream. The buttercream is just your standard American buttercream frosting. It’s made by beating some butter with some powdered sugar, vanilla, and heavy cream. Milk can be substituted for the heavy cream, but I find that heavy cream provides a fluffier texture and a smoother finish to the cake.
Before dyeing the buttercream, a cup of it gets removed for the filling. The reserved cup of buttercream is then combined with some cream cheese until smooth. And to add that mousse-like texture, some freshly-whipped cream is folded into the mixture. Now you have both your buttercream and your filling! Kinda nice to kill two birds with one stone, isn’t it?

To me, the cake looks much prettier on the outside than on the inside. I used my favorite watercolor technique by intermingling some blue and pink frosting around the whole cake. I’m not sure if this would be considered more marble or more watercolor, but either way, I adore the look of it. There are even some areas that have the most beautiful periwinkle hue!
Aside from the simplicity of it, what I love most about this technique is that it always makes your cakes look super impressive.

To finish off the cake decor, I added a beautiful star border around the top and sprinkled on some pink and blue stars. Along with my cereal obsession, I have a pretty major sprinkle obsession, so you can bet I was ecstatic to add some sprinkle magic to this cake.

With the annual state fair being cancelled this year (thanks a lot, Corona), I would say that this Cotton Candy Cap’n Crunch Cereal Cake was definitely a delicious replacement for my yearly cotton candy fix. You get that wonderful hit of cotton candy sweetness from the cereal, and the mousse layer makes every single bite unbelievably heavenly.

Whether you feel like you’re missing out on your favorite fair treat this year, or you’re just as big of a cereal fiend as I am, odds are you’re gonna absolutely ADORE this cake!


Cotton Candy Cap'n Crunch Cereal Cake
Ingredients
Cereal Milk:
- 1 cup Cotton Candy Cap'n Crunch cereal just the pink pieces
- 1 cup Cotton Candy Cap'n Crunch cereal just the blue pieces
- 2 cups milk divided
- 2 Tablespoons granulated sugar divided
Cake:
- ⅓ cup Cotton Candy Cap'n Crunch cereal just the pink pieces
- ⅓ cup Cotton Candy Cap'n Crunch cereal just the blue pieces
- 1 ⅓ cup all-purpose flour
- 1 teaspoon baking soda
- 1 teaspoon baking powder
- ½ teaspoon salt
- 1 ¼ cup granulated sugar
- ½ cup vegetable oil
- ½ cup plain Greek yogurt
- ½ cup pink cereal milk from recipe above
- ½ cup blue cereal milk from recipe above
- 1 egg
- 1 ½ teaspoon vanilla
Filling/Buttercream:
- 1 ½ cup unsalted butter softened
- ½ teaspoon salt
- 5 cups powdered sugar
- 1 teaspoon vanilla
- ¼ cup heavy cream
- 4 ounces cream cheese
- ¾ cup heavy cream whipped
- Pink gel food coloring
- Blue gel food coloring
- Sprinkles
Instructions
Make the Cereal Milk:
- Place the pink cereal into one bowl and pour on 1 cup of milk; stir until fully soaked. Place the blue cereal into another bowl along with the remaining 1 cup of milk; stir until fully soaked. Let both cereals steep for 30-40 minutes.
- Place a fine-mesh sieve over a medium bowl and strain out the milk from the pink cereal. Discard the soaked cereal and stir in 1 tablespoon of sugar. Repeat with the blue cereal and remaining tablespoon of sugar in another bowl.
Make the Cake:
- Preheat oven to 350ºF degrees. Line three 6-inch round cake pans with parchment paper and spray with nonstick cooking spray.
- In a food processor (or with a ziplock bag and rolling pin), finely crush the pink cereal, and empty into a small bowl. Repeat with the blue cereal, placing crushed blue cereal into another small bowl. Set crushed cereals aside.
- In a large mixing bowl, whisk together the flour, baking soda, baking powder, salt, and sugar until combined. Add the oil, yogurt, egg, and vanilla stirring until combined. Batter will seem thick and doughy.
- Divide the batter equally into two separate mixing bowls. To one bowl of batter, add the pink cereal milk and pink crushed cereal. Stir until just combined. In the other bowl of batter, add the blue cereal milk and blue crushed cereal, stirring until just combined.
- Divide both batters equally among the three prepared pans by alternating between spoonfuls of blue batter and spoonfuls of pink batter. Bake in the oven for 28-32 minutes, or until a toothpick inserted in the center comes out clean. Allow cakes to cool in the pan for 10 minutes before transferring to a wire rack to cool completely.
Make the Filling/Buttercream:
- In the bowl of a stand mixer fitted with the paddle attachment, beat the butter and salt on high until fluffy, about 3 minutes. Add the powdered sugar, a cup at a time, until fully incorporated. Mix on high for 3 minutes. Add the vanilla, followed by the heavy cream, a tablespoon at a time, beating until fluffy, about 2 minutes.
- Remove 1 cup of the buttercream and set aside for the filling. Transfer the rest of the buttercream to a separate bowl, then return bowl to mixer.
- In the mixer, beat the cream cheese and reserved 1 cup of buttercream until smooth and combined. Add half of the whipped cream, and continue beating until combined. Remove bowl from mixer, and fold in the rest of the whipped cream.
To Assemble:
- Place a cake layer on a cake plate or pedestal. Spread 1/3 of the filling on top, and repeat with the remaining cake layers and filling, ending with a layer of filling on the top. Chill cake in the freezer for 1 hour.
- Once chilled and solid, frost the entire cake with the buttercream. Refrigerate cake for at least 30 minutes to allow buttercream layer to set up. While the cake is chilling, divide the remaining buttercream among three bowls.* Tint one bowl of buttercream to the desired shade of pink, and another bowl to the desired shade of blue.
- Remove cake from the fridge, and use an offset spatula to spread thick patches of pink and blue buttercream all around the cake. Fill some of the areas with some of the white untinted buttercream.
- Smooth the buttercream around the cake as the colors begin to blend together. If there are empty patches, feel free to go over them with more buttercream until you get the desired watercolor/marble effect you’re looking for.**
- Transfer the remaining white buttercream to a pastry bag fitted with a star tip (I used Wilton's 1M), and pipe a border of stars around the top of the cake. Add sprinkles, as desired. Refrigerate cake until ready to serve.
Notes
**For a better idea of how to do the watercolor technique, check out my Peach Watercolor Cake post!