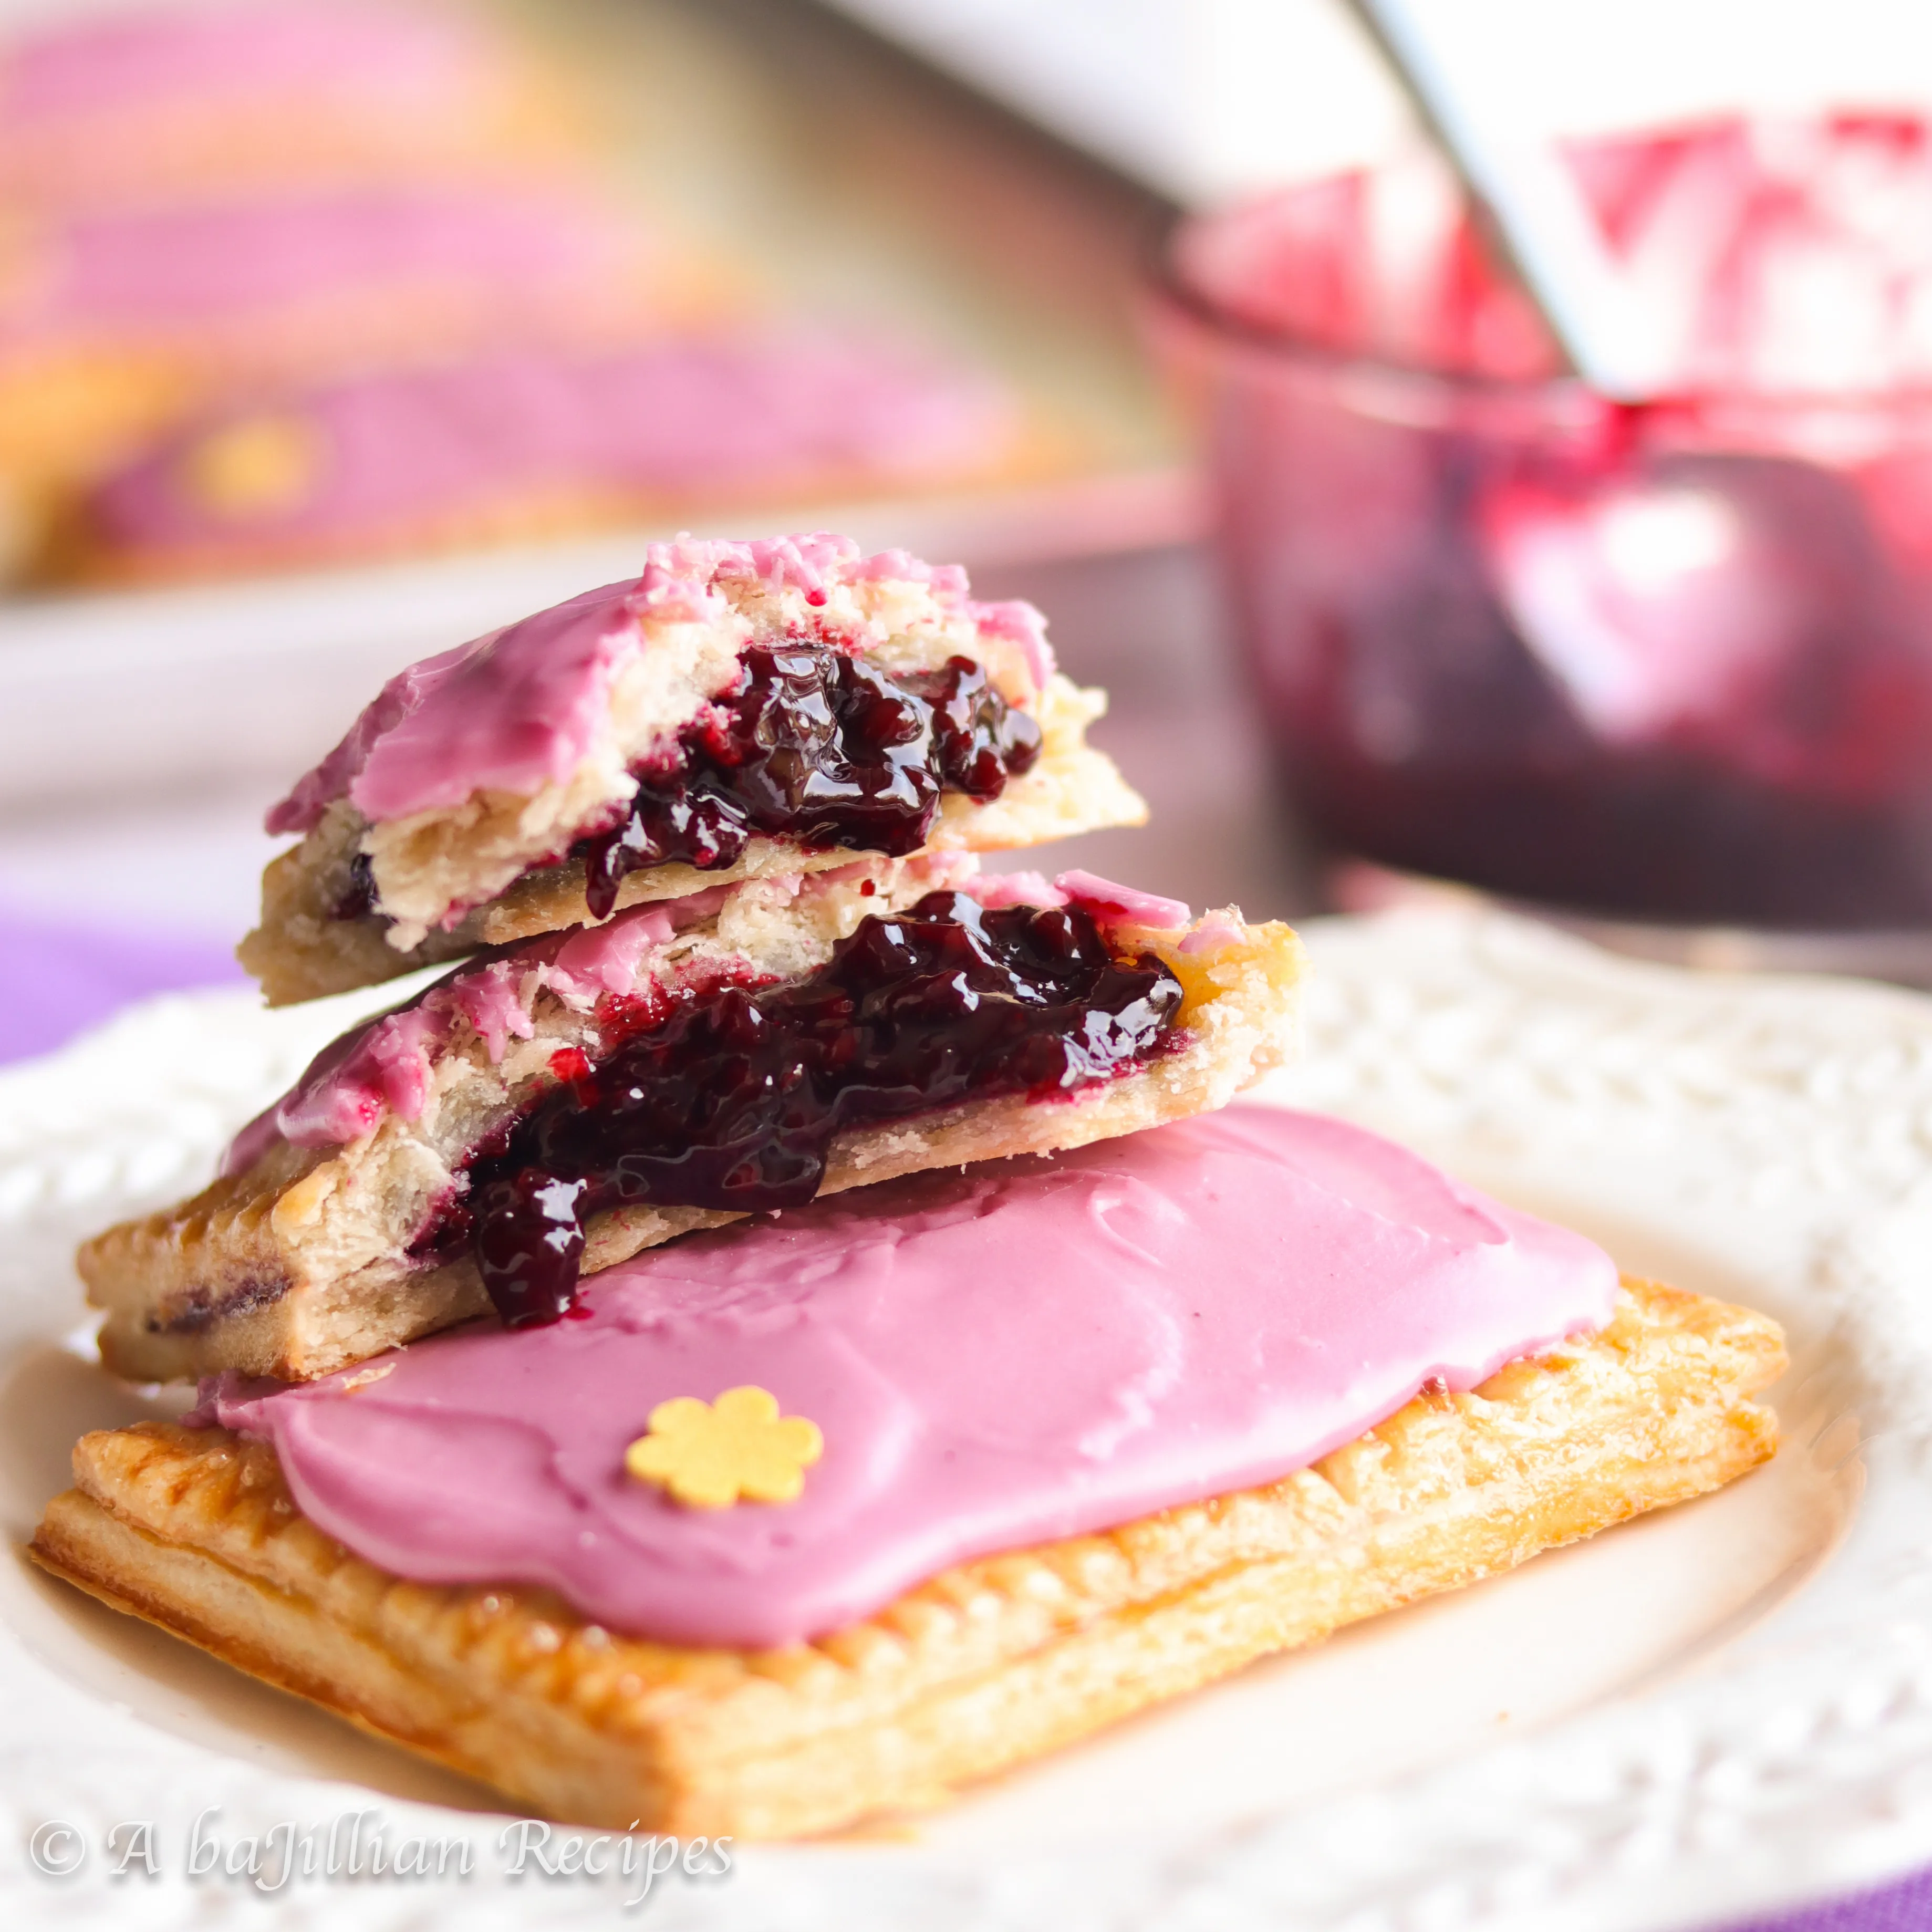
This homemade version of a breakfast classic is made with sweet blackberry filling, deliciously flakey pie crust, and blackberry icing!
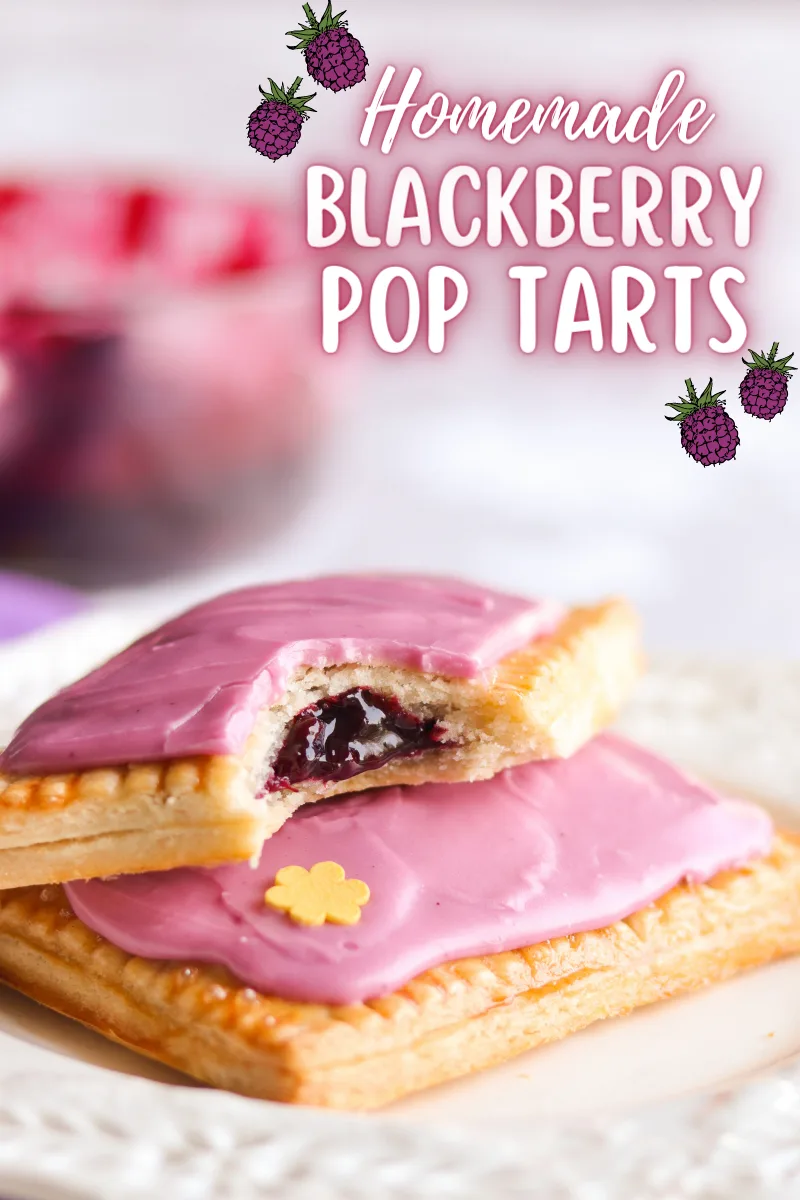
Growing up during the breakfast junk food era (and PROUD of it!), I’ve definitely had my fair share of sugary cereals and breakfast treats. If it wasn’t Cinnamon Toast Crunch or Lucky Charms, I was usually toasting up a pop tart before heading off to school. My favorite flavor was Brown Sugar Cinnamon. Of course, us Millennials weren’t quite as fortunate as today’s spoiled kids and their 43 million pop tart flavors.
Just sayin’…
ANYWAY, while these Pop Tarts were sufficient for my 8-18 year old taste buds, as an adult, there’s definitely much to be desired. First off, they’re DRY AF. In fact, it boggles my mind that I often ate them straight from the wrapper without even toasting them. Secondly, they didn’t have nearly enough filling. It’s pretty much 90% crust and 10% filling. Lastly, the icing layer is absolutely pitiful–hard, crunchy, and flavorless.
So this week I decided to take a crack at my own pop tart that adults can finally enjoy!
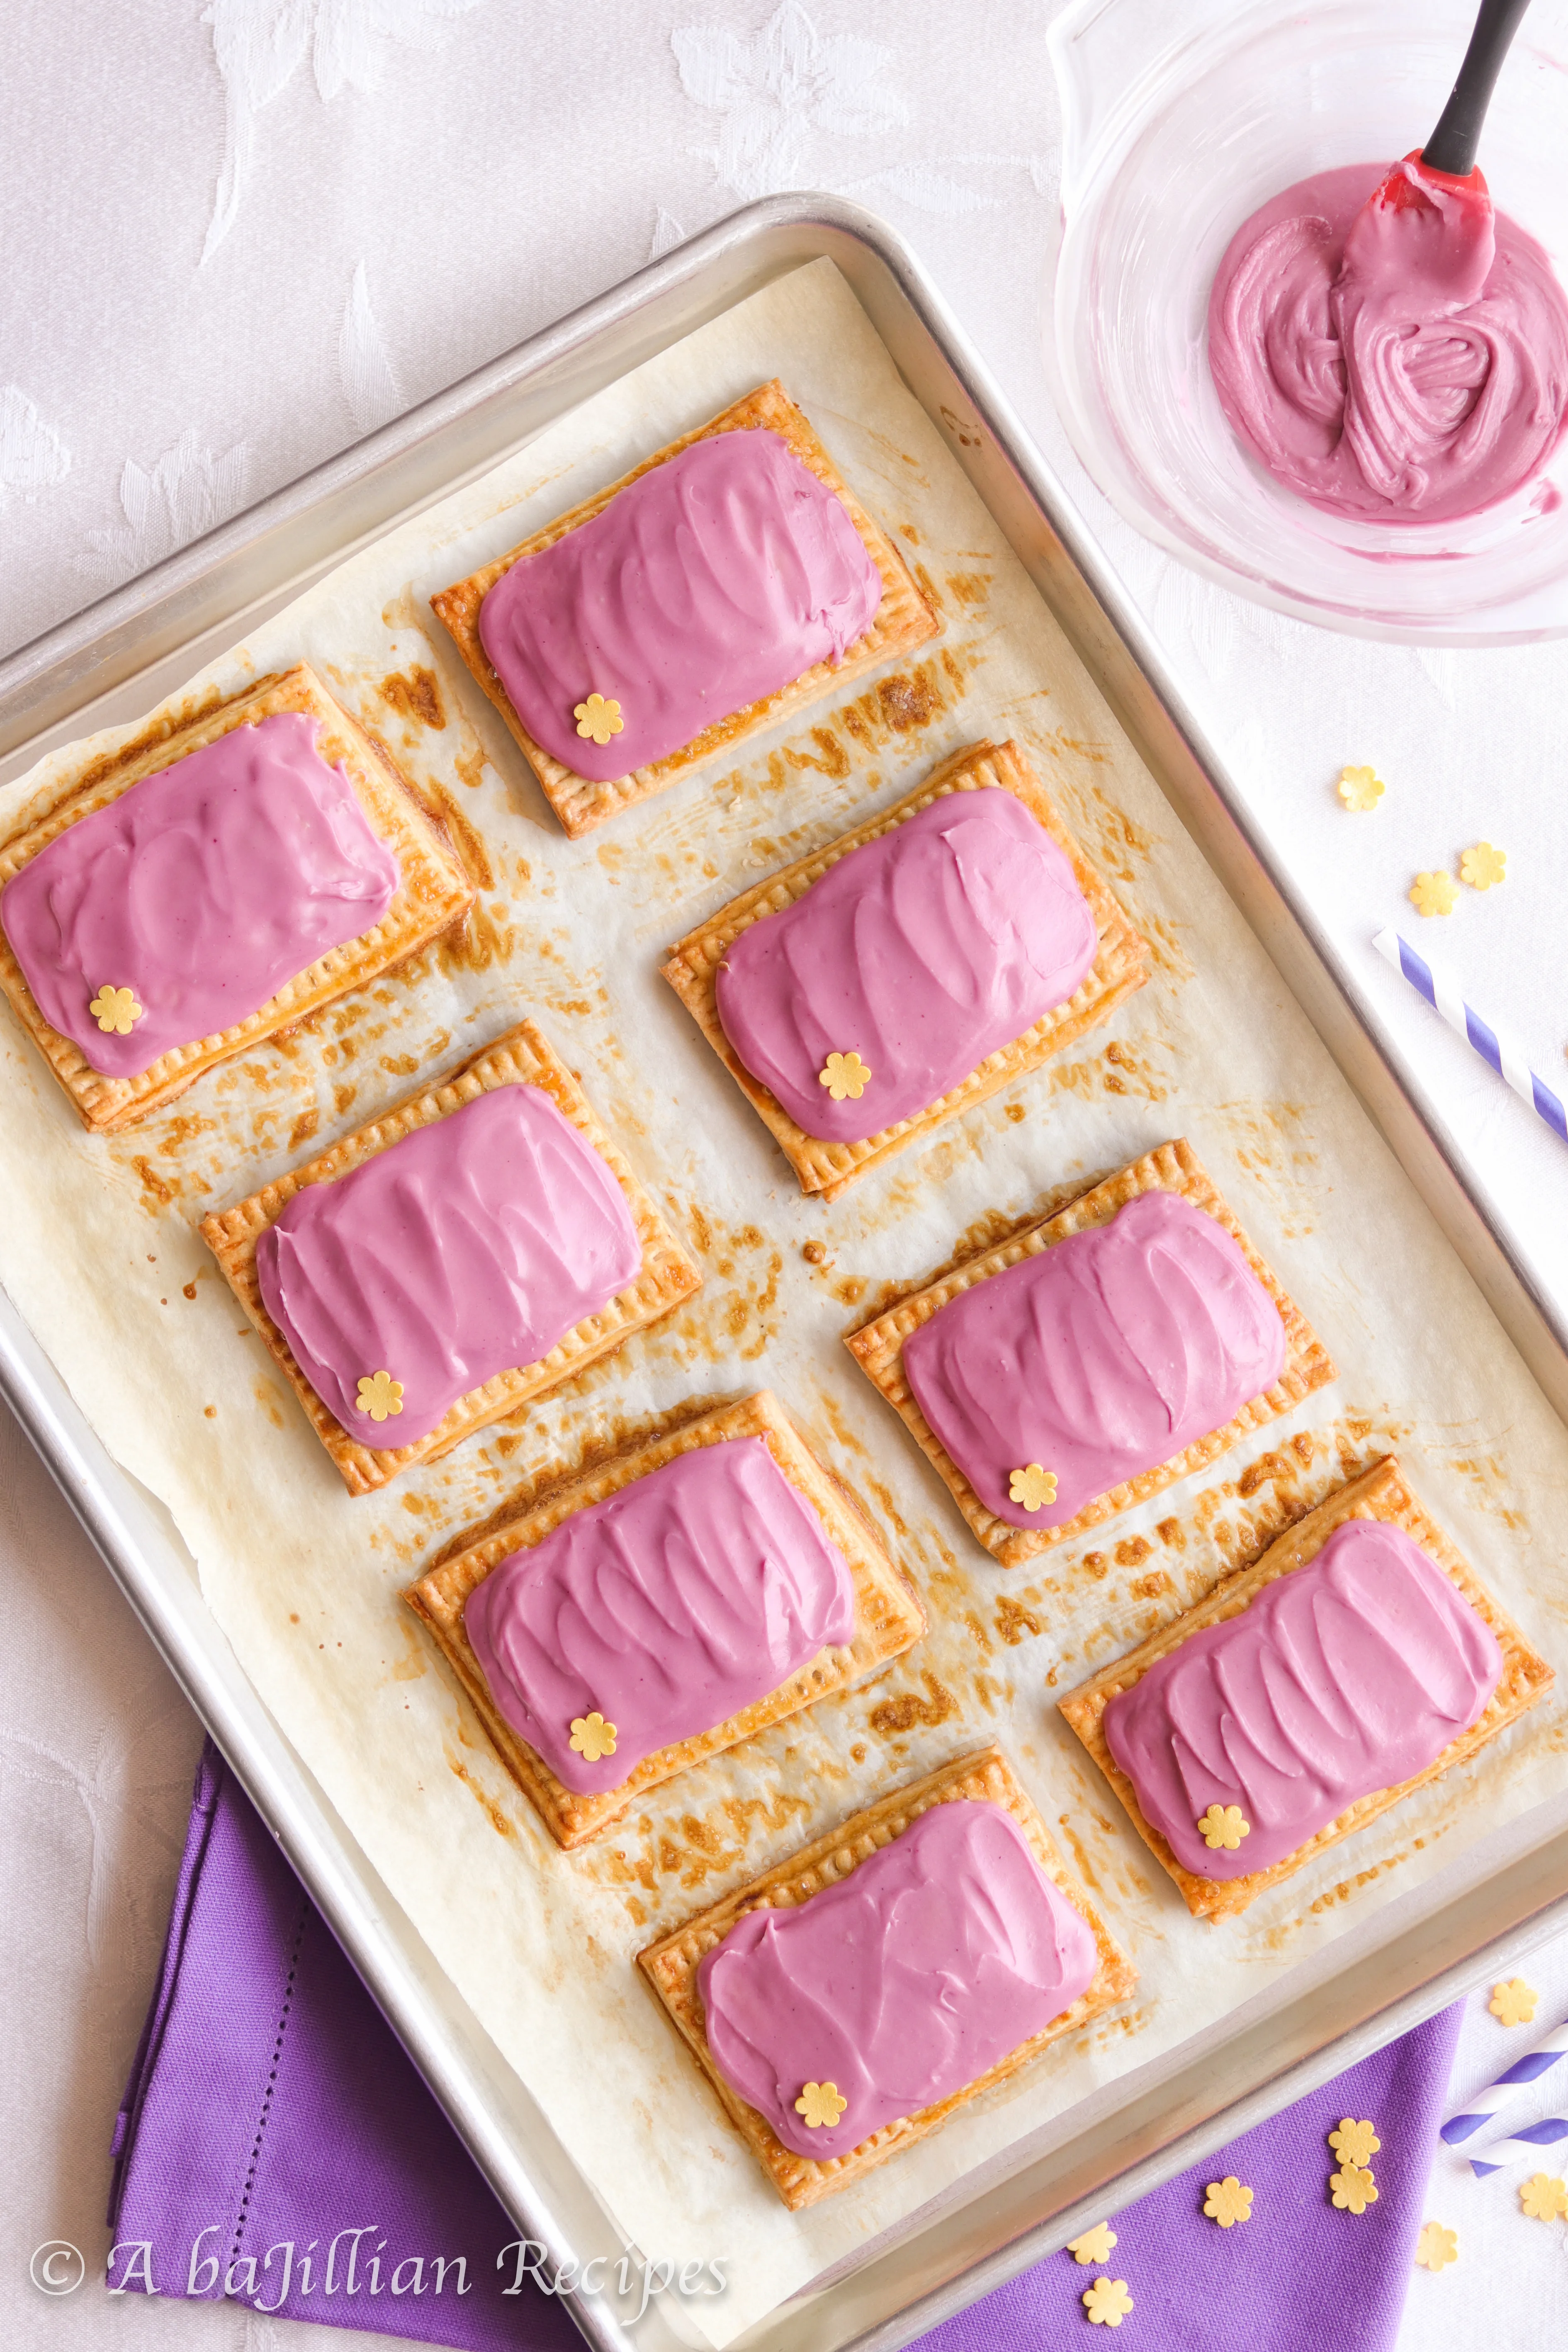
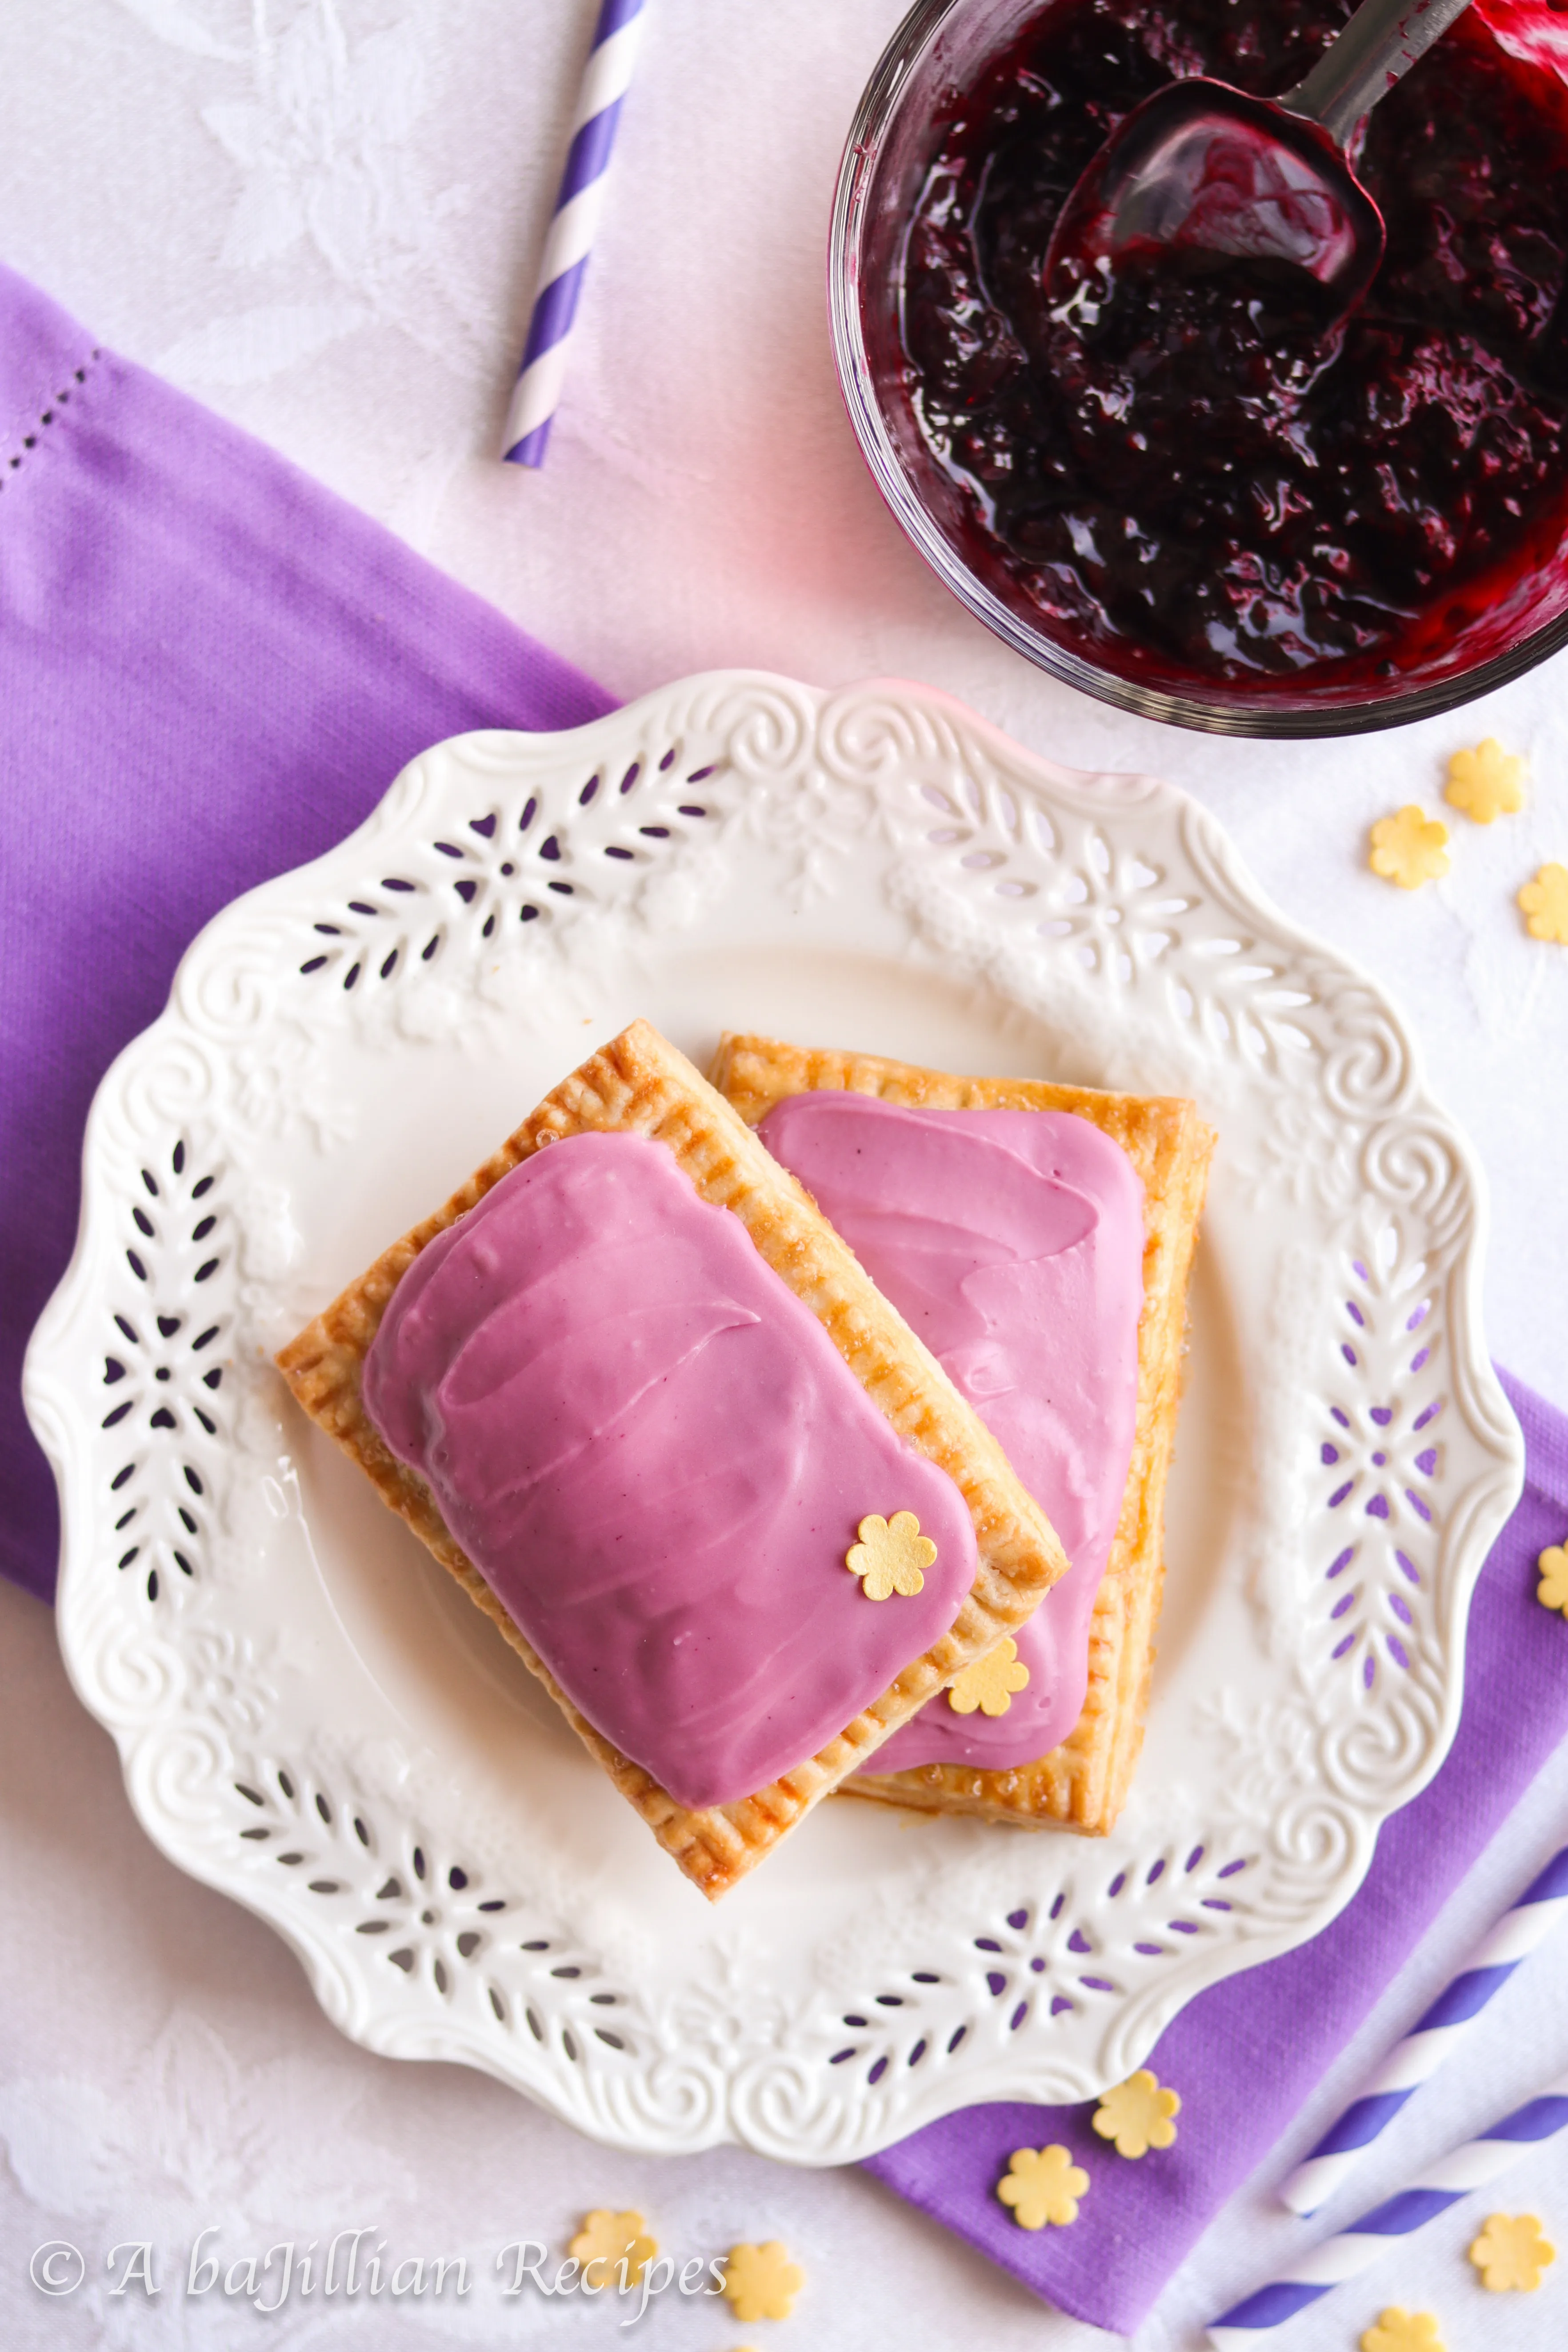
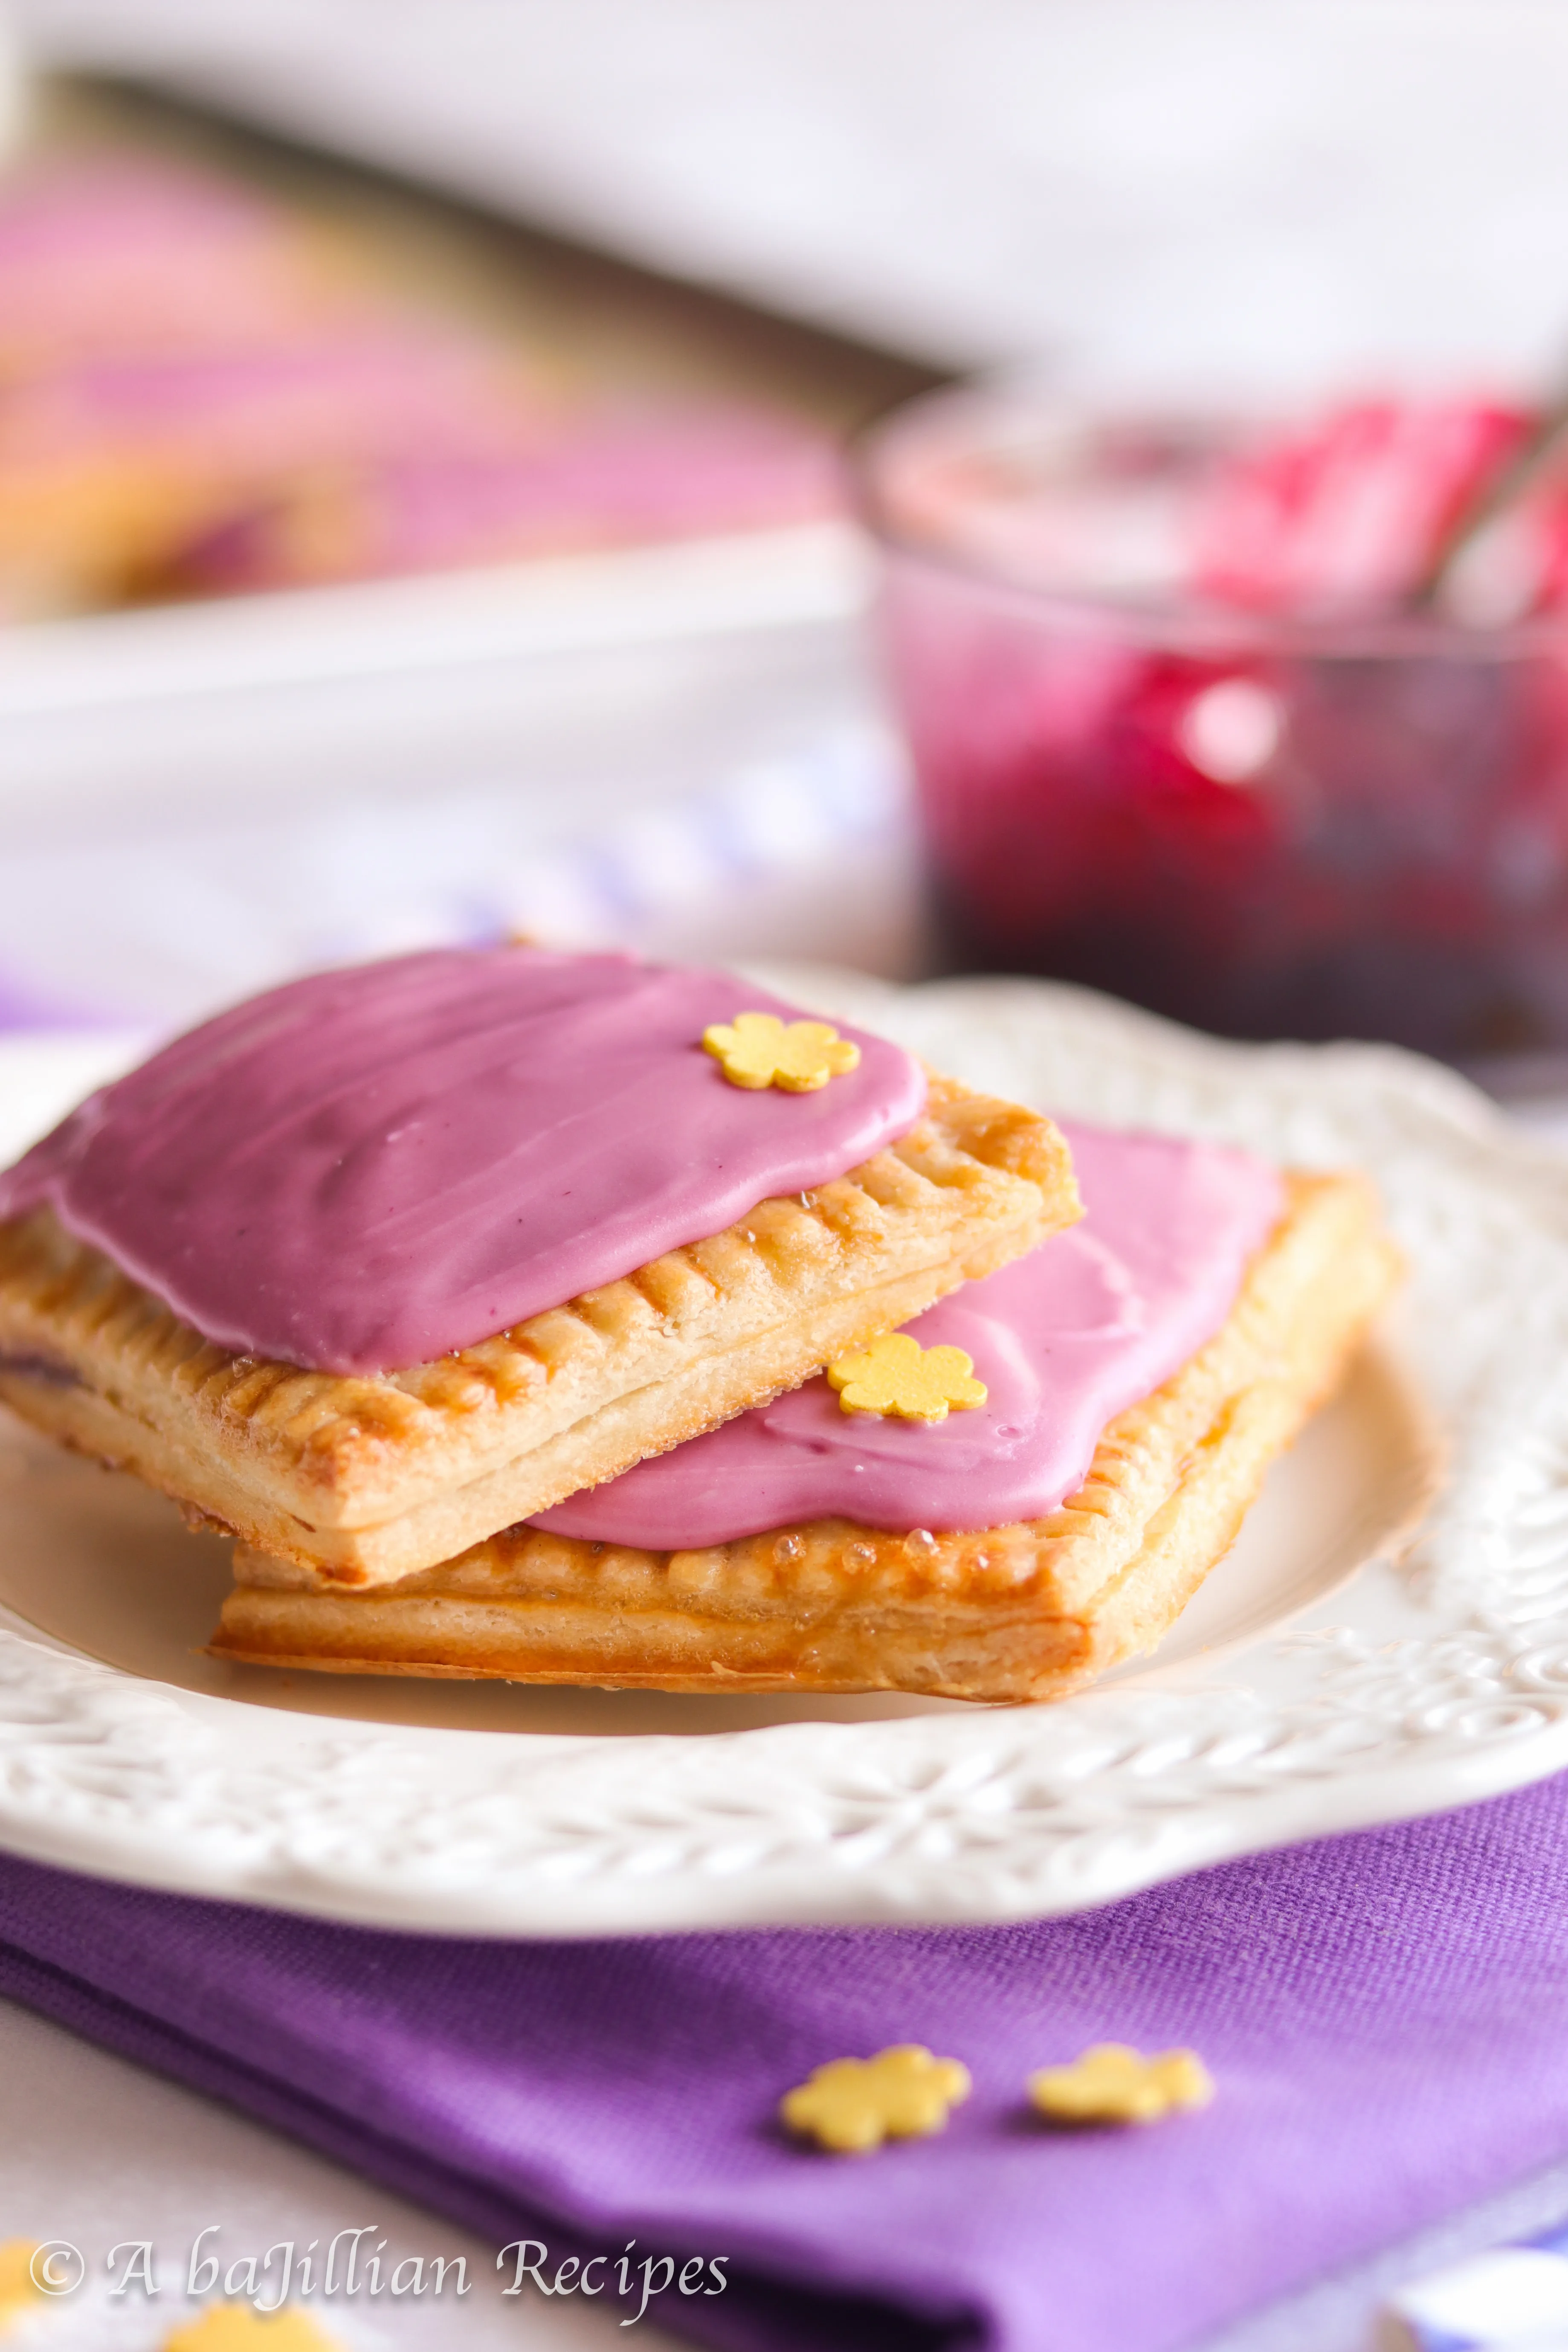
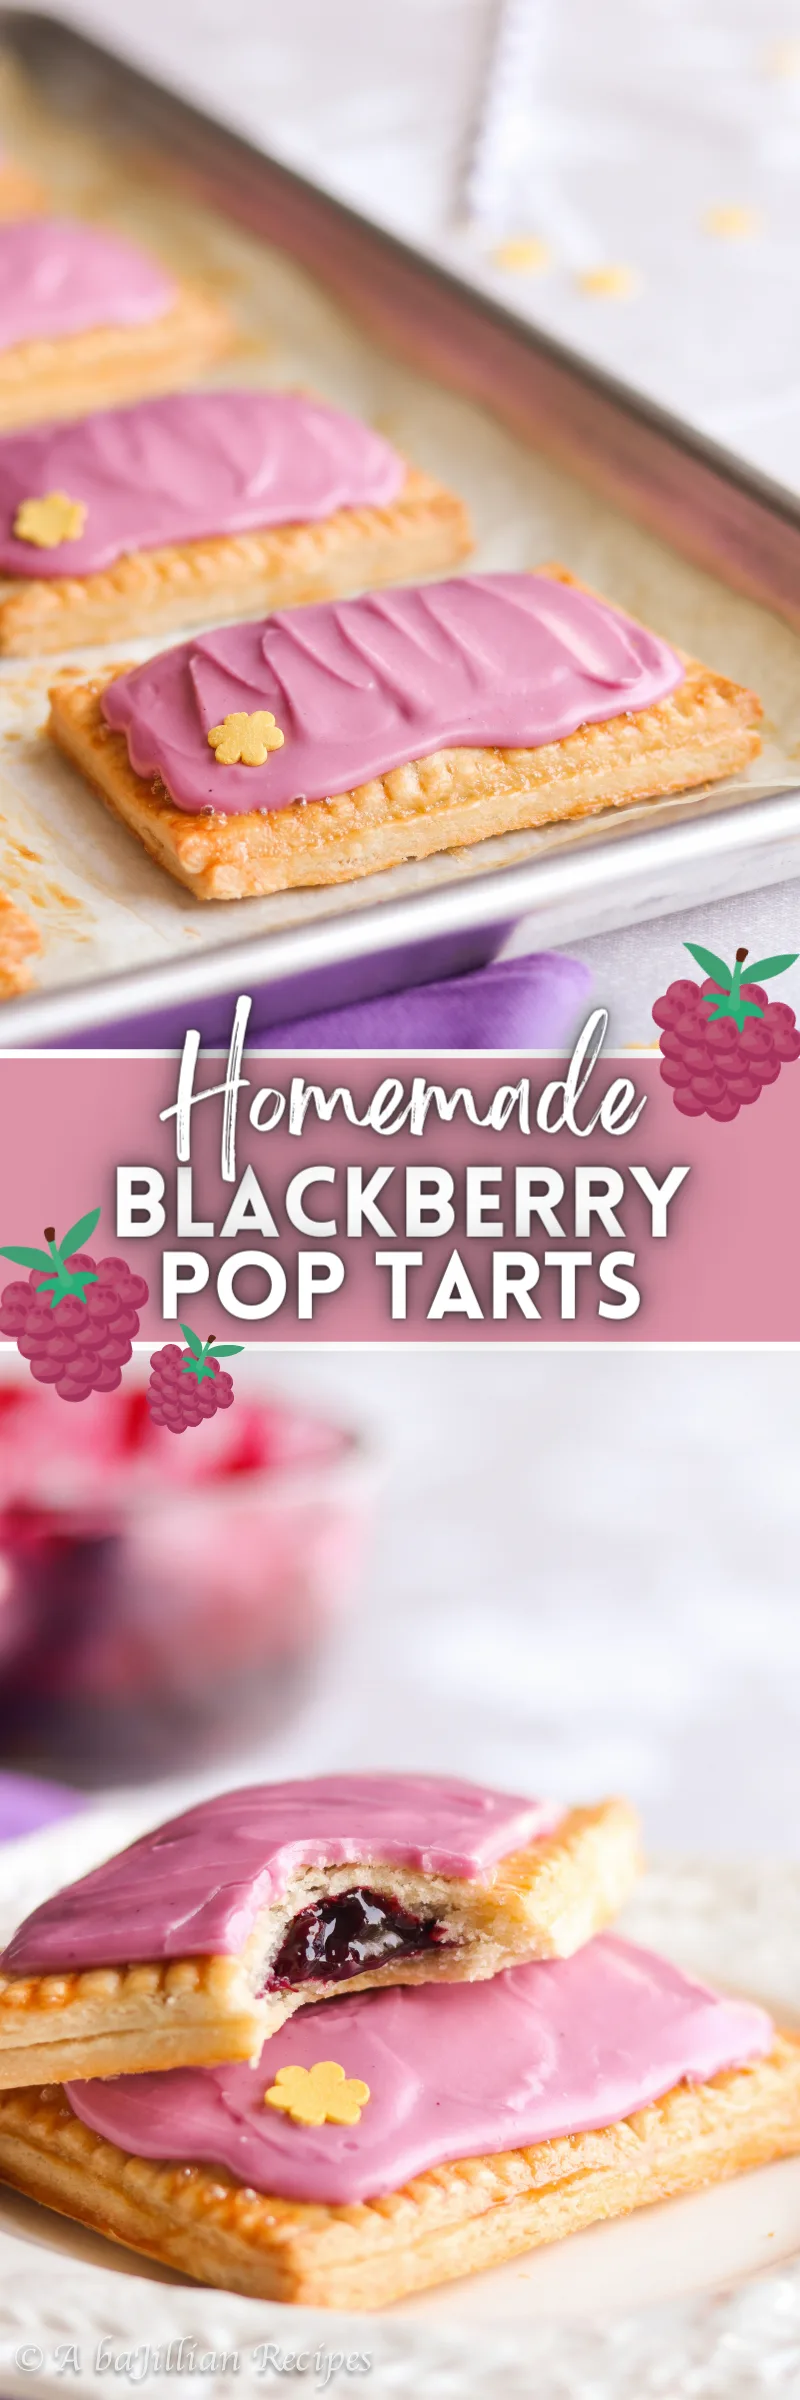
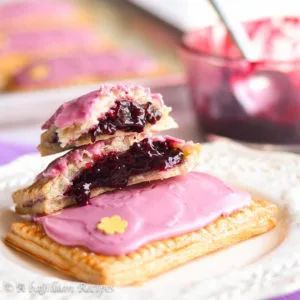
Before I get into the nitty gritty of these Blackberry Pop Tarts, can we first take a moment to appreciate how pretty they are??
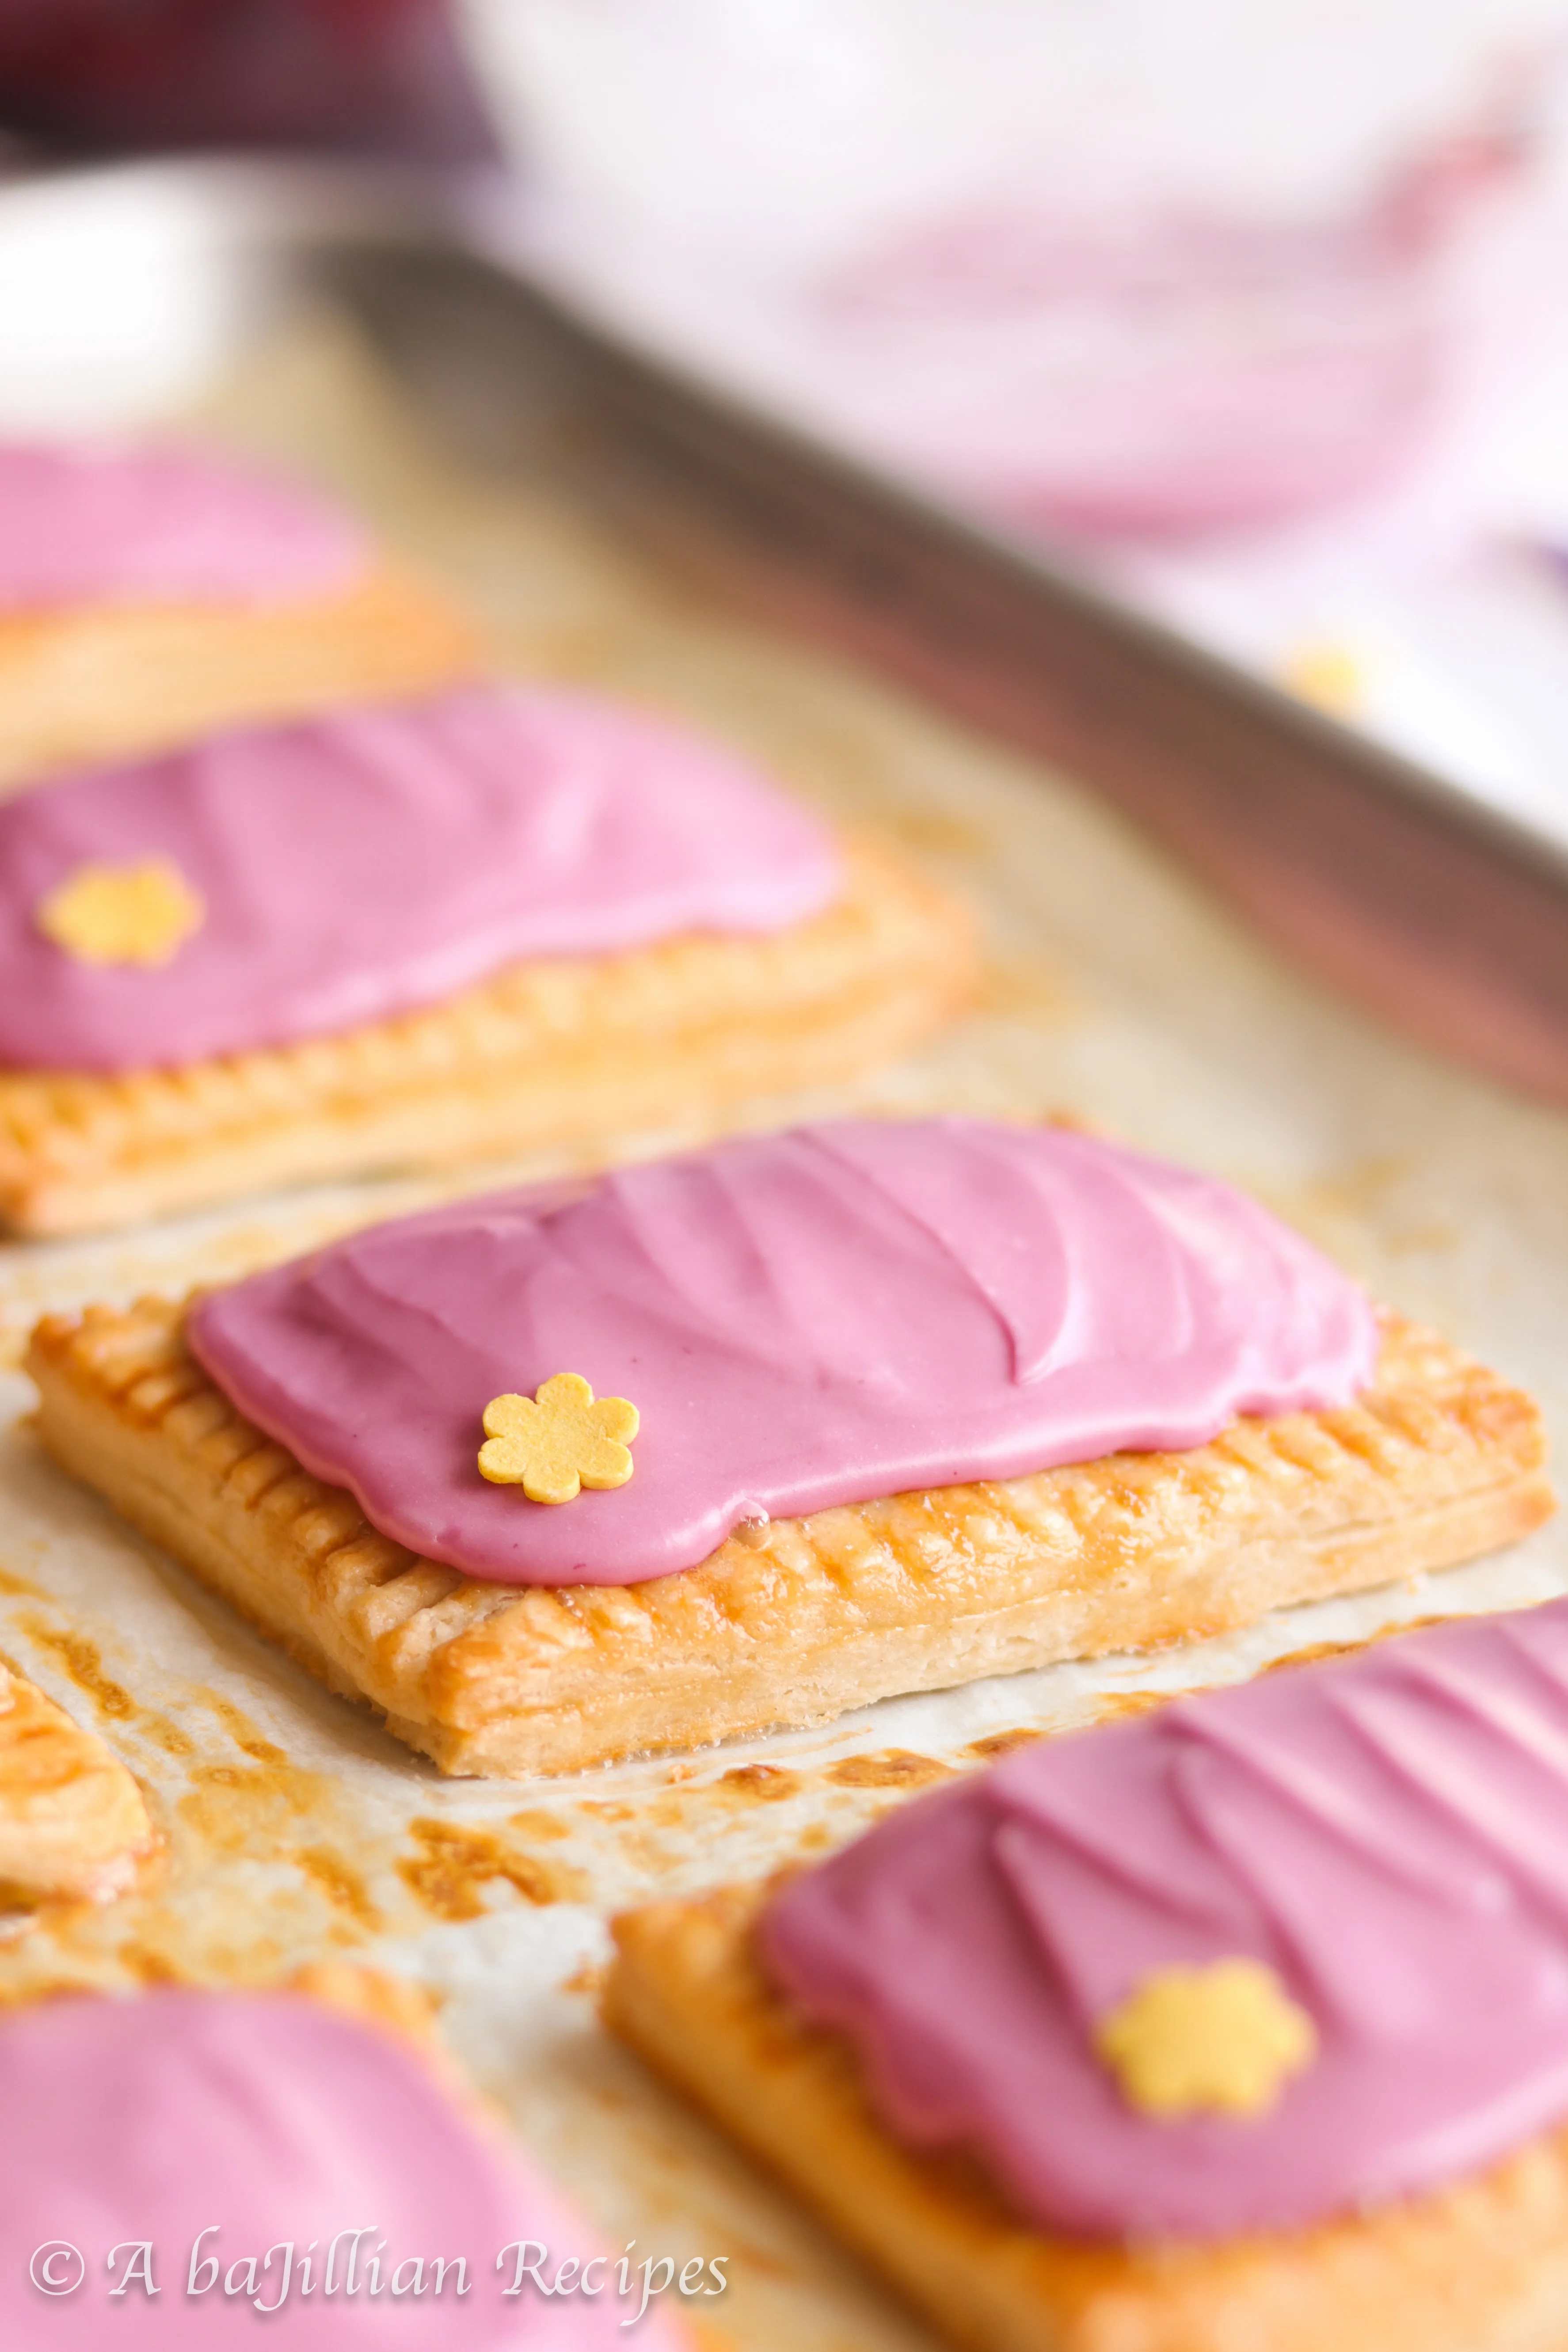
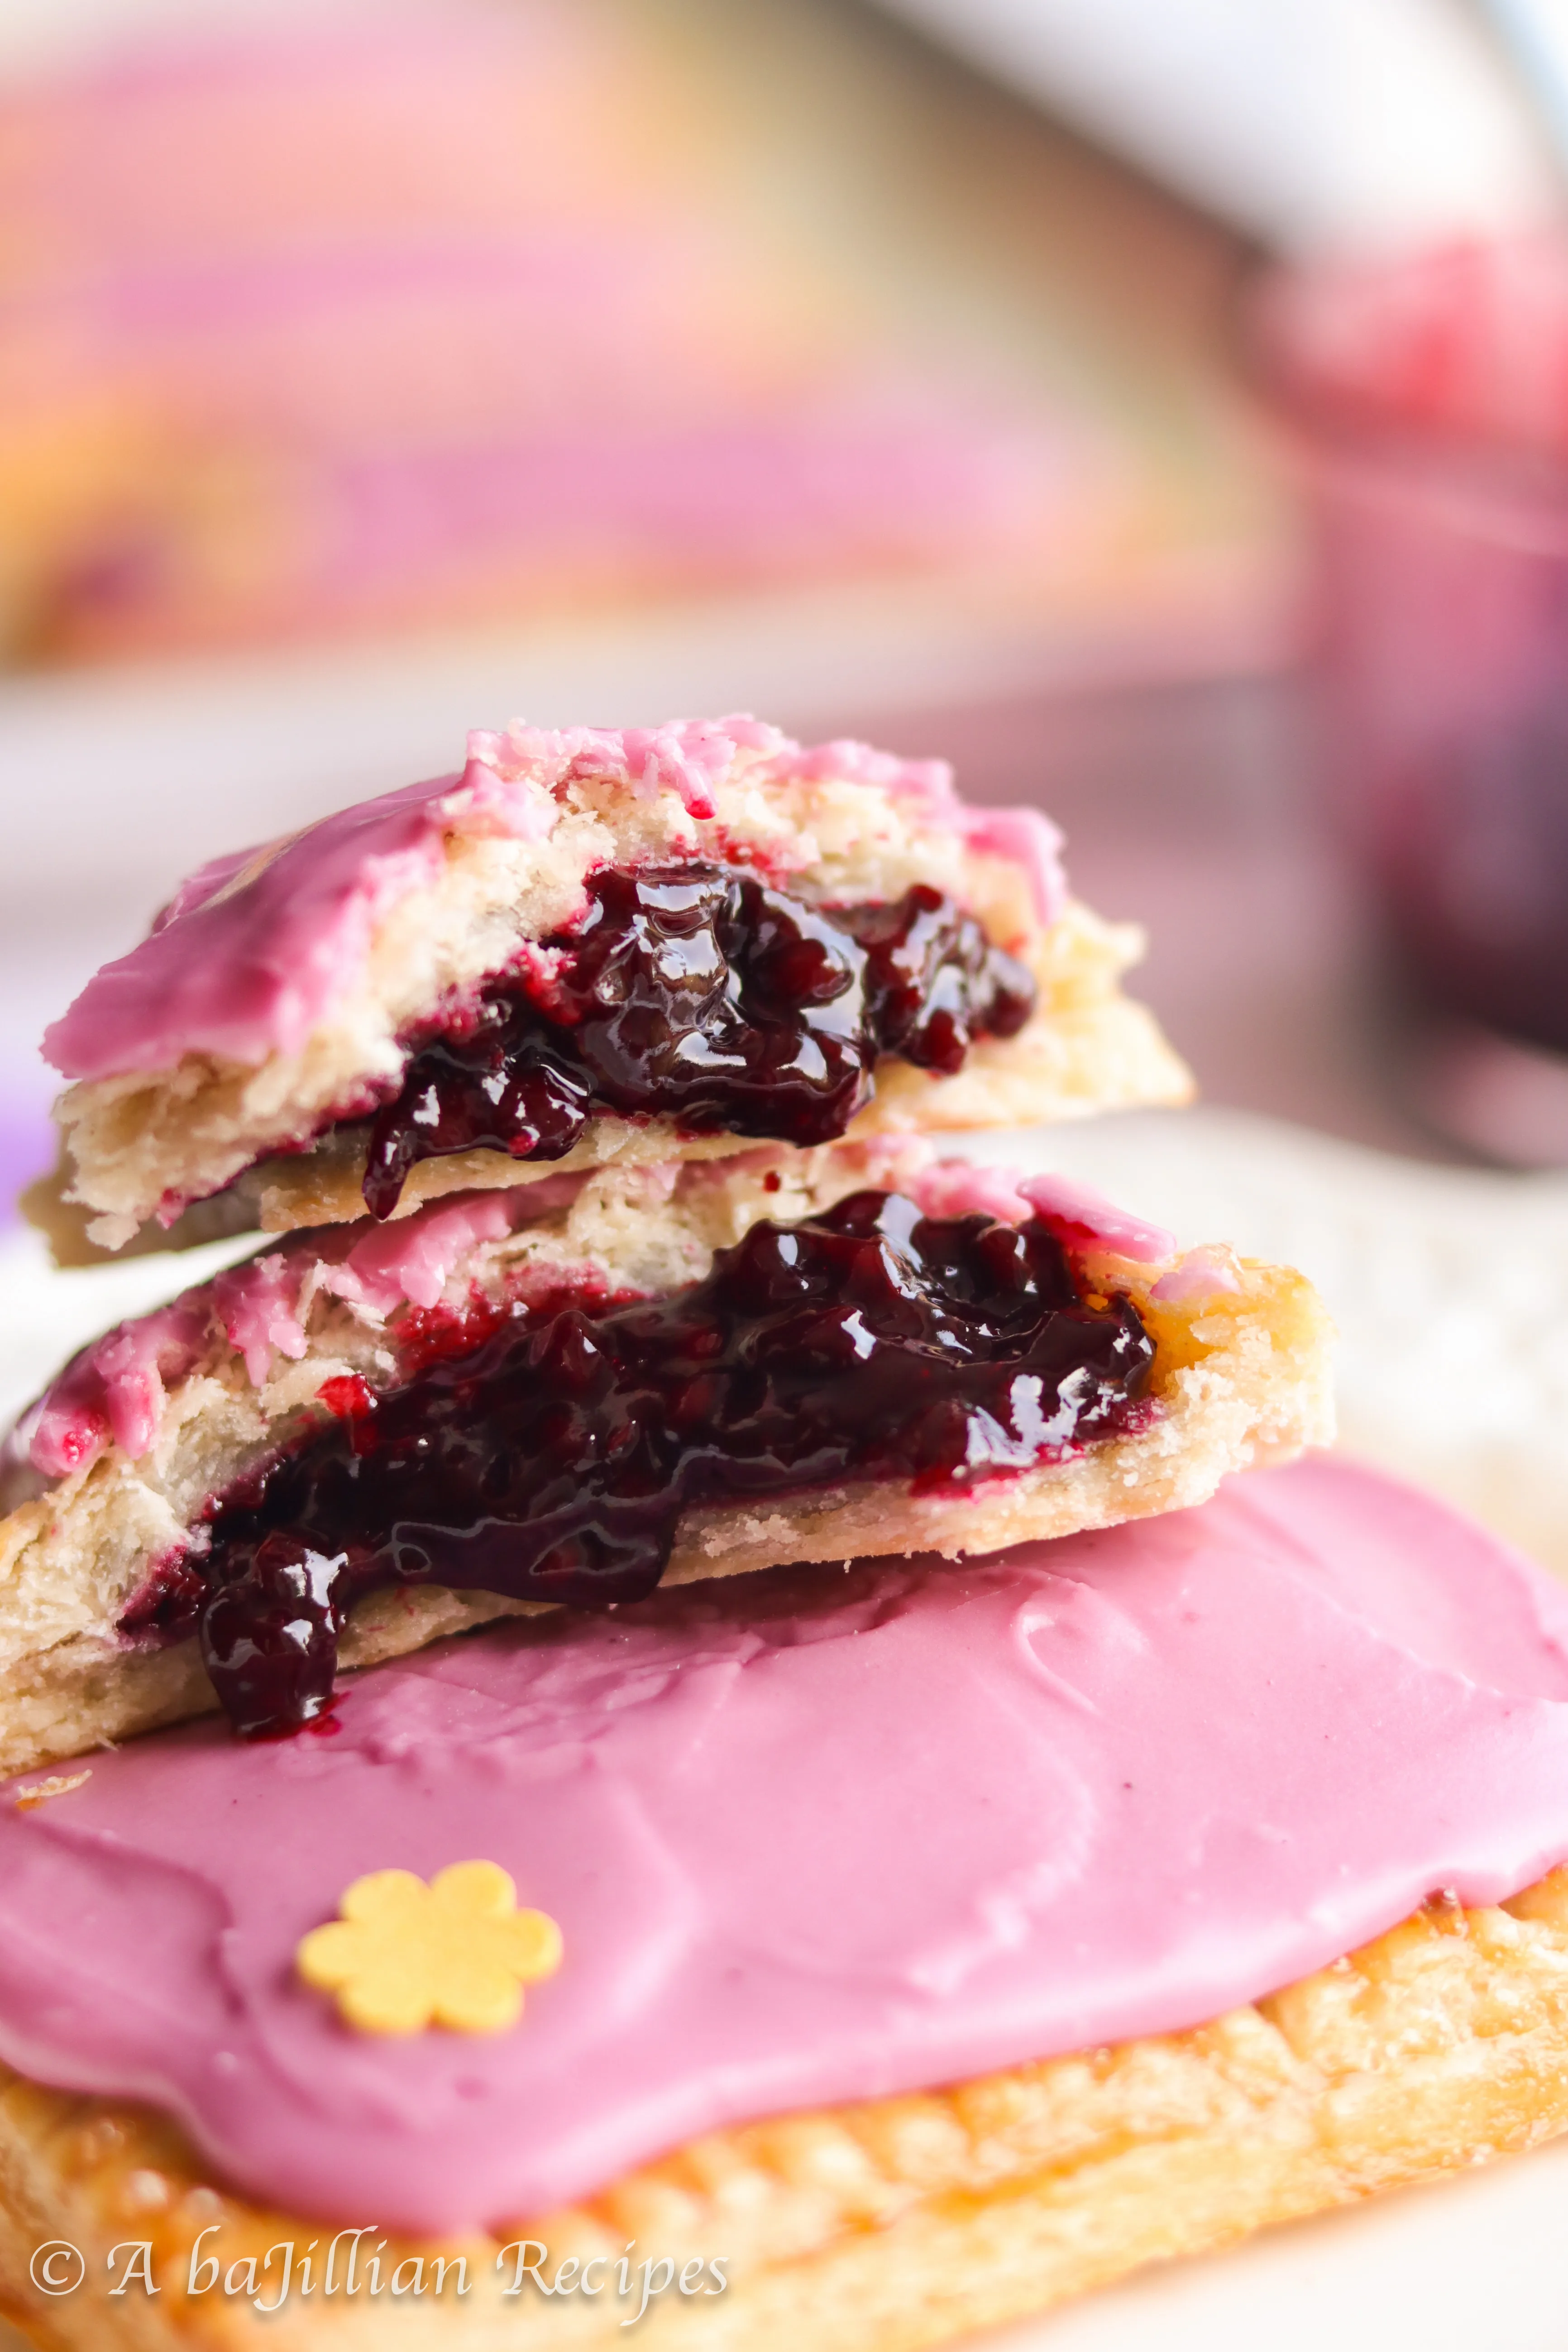
Not only are they so much more elegant than your store-bought pop tart, but they taste one million baJILLIAN times better! Because unlike average pop tarts, these ones come with a buttery and incredibly flakey crust, a GENEROUS amount of blackberry filling, and a supremely sweet layer of blackberry icing.
Trust me, these Homemade Blackberry Pop Tarts are TOTALLY worth the time and effort.
To make the pie crust, you’ll start by combining a little water with some sour cream. You’re essentially making buttermilk. Since I rarely ever have buttermilk on hand, I opt for this substitute instead. It also saves me from wasting a bunch of buttermilk that I won’t use.
Next, you’ll whisk the dry ingredients together–all-purpose flour, granulated sugar, and salt. When it comes to the fat, I like to use half shortening and half butter. I also use COLD butter because once the oven heat hits the cold butter, air pockets are created, making for a supremely flaky crust! I recommend sticking your butter in the freezer for at least 15-20 minutes. And to make it easier to cut the butter into the dry ingredients, I always use a cheese grater to grate the butter into fine shreds first.
Once the butter and shortening have been combined with the dry ingredients, it’s time to mix in the sour cream mixture. I’ll usually start with a rubber spatula, then transition to my hands. Depending on the weather/climate you live in, you might have to add a little more water or flour to get the dough to come together.
Divide the dough in half, and wrap them into two separate discs. This will allow you to roll out one half while the other one stays cold in the refrigerator. The dough requires AT LEAST an hour in the refrigerator before it can be rolled out. So as it’s chilling, you can make the blackberry filling.
For this filling, I ended up using frozen blackberries, but you can use fresh blackberries too. Just place there berries in a medium saucepan over medium heat and cook them until their juices begin to release. Next, combine some sugar, cornstarch, and salt, and stir it into the berries. Continue cooking and stirring until the mixture thickens and coats the back of a wooden spoon, about 3-4 minutes. Pour the blackberry filling into a shallow bowl (so that it cools faster), and place it into the refrigerator until it cools completely. If you’re super impatient like me, you can also chill the filling in the freezer. Just make sure to take it out and stir every 15 minutes or so.
Now it’s time to roll out that DOUGH!
Remove one dough disc from the refrigerator, and place it onto a lightly-floured surface. Roll it out into a rectangle that’s about 9″x12″ and 1/8″ thick. You’ll definitely need a ruler for this step! If you’re not quite able to roll out that perfect rectangle (like me), you can also just roll the dough out to the right thickness, cut out rectangles that are 3″x4″, and re-roll any scraps. I also recommend using a pizza slicer instead of a knife to cut out the rectangles–it makes the process much easier!
Once all of the pie rectangles have been cut, place half of them onto a parchment-lined baking sheet, spacing them about an inch apart. Brush egg wash along the edges of each rectangle–this will serve as the “glue” for the top and bottom pie rectangles. Place a heaping tablespoonful of blackberry filling onto the center of each rectangle, leaving about a 1/2″ of space along the border. Place a pie rectangle on top of the filling, and use your fingertips to gently press the dough around the filling and along the edges of the rectangle. To prevent any filling from leaking out, crimp the edges with a fork. You’ll also need to poke holes into the top of each filled pastry to allow steam to escape while the pop tarts are baking. You can either use a fork or a toothpick.
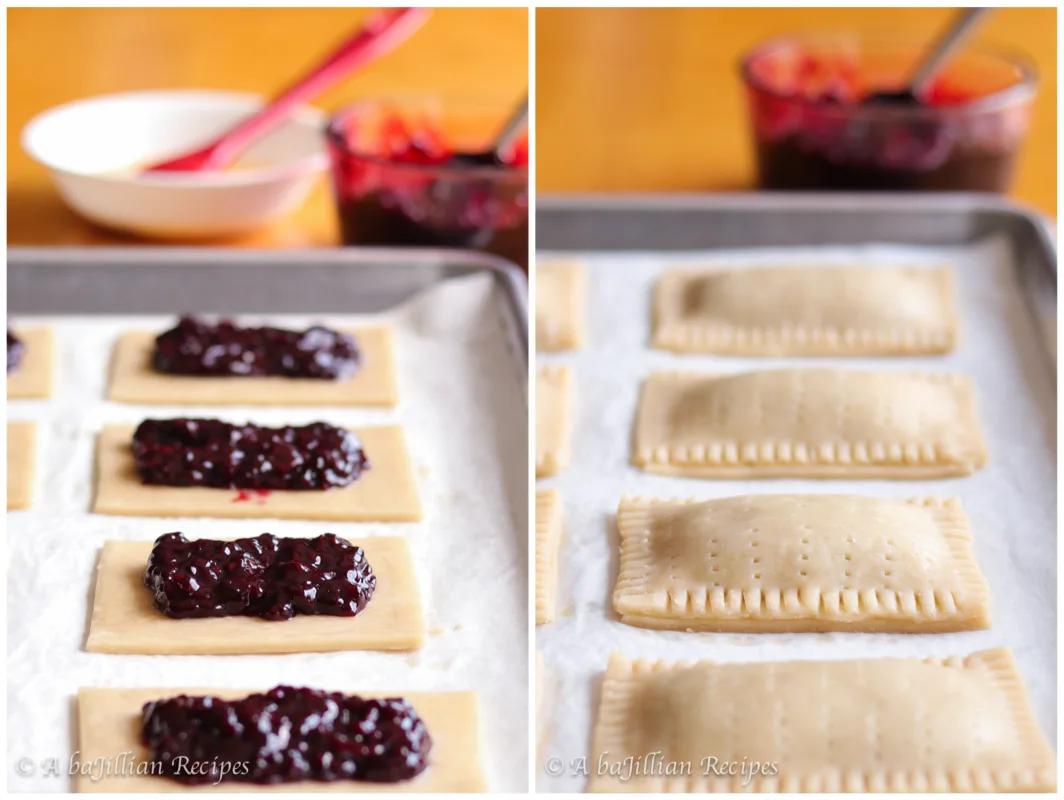
Although I’m sure you’re more than ready to just toss these pop tarts into the oven, they need to chill in the refrigerator for about 20 minutes before they’re ready to bake. As I mentioned earlier, cold dough is required to obtain optimum flakiness. Thus, giving the pop tarts that extra time to chill will result in perfectly flakey pastries.
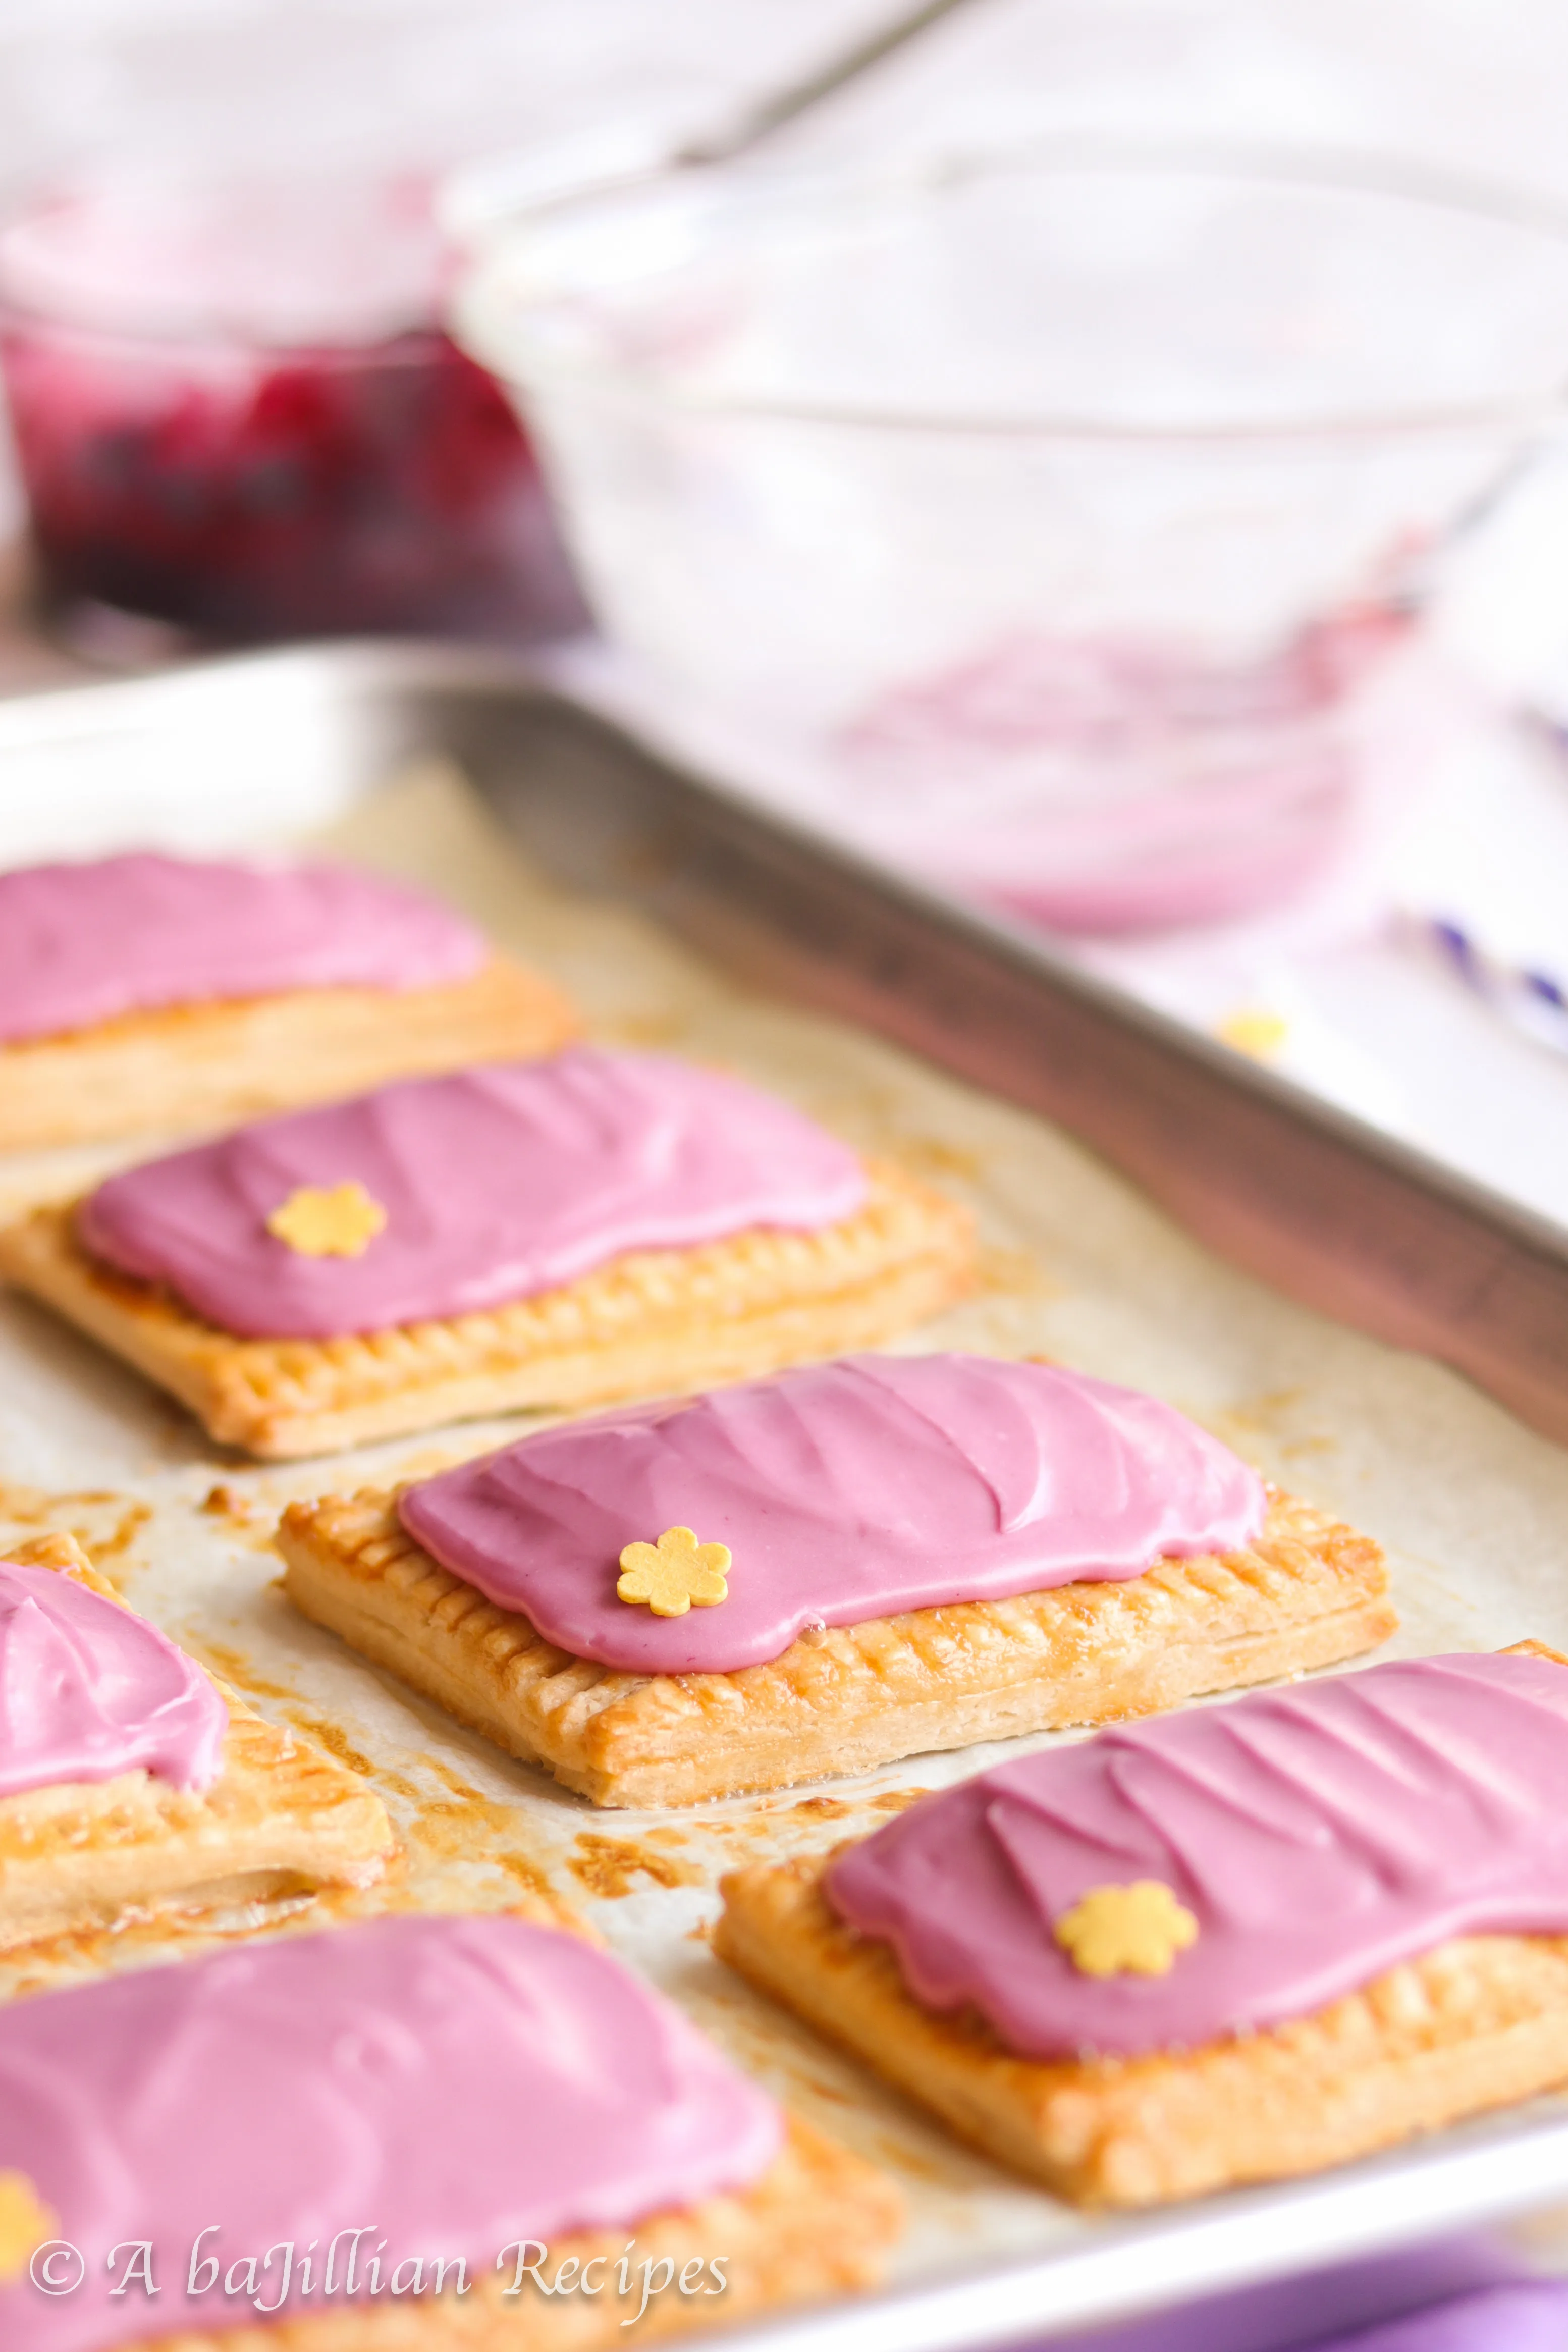
Before baking, brush the tops of each pop tart with egg wash. This is going to give them that nice golden sheen we all look for in a good pastry. The pop tarts should only take about 15-17 minutes to bake. You can tell they’re done when they have a beautiful golden brown color.
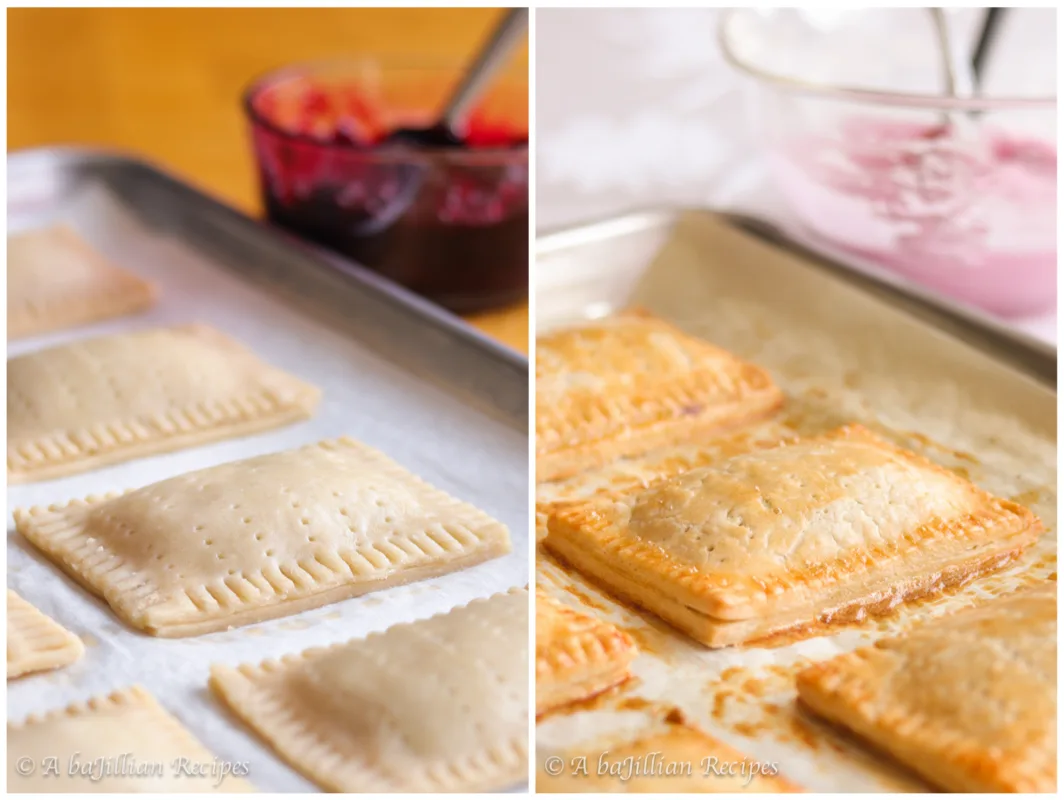
The icing is probably the easiest step of the entire recipe. All you have to do is combine some powdered sugar, milk/cream, vanilla, and some of that leftover blackberry filling. Just make sure to strain the berry filling before adding it to the icing, so that it’s nice and smooth.
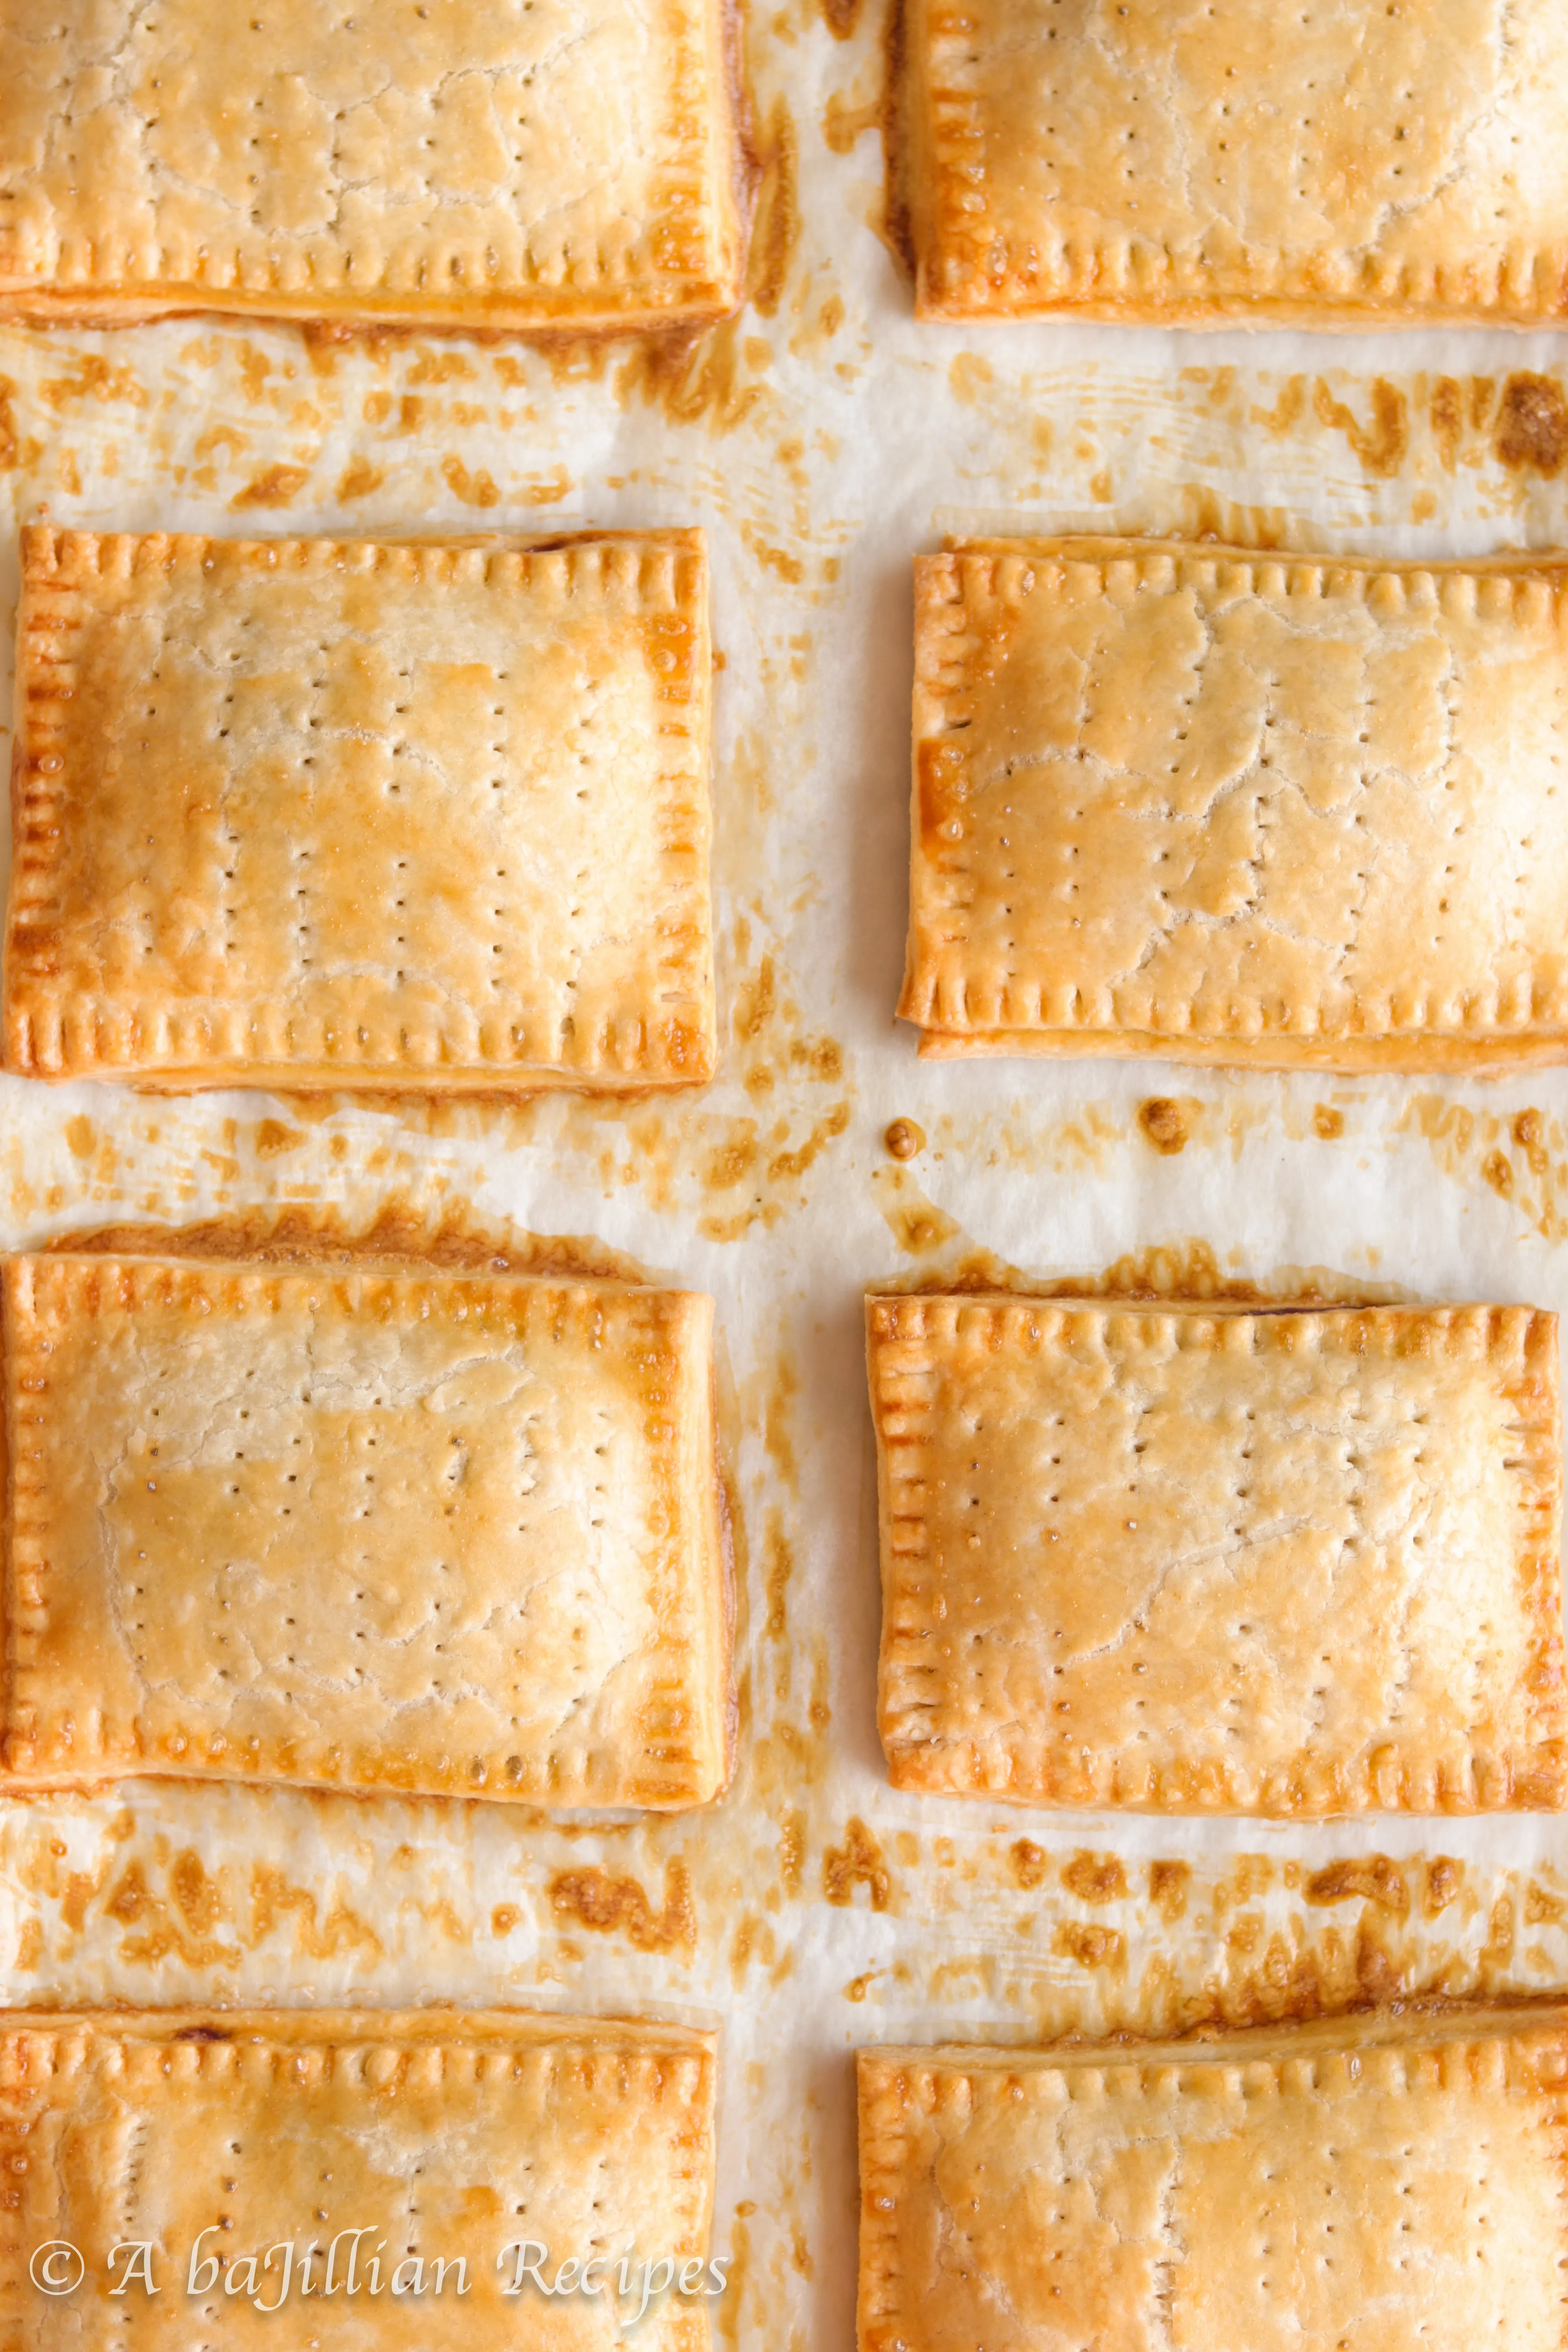
Once the pop tarts have cooled completely, spread some of that wonderful blackberry icing on top, and toss on a few sprinkles! Although I’m the Sprinkle Queen, I decided to go for a more “sophisticated” look by adding one simple yellow flower sprinkle to the corner of each one. However, if you feel like going to town with the sprinkles, BE MY GUEST.
Homemade Blackberry Pop Tarts
Ingredients
Blackberry Filling:
- 3 cups blackberries fresh or frozen
- ½ cup granulated sugar
- 2 Tablespoons cornstarch
- Pinch of salt
- Pinch of cinnamon
Pie Dough:
- 6 Tablespoons water
- 2 Tablespoons sour cream
- 2 ½ cup all-purpose flour
- 2 Tablespoon granulated sugar
- 1 teaspoon salt
- ½ cup shortening cut into 1/2-inch pieces
- ½ cup unsalted butter cold
- Egg wash: 1 egg beaten
Blackberry Icing:
- 1 ½ cup powdered sugar
- 2 Tablespoons milk or heavy cream
- 1 Tablespoon blackberry filling (strained to remove seeds)
Instructions
Make the Filling:
- In a medium saucepan, heat the blackberries over medium heat until they soften and their juices start to release, about 2-3 minutes. In a separate bowl, combine the sugar, cornstarch, salt, and cinnamon. Add mixture to the berries and continue cooking until it begins to thicken, about 2-3 minutes. Use a potato masher or fork to smash any large berries. Remove from heat. Pour into a shallow bowl and place in the refrigerator to cool completely.
Make the Pie Dough:
- In a small bowl, combine the water and sour cream; set aside.
- In a large mixing bowl, stir the flour, sugar and salt together. Scatter the shortening over the flour, then use a cheese grater to grate the butter on top. Using a fork or a pastry blender, cut the mixture together until it resembles coarse crumbs.
- Add the sour cream mixture and use a stiff rubber spatula to stir and press the dough together until it forms one big mound. If dough is still too dry and doesn’t hold together, add another tablespoon of water.
- Divide the dough into two halves. Turn each half onto a piece of plastic wrap and flatten into a 5-inch disk. Wrap tightly and refrigerate for at least one hour.
Assemble the Pop-Tarts:
- On a lightly-floured work surface, roll out one of the discs of chilled dough (keep the other one in the refrigerator). Roll it into a rectangle about 1/8 inch thick and 9×12 inches in size. Trim the sides as needed. Using a pizza slicer or knife, cut 9 rectangles, each measuring 3×4 inches. Using a ruler will make this process much easier and more accurate.
- Place the 9 rectangles onto a baking sheet lined with parchment paper. Place the baking sheet in the fridge.
- Roll the second disc out into a rectangle, and cut into 9 even rectangles like you did with the first disc. Put the rectangles on a parchment paper-lined baking sheet and place in the refrigerator.
- Remove the first baking sheet of rectangles from the refrigerator. Brush egg wash along the border of each rectangle. This will act as the "glue". Place a heaping Tablespoon of the blackberry filling into the center of each rectangle, spread it around, leaving around 1/2 inch of space on the edges.
- Remove the second baking sheet of rectangles from the refrigerator and place each one on top of the filling-topped rectangles. Use your fingertips to press firmly around the pocket of filling, sealing the dough well on all sides. Crimp the edges with a fork.
- Place the filled pop tarts in the refrigerator for at least 20 minutes. Preheat the oven to 400ºF.
- Once pop tarts have chilled, lightly brush the tops with egg wash. Bake for about 15-17 minutes, or until they’re golden brown. Remove from the oven and allow to cool completely.
Make the Icing:
- Place the powdered sugar and milk/cream in a medium bowl. Strain the tablespoon of blackberry filling through a fine mesh sieve into the bowl. Whisk everything together until smooth. Add more milk or powdered sugar to achieve the right consistency.
- Once the pop tarts have cooled, spoon a heaping tablespoon of icing on top. Spread evenly with a butter knife or offset spatula. Repeat with remaining pop tarts.
- Cover leftovers and store in the refrigerator for up to 5 days.

