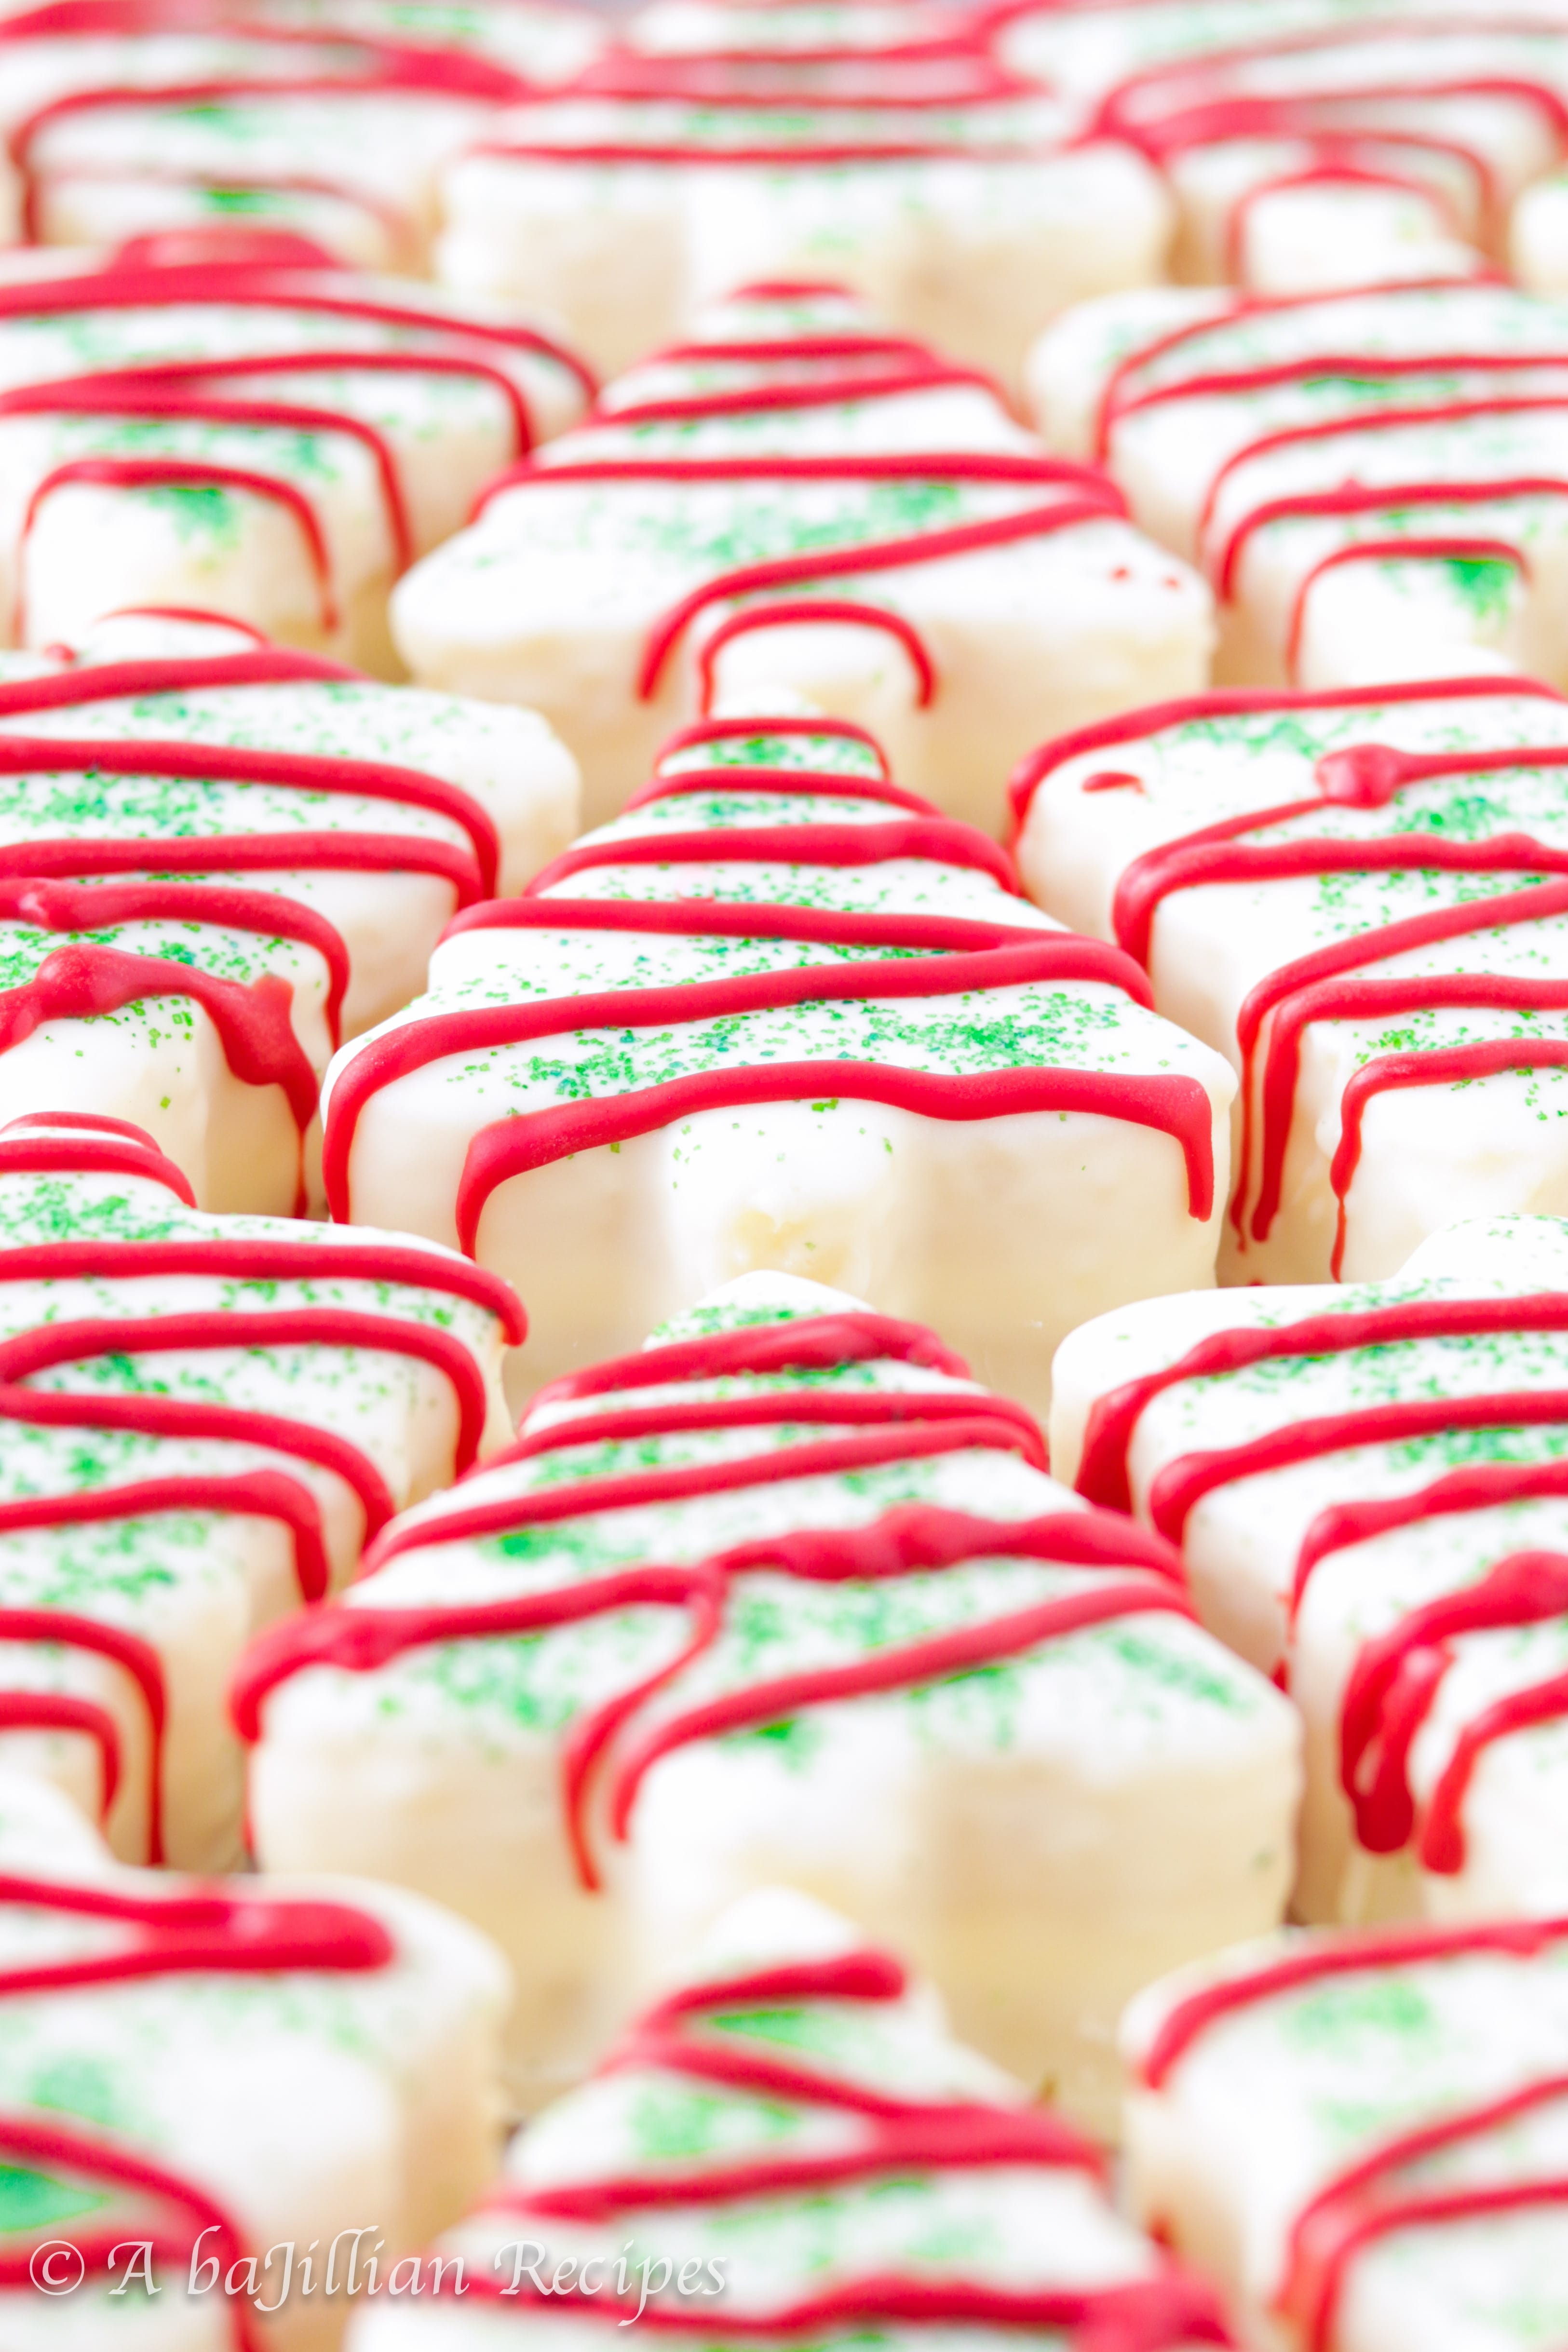
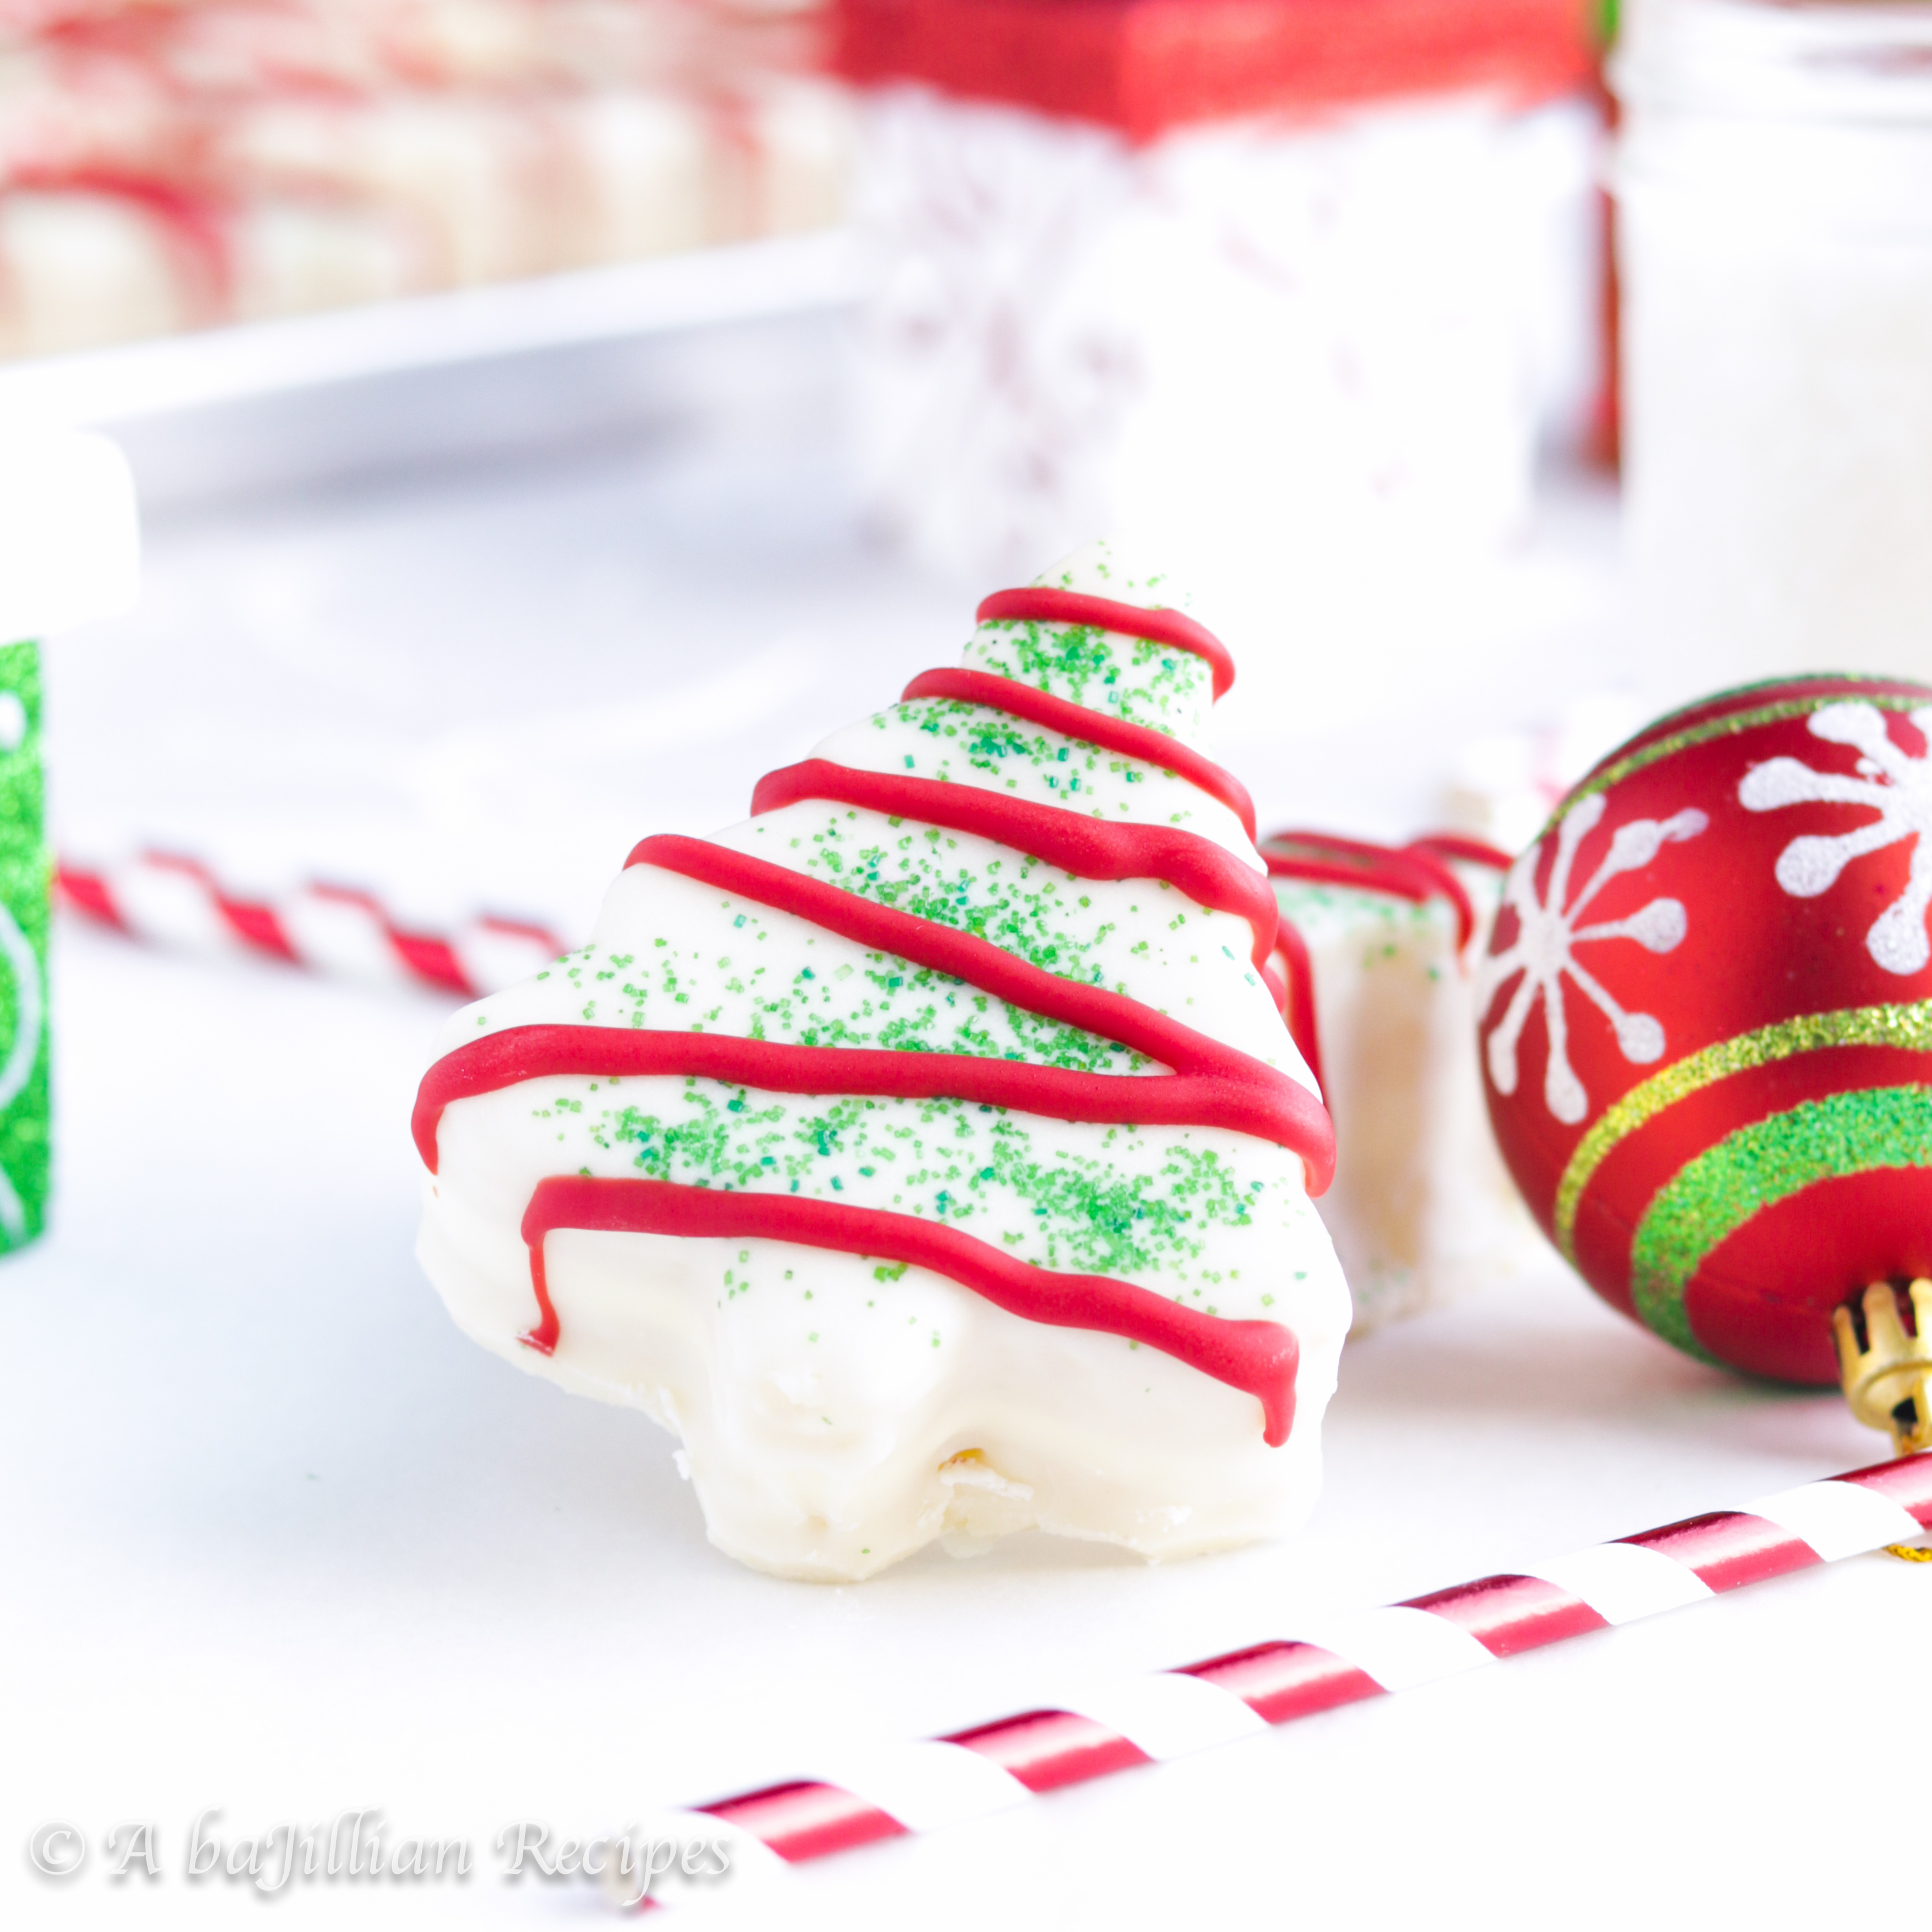
Soft golden cake layers filled with a fluffy marshmallow buttercream and dipped in rich white chocolate! A Little Debbie holiday favorite made from scratch!

Whether it’s Christmas, Valentines, Halloween, Easter, etc., one of my favorite things about the holidays is the abundance of holiday-themed sweets and treats that line the aisles of every single grocery store. I don’t care what you say, red and green M&Ms always taste WAY better than the ordinary year-round multi-colored ones.
It’s a fact.
Growing up, one of my favorite stocking stuffers to receive was a box of those delicious christmas tree snack cakes. Little Debbie has definitely grown in their assortment of snack cakes over the years, but the classic white Christmas trees have been a holiday staple for quite some time now–33 years and counting!
It’s no surprise that they’ve continued to be a seasonal favorite for so long since they’re basically a sugared-up version of the Twinkie. Think about it. They’ve got the yellow cake and the fluffy creme filling, just like a Twinkie. PLUS, they’re dipped in white chocolate and topped with green sugar sprinkles. Why WOULDN’T a kid be obsessed with this sugar cube of a treat??
So, feeling inspired by my all-time favorite holiday treat, I decided to have a go at creating a homemade version. And folks, I was NOT disappointed…

Sorry, but I have to ask…how flipping ADORABLE are these little Christmas tree snack cakes???

I even amazed myself at how almost identical they were to the store-bought ones. The only difference being that my version tastes SO much better.
Sooooooo much better.

The cake is super moist and flavorful. The creme filling is perfectly light and fluffy. And the white chocolate coating is just the right thickness to cover the cakes completely, yet thin enough for that nice, soft bite. While I always loved these snack cakes as a child, as an adult I noticed how dry the cake could be. These homemade ones, on the other hand, are the antithesis of that. The cake is a simple yellow cake recipe that I baked into two VERY thin layers using two large rimmed sheet pans.
Once baked and cooled, I frosted one of the cakes with the most delectable marshmallow buttercream. It tastes just like the Twinkie creme filling and also has that same light and airy fluffiness. The frosting layer then gets topped with the second cake layer (carefully), and then chilled in the freezer for at least an hour. This step allows for a much, much, MUCH cleaner cut when you cut the cake into individual trees/cakes.

Now, you have a few options when it comes to cutting the cake up. You can either go the traditional route by using a tree cookie cutter, or you could just use a knife to slice the cake into squares, or even triangles. You could also use a different non-tree cookie cutter. It’s all up to you! Just make sure that the cookie cutter is tall enough to slice all the way to the bottom of the cake.

After the cakes have been individually cut, they go back in the freezer for yet another round (at least 30 minutes) until they’re nice and firm for dipping. I found that the easiest way to dip these trees was to scoop the little cake up with a fork, dip the bottom of it into the chocolate, then use a large spoon to ladle the chocolate over the top and sides of the cake until fully covered. After a few gentle taps on the side of the bowl to get any excess chocolate off, the cakes are placed onto a wax paper-lined baking sheet. To assure that the green sprinkles stick, I topped the cakes with the sprinkles immediately after dipping and placing them on the baking sheet.
And of course, these snack cakes wouldn’t be CHRISTMAS tree snack cakes without their iconic red garland. I just melted some red candy melts (found at most craft stores like Michaels or JoAnns), poured them into a small ziploc baggy, cut the tip off, and drizzled to my heart’s content. After a final trip to the fridge to set the chocolate up, these snack cakes were ready for the much-anticipated trip to my mouth!

Being the waste-not-want-not individual that I am, I decided to make mini trifles out of the “tree-cutting” scraps. Layered with some whipped cream and a little jam, these mason jar cuties give you another reason to “reduce, reuse, and recycle”!

Not only are these TEN TIMES more delicious than the ones in the box, but they’re super fun to make. In fact, they’d be a great project for kids too.
That is, if you’re not an OCD control freak who needs everything in their life to look perfect.
Like me…


Christmas Tree Snack Cakes
Ingredients
Cakes:
- 2 ⅔ cup all-purpose flour
- 1 ½ teaspoon baking powder
- ¾ teaspoon baking soda
- ½ teaspoon salt
- 18 Tablespoons unsalted butter softened
- 1 ½ cup sugar
- 3 eggs
- 1 cup + 2 Tablespoons sour cream or Greek yogurt
- 2 teaspoons vanilla
- ¾ cup buttermilk
Filling:
- 2 Tablespoons hot water
- ½ teaspoon salt
- 2 (7 oz) jars marshmallow creme
- ¾ cup (115g) shortening
- ½ cup salted butter
- 1 ¼ cup powdered sugar
- 2 teaspoon vanilla extract
Candy Coating:
- 2 (12 oz) bags white chocolate chips
- 6-10 Tablespoons coconut oil*
For Decorating:
- Green sugar sprinkles
- 3 ounces red candy melts
Instructions
Make the Cakes:
- Preheat oven to 350ºF. Line two 12x16-inch baking pans with parchment paper and spray with nonstick cooking spray.
- In a mixing bowl, whisk together the flour, baking powder, baking soda, and salt until combined; set aside.
- In the bowl of a stand mixer fitted with a paddle attachment, beat the butter and sugar together on medium speed until lightened and creamy. Beat in the eggs, one at a time, until combined, scraping down the sides and bottom of the bowl as needed. Beat in the sour cream and vanilla on medium speed.
- Pour the dry ingredients into the wet ingredients and mix until combined. Add the buttermilk and mix until just combined, scraping down the sides and bottom of the bowl as needed.
- Divide batter evenly among the two pans, and spread out evenly with a knife or offset spatula. Bake for 15-17 minutes. Allow to cool in the pan for cool completely.
Make the Filling:
- Combine the hot water and salt in a small bowl and stir until dissolved. Let mixture cool.
- In the bowl of a stand mixer, fitted with a paddle attachment, or with a hand mixer in a large bowl, beat together the marshmallow creme, shortening, and butter until combined. Add in the powdered sugar and vanilla and mix on high speed until fluffy--about 2 minutes. Add the salt solution to the mixture and mix until combined.
To Assemble:
- Flip one of the cooled cakes onto a large cutting board and remove the parchment paper. Repeat with the other cake. Flip both cakes back over so that the smooth side is facing up once again. Spread the filling evenly over one of the cakes. Top with the second cake.** Place cake sandwich in freezer for at least 1 hour.
- Once chilled, use a thick christmas tree cookie stencil to punch out individual cakes. If you don't have a cookie stencil, cut into squares or triangles with a sharp knife. Once cut, freeze cakes for another 30 minutes.
- In large microwave-safe bowl, heat the white chocolate and coconut oil together until smooth and melted. Using a fork to lift the individual cakes, gently dip the bottom of the cakes into the melted chocolate (not all the way under), then use a spoon to ladle the chocolate over the top and sides. Place onto wax paper-lined baking sheet. Immediately top with green sugar sprinkles. Repeat with the rest of the cakes.
- Melt candy melts according to package instructions, and transfer to a small ziploc bag. Cut off the tip/corner and drizzle on top of each cake. Refrigerate for about 5 minutes to allow chocolate to set up. Serve and enjoy!

